Want to take beautiful, sharp photographs when there’s barely any light to work with?
I get it - Low light photography can be surprisingly tricky! Between blurry photos, grainy images and camera settings that seem to want you to do competing things, it’s tempting to simply put your camera away until the light improves 😀
But here’s the thing: low light can actually be some of the most beautiful light to photograph in.
In this guide, I’m sharing 9 easy low light photography tips to help you choose the right camera settings, find and use the available light better, and capture beautiful, atmospheric photographs - even when the light is fading.
Plus I’ve got a little challenge for you to try so that by the end of this guide, I think you’ll actually look forward to photographing in low light!
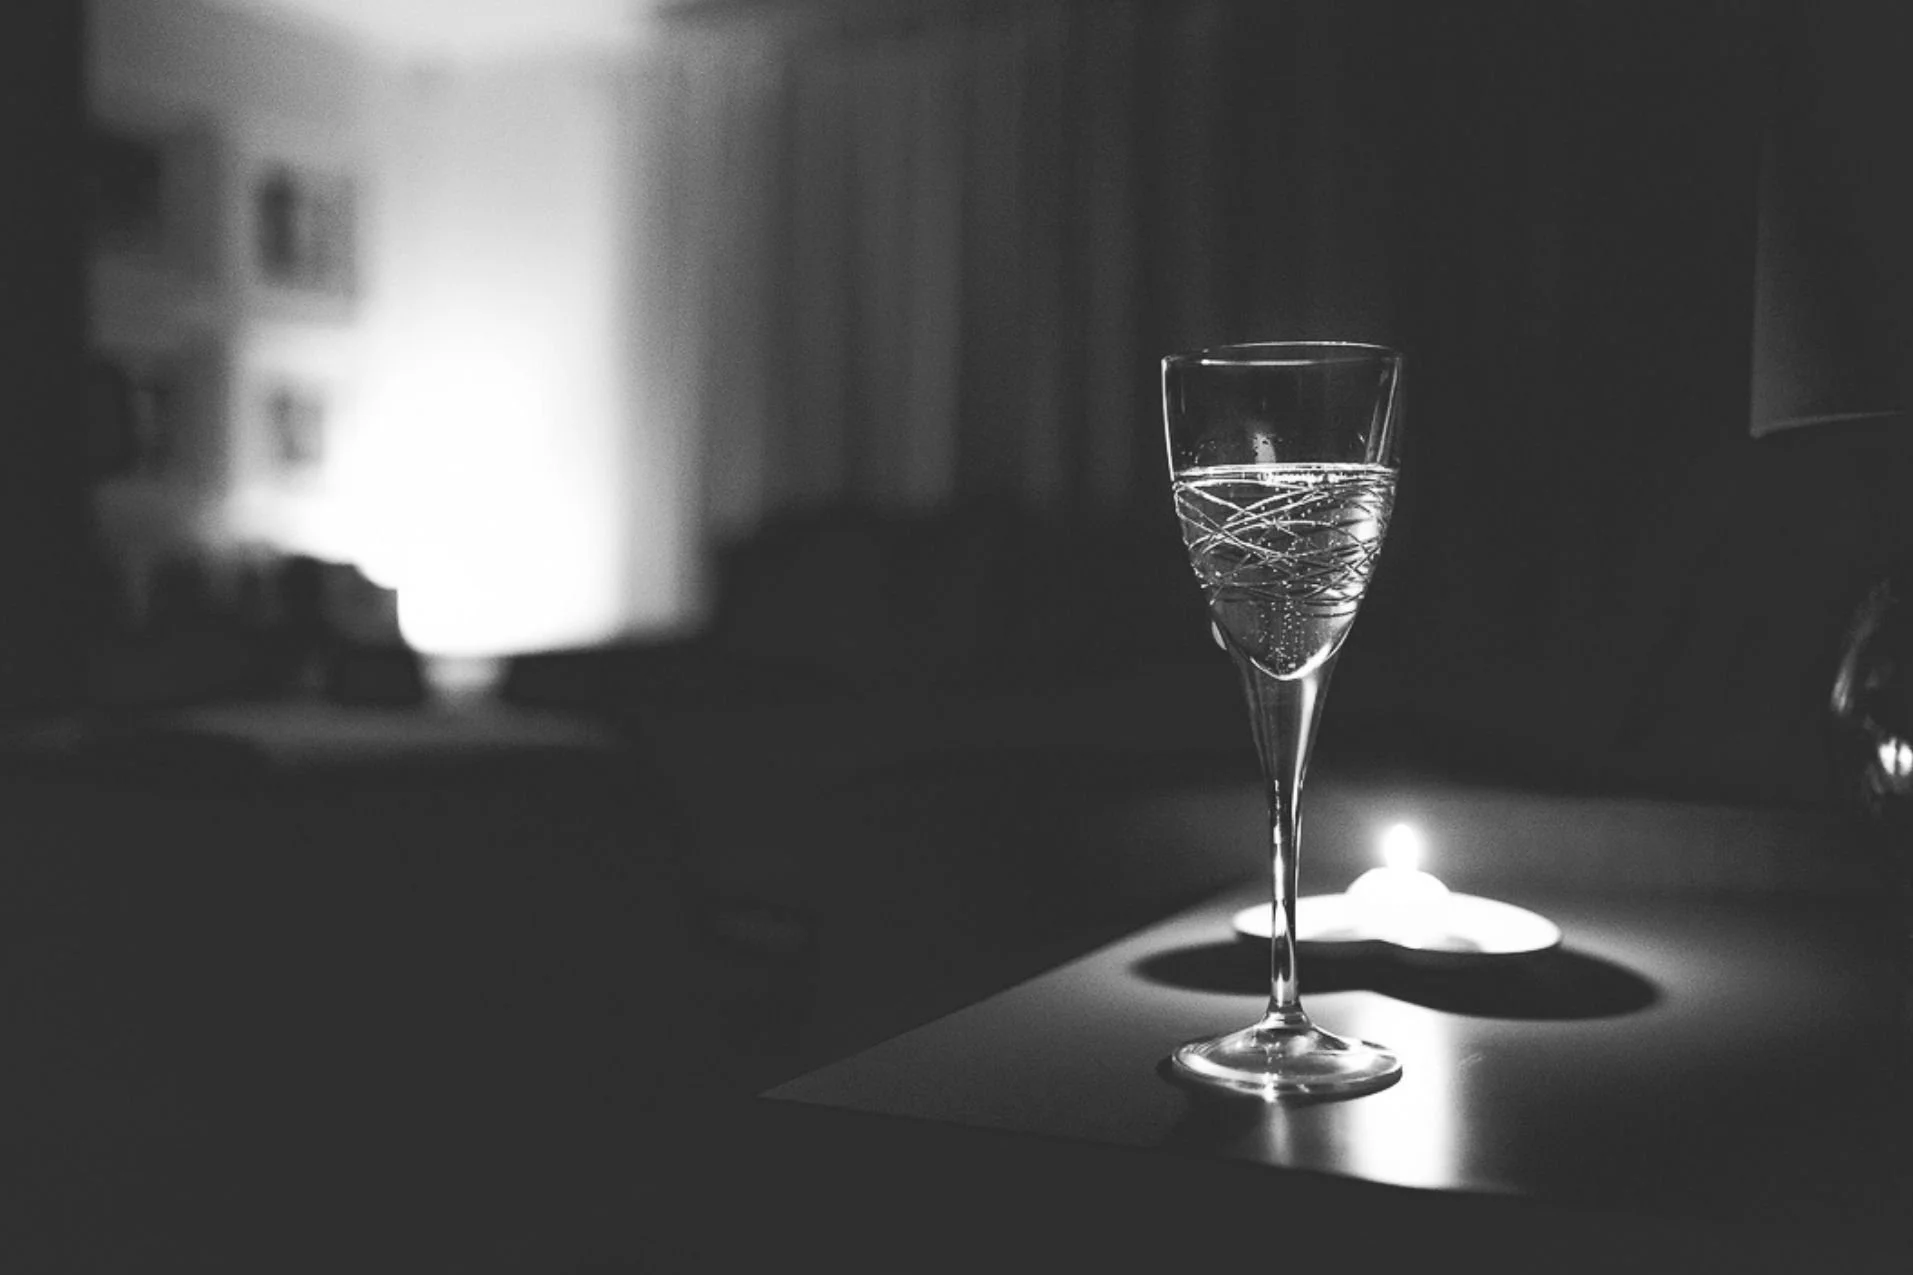
Why I’ve Learned to Love Low Light Photography
I didn’t always love working with low light - In fact, there was a time when I used to dread the darker months!
Because as the days got shorter, so did my opportunities to take photographs.
And as I live in Scotland, if I were to only take photos when there’s plenty of daylight, that meant pretty much ruling out half the year 🥶😂
So I had to completely change how I felt about photographing in low light - but now, it’s one of my favourite times to shoot!
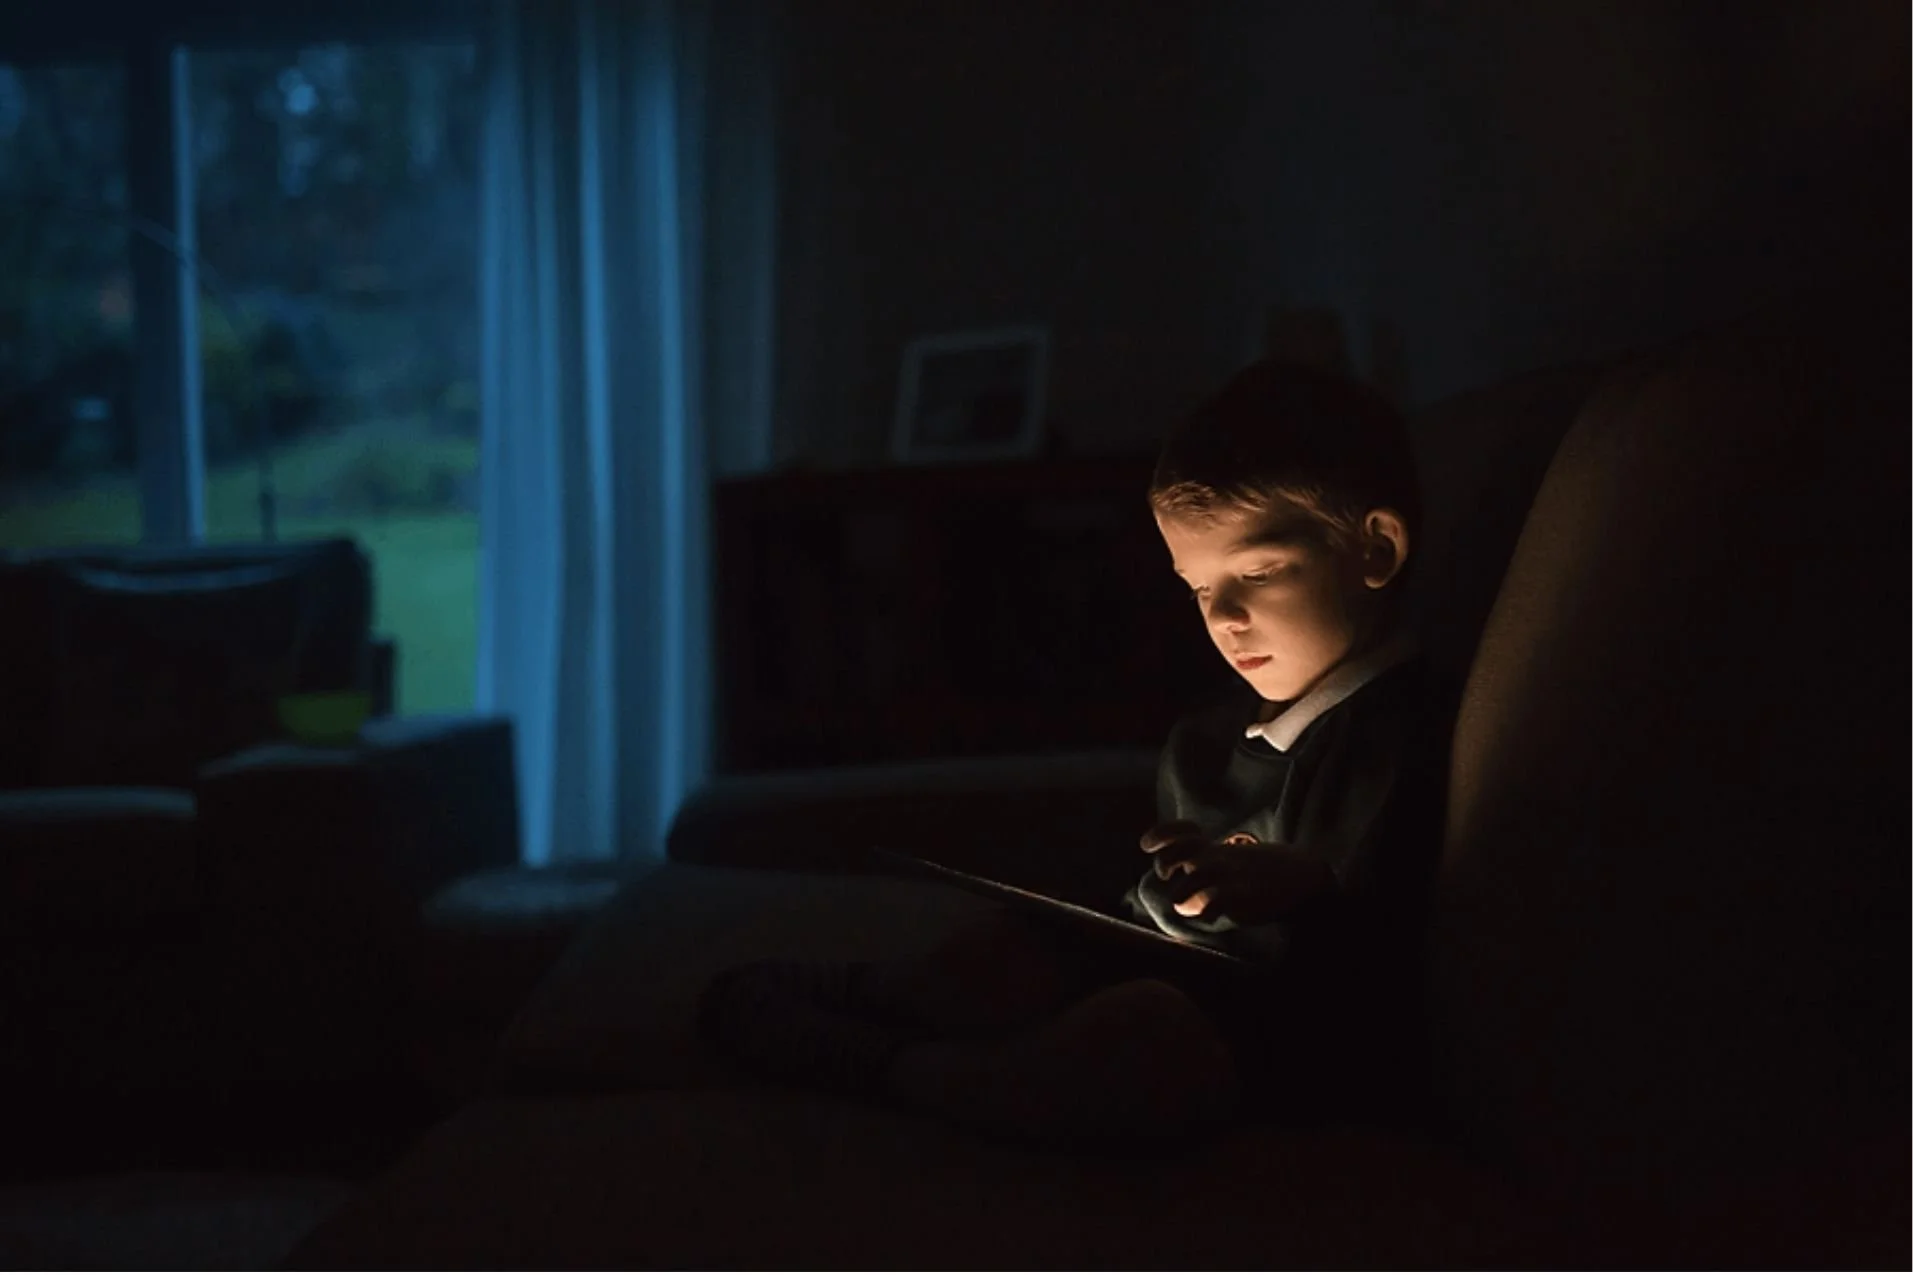
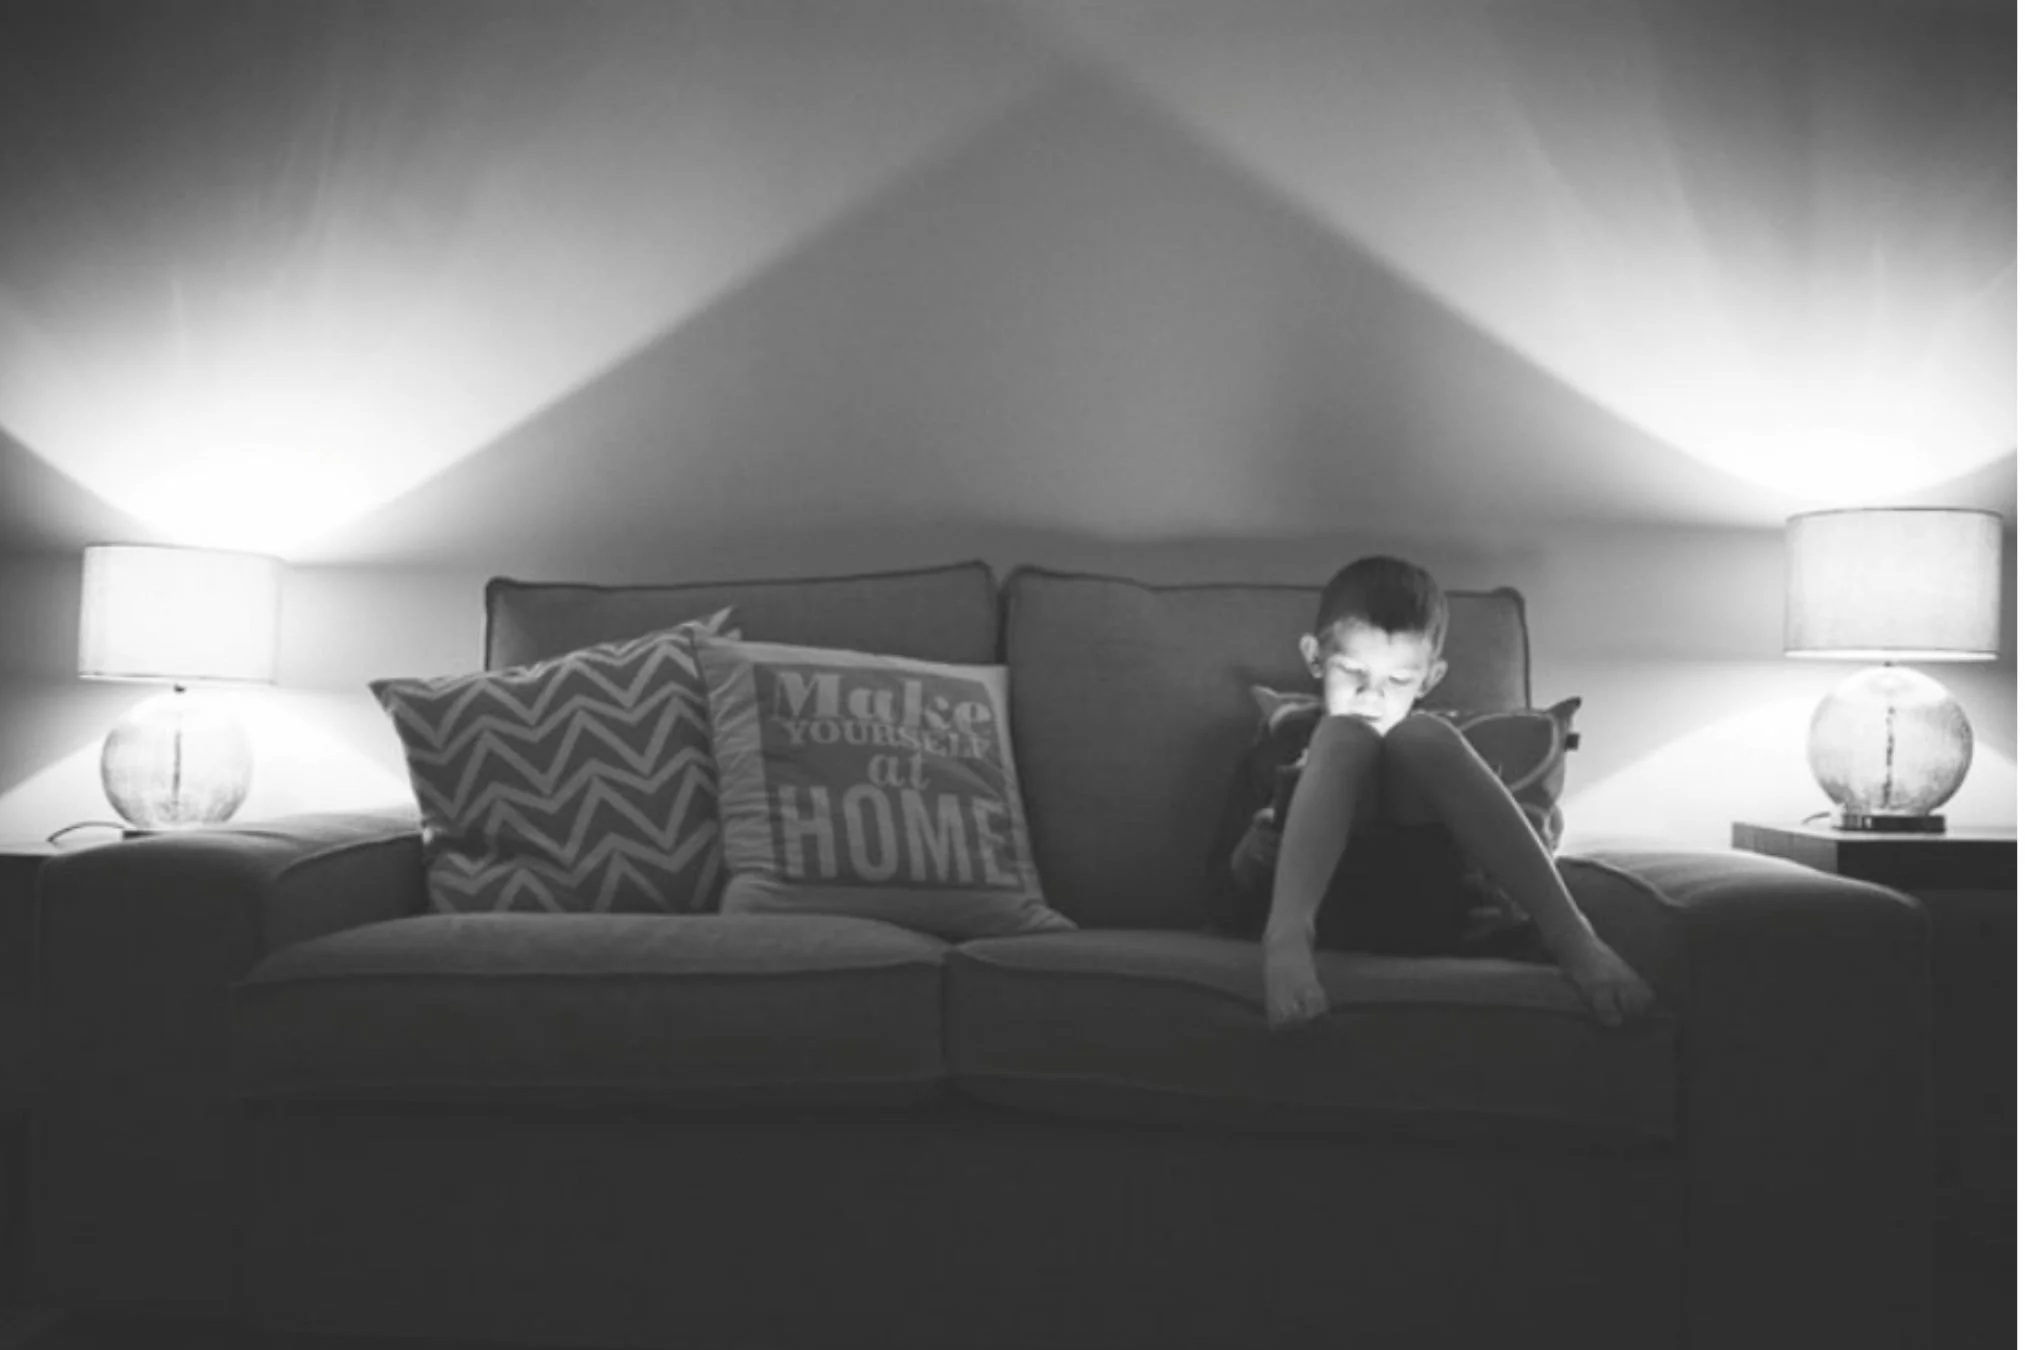
The photo below was probably the first time I experimented with in low light (a whopping 14 years ago) and it’s has actually turned out to be one of my favourites!
It’s just of my son sitting on the living room sofa after school, when the last of the daylight was disappearing through the window, and his face was illuminated only by the glow of his iPad. (You can see my photo below!)
It ‘s not a particularly remarkable moment, but the combination of that fading light, the glow on his face, the mix of warm and cool tones, and the deep shadows surrounding him has made it one of my faves.
But more importantly, it helped me realise something important.
Low light isn’t necessarily bad light. It’s just different light.
These days, I genuinely look forward to the changing seasons because each one brings new photographic opportunities.
So rather than thinking of low light as something you need to overcome, I want to show you how to make the most of it.
Ready? Let’s get started!
What Is Low Light Photography?
Low light photography simply means taking photographs when there isn’t much available light.
And although you might immediately think of photographing outside at night or in near darkness, low-light situations are actually incredibly common in everyday life.
Think about your kids reading by lamplight in bed, your morning coffee beside a window on an overcast winter morning, or at a restaurant illuminated by just a few lamps.
ALL of these are opportunities for low light photography.
The challenge is that your camera needs enough light to create the exposure you want.
When there isn’t much available, you need to make informed decisions about your aperture, shutter speed and ISO.
But there’s one more thing about low light photography that I think is just as important:
You don’t always want to make a dark scene look bright!!
Sometimes those deep shadows, little pockets of light and areas of darkness are exactly what make the photograph interesting.
So, as we work through these tips, we’re going to look at both sides: how to get technically better photographs, AND how to make the most of the beautiful light you already have.
9 Tips for Beautiful Low Light Photography
1. Look for the Light You Already Have
Before you start changing your camera settings, take a moment to look at the light.
Where is it coming from? How strong is it? And what is it illuminating?
Even when a room feels quite dark, you’ll often find little pockets of light that you can use.
It might be the last of the daylight coming through a window, a lamp in the corner of the room, or the glow from a television or tablet.
Rather than trying to brighten the entire scene, look for ways to use those smaller light sources.
For example, if you’re photographing someone by window light, you might notice that moving them closer, or even just turning their face slightly towards the window gives you much more flattering light.
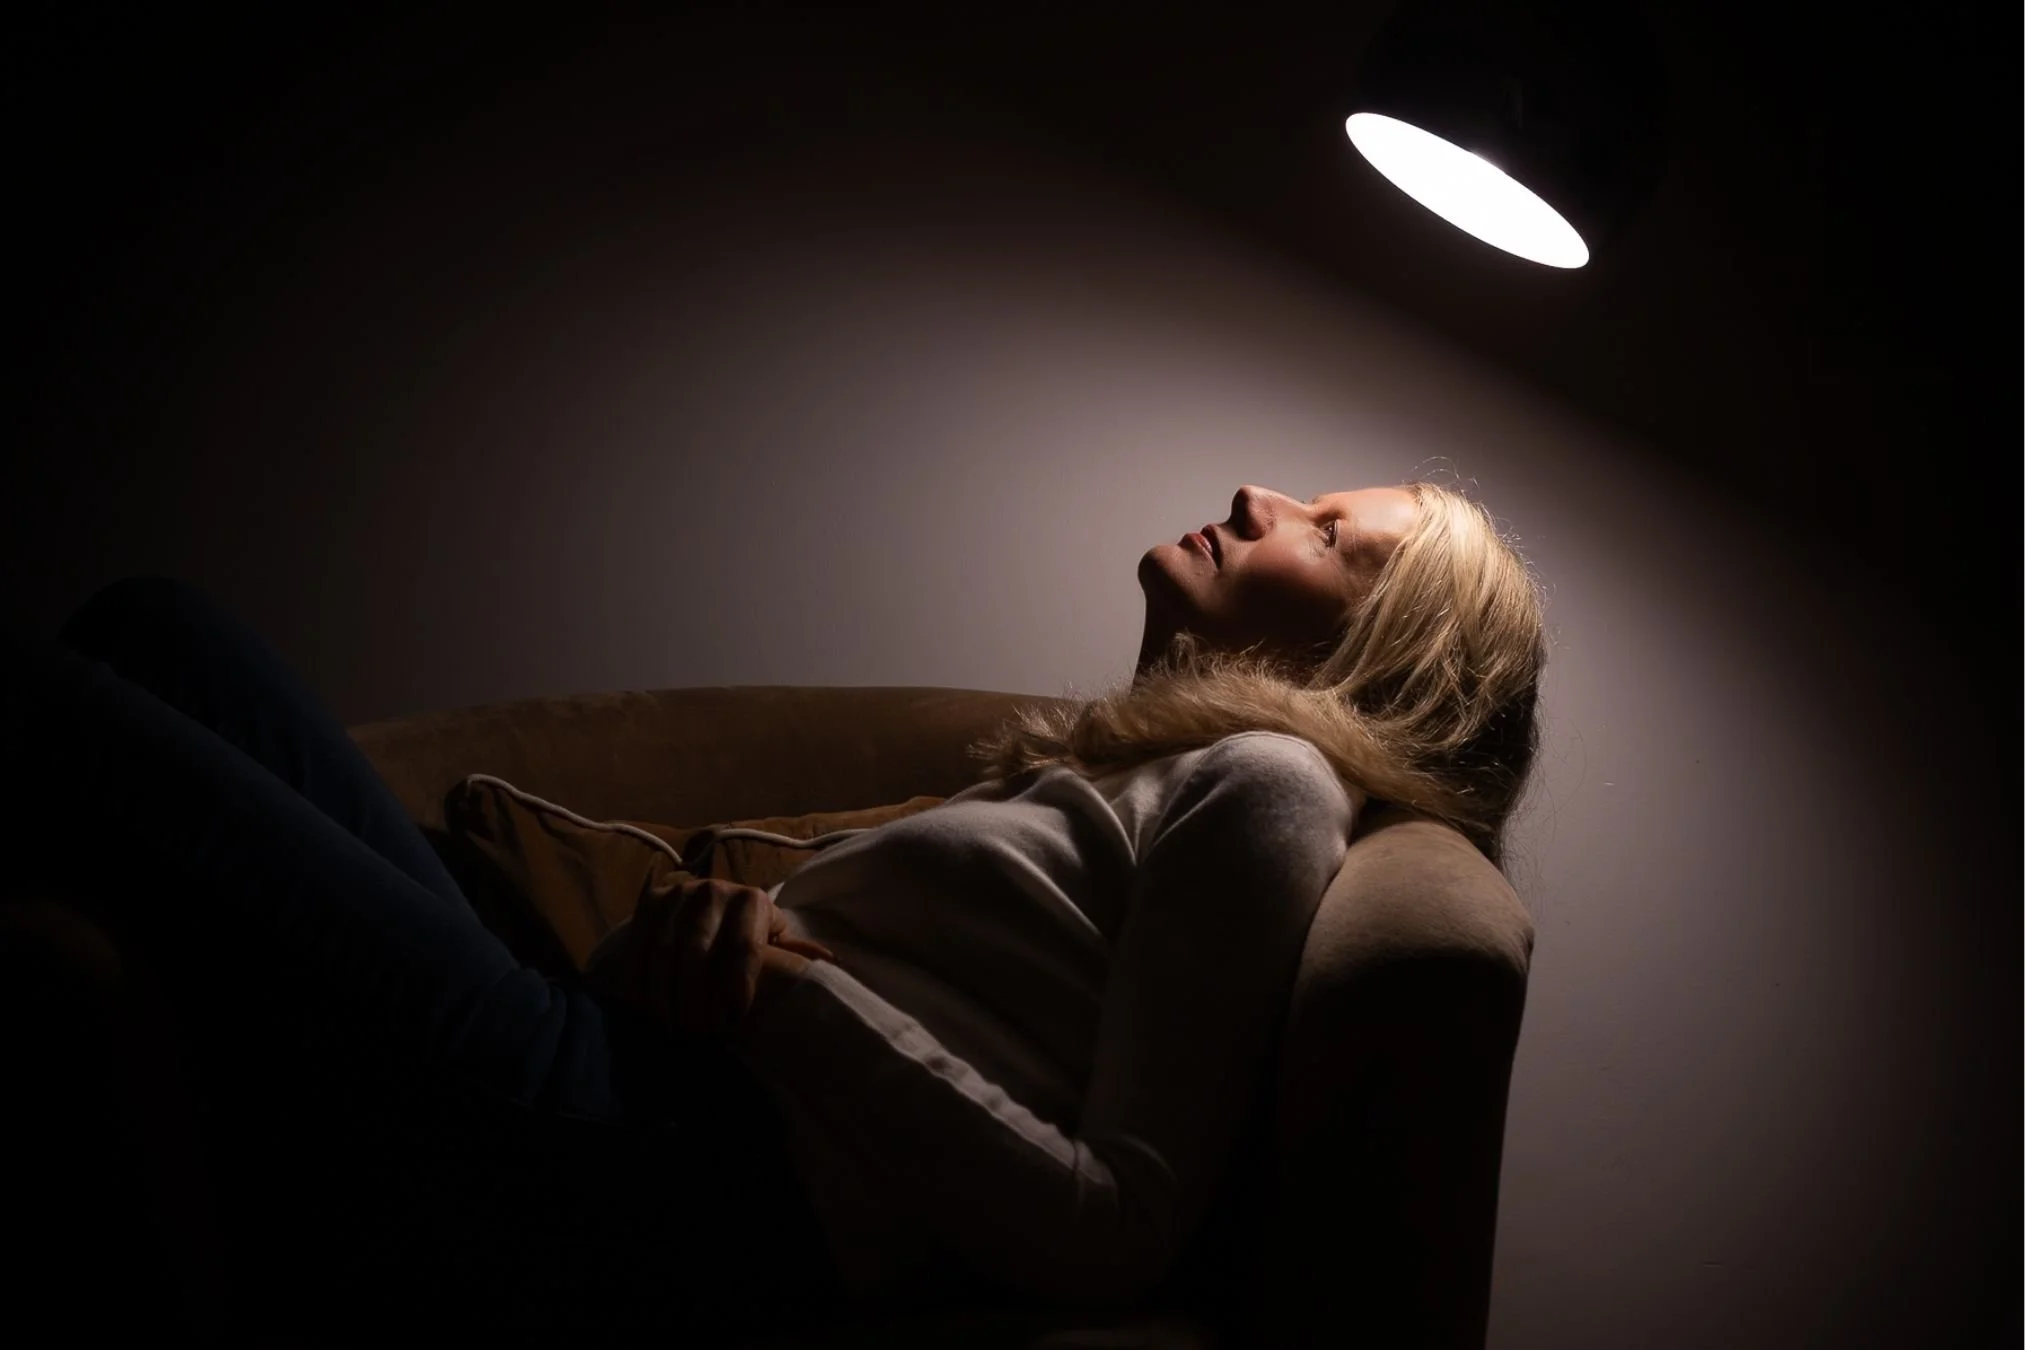
Or perhaps moving your subject just a little closer to that one solitary lamp creates a beautiful pool of light around them.
My tip: Look at where the light falls before you even pick up your camera. You’ll often find that the most interesting photographs happen where the light meets the shadows.
2. Open Up Your Aperture
When you’re photographing in low light, one of the first settings to consider is your aperture.
In case you don’t know this, your aperture controls the size of the opening in your lens, which determines how much light can pass through it.
A wider aperture (represented by a smaller f-number) allows more light into your camera.
For example, f/1.8 lets in considerably more light than f/5.6.
That can make a big difference when you’re photographing indoors or during the darker months!
So, if your lens allows it, try opening your aperture wider.
However, there’s one important thing to remember.
A wider aperture also gives you a shallower depth of field.
That means less of your photograph will appear acceptably sharp from front to back.
This can look beautiful when you’re photographing a single person or a small detail, but it isn’t always ideal, for example, if you’re photographing two people at different distances from the camera.
So don’t automatically choose the widest aperture available.
Choose an aperture that lets in enough light while still giving you the depth of field you need.
If you want some help choosing your settings, you can download my FREE manual mode cheat sheet below - it has suggested settings for Aperture, Shutter Speed and ISO, plus a one page cheat sheet for you to print out and stash in your camera bag.
3. Choose a Shutter Speed That Keeps Your Subject Sharp
Another of of the most common problems with low light photography is blurry images. And very often, the culprit is a shutter speed that’s too slow.
Your shutter speed determines how long your camera’s sensor is exposed to light, with a slower shutter speed allowing more light to reach the sensor, which I admit, sounds ideal for when you’re photographing in low light!
But there’s a catch (isn’t there always!)
The slower your shutter speed, the greater the chance that movement will create blur.
That movement might come from your hands holding the camera, or from your subject moving.
And those are two slightly different problems!
If you’re photographing something completely still, such as a mug of coffee on a table, you may be able to use a relatively slow shutter speed.
But if you’re photographing someone moving around your home, you’ll generally need a faster shutter speed to keep them sharp.
For example, 1/125 second might be a reasonable starting point for someone sitting fairly still, while 1/250 second or faster may be needed if they’re moving. For more energetic movement, you may need something considerably faster.
But here’s the important takeaway:
Don’t sacrifice a shutter speed you need just to make your photograph brighter.
If your subject is moving, it’s probably better to increase your ISO rather than slow your shutter speed and end up with a blurry photograph!
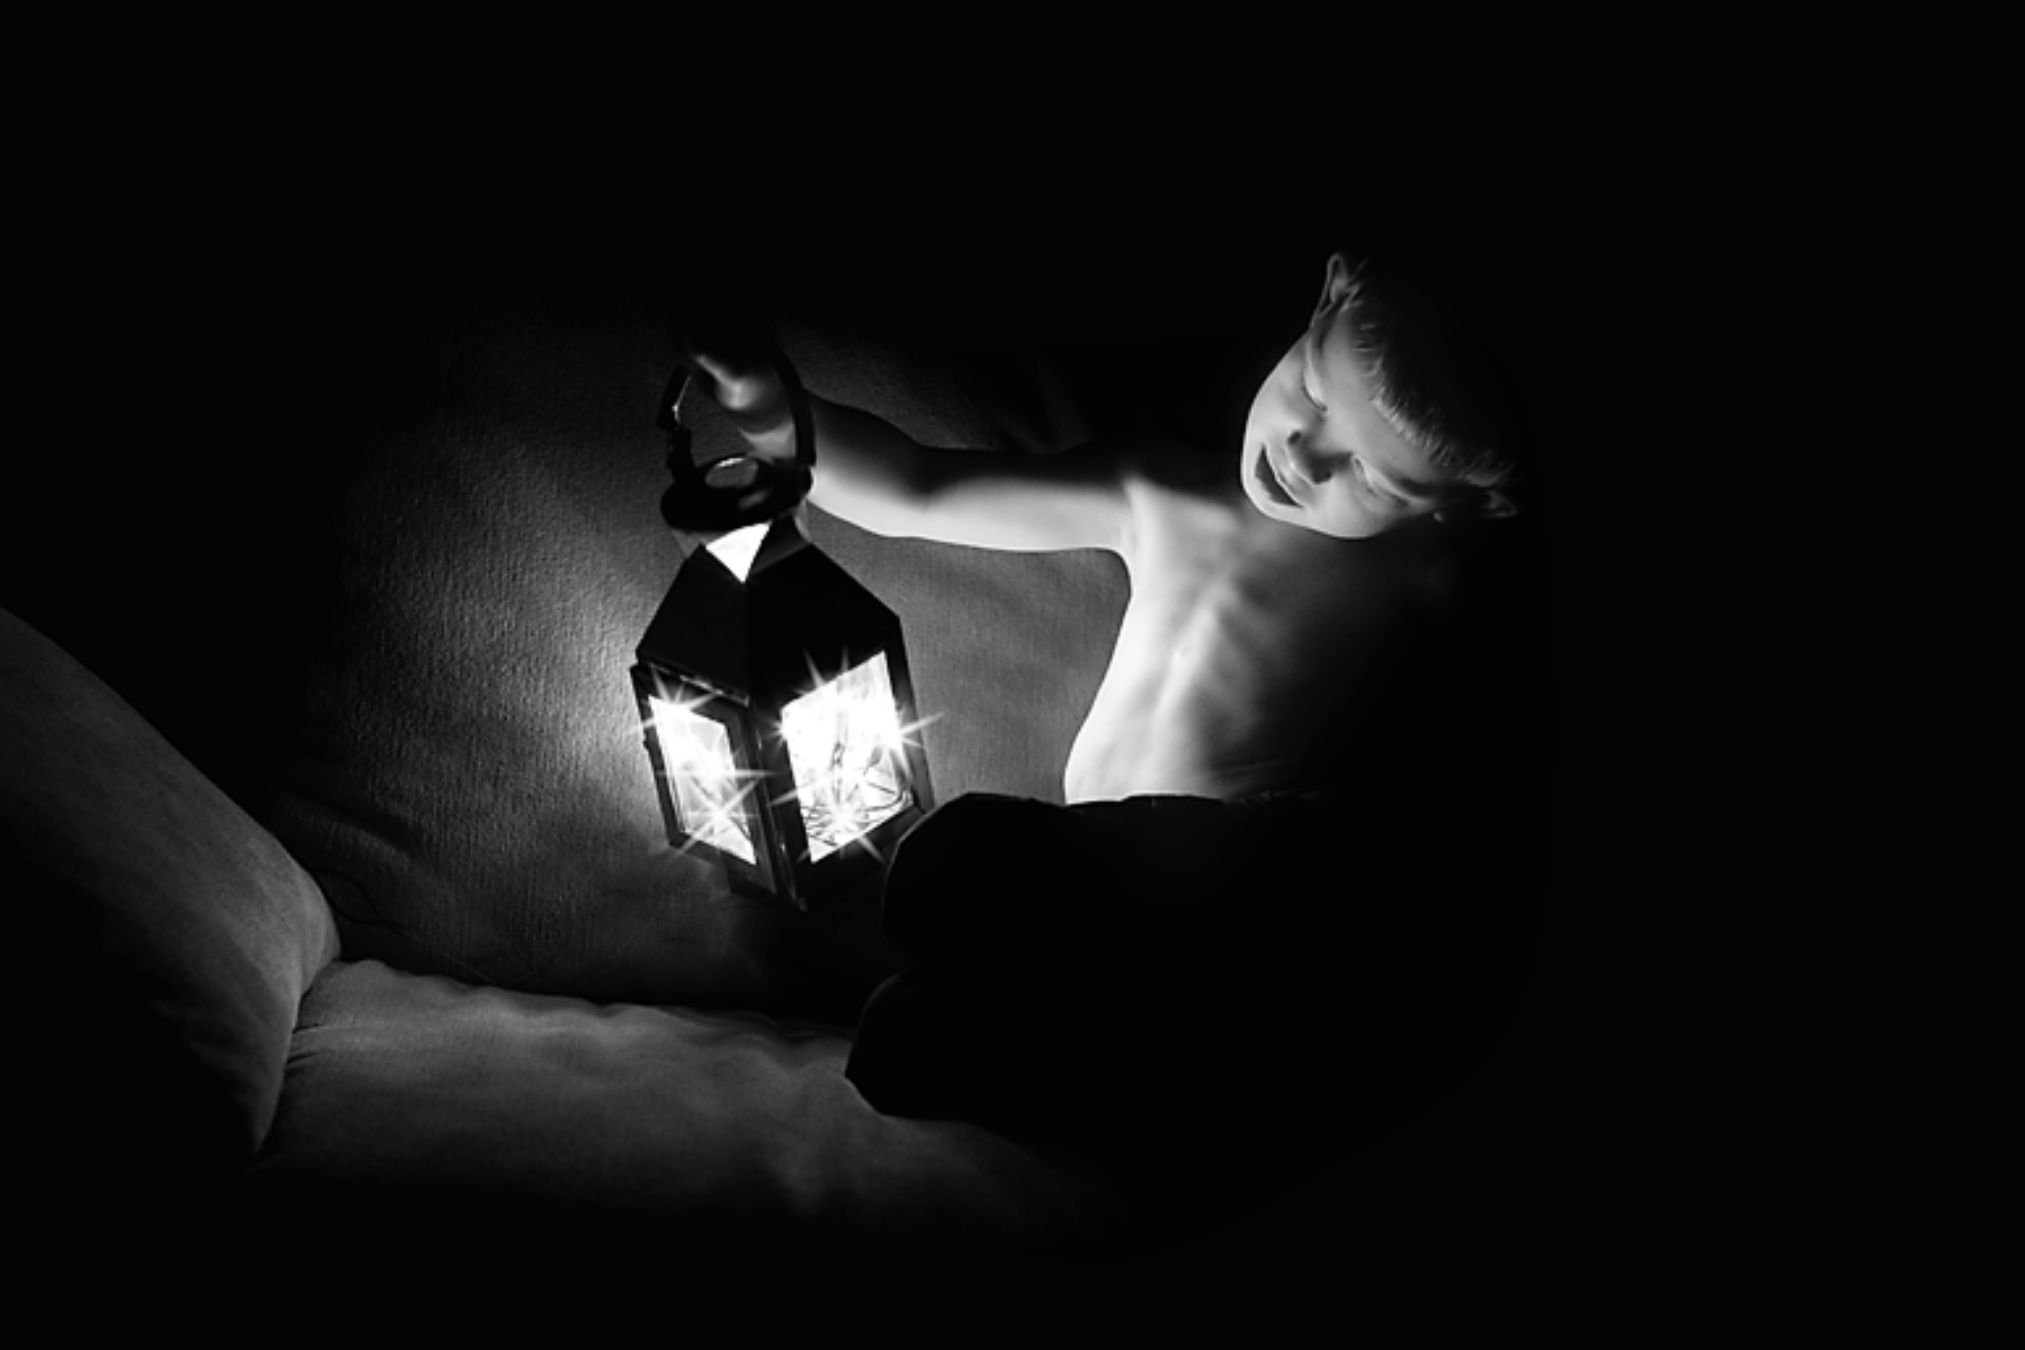
4. Don’t Be Afraid to Increase Your ISO
Ah, ISO.
The camera setting that seems to make all new photographers nervous - especially if you are shooting with a crop frame camera that doesn’t handle noise as well as your full frame counterparts.
I get it - you’ve probably been told to keep your ISO as low as possible to avoid grainy photographs, which is why you might be reluctant to increase it.
And while it’s true that higher ISO settings can introduce more visible noise into your photographs, that doesn’t mean you should avoid them!
When you’re photographing in low light, increasing your ISO helps you achieve a brighter image with the aperture and shutter speed you’ve chosen.
And sometimes, that’s exactly what you need!
Imagine you’re photographing someone sitting on the sofa in the evening.
You’ve opened your aperture as wide as you comfortably can, and you’ve chosen a shutter speed that’s fast enough to avoid unwanted blur.
But your photograph is still too dark.
This is where increasing your ISO comes in!
You might need ISO 1600, 3200 or even higher, depending on the available light - and that’s absolutely fine!
Modern cameras can produce very usable images at higher ISO settings, although the amount of noise you’ll see depends on your particular camera and how the photograph is exposed and processed.
Personally, I’d much rather have a photograph that’s sharp with a little noise than one that’s beautifully noise-free but completely blurry!
And remember, noise can often be reduced during editing, whereas unwanted motion blur is much harder to correct.
And if you’re wondering how to keep grain to a minimum, I’ve also got a guide explaining why your photos look grainy (and what you can do about it).
My tip: Don’t choose your ISO based on an arbitrary number you think you shouldn’t exceed. Choose it based on what you need to capture the photograph.
5. Learn Which Camera Setting to Change First
Now that we’ve talked about aperture, shutter speed and ISO, let’s put them together.
Because knowing what each setting does is one thing. Knowing which one to change when you’re standing in a dark room trying to take a photograph is something else entirely!
And after more than a decade teaching photography to over 8,000 students, I know this is where many photographers get stuck!
The best approach is to think about what matters most for the photograph you’re trying to create.
If your subject is moving…
Start by choosing a shutter speed that’s fast enough to capture that movement without unwanted blur. Then choose an aperture that gives you enough depth of field, and adjust your ISO to achieve the exposure you want.
If your subject is stationary…
You may have a teensy bit more flexibility!
You might be able to use a slower shutter speed to let in more light, particularly if you’re using image stabilisation or a tripod.
If depth of field is important…
Perhaps you’re photographing two people, or a scene where you want several elements to appear sharp.
In that case, don’t automatically open your aperture all the way.
Choose the aperture you need for the photograph, then adjust your shutter speed and ISO accordingly.
The point is that there isn’t one perfect combination of settings for low light photography.
It depends on what you’re photographing and what you want the final image to look like.
(Want to see how those decisions work in real life? Take a look at these example photographs with camera settings, where I explain which settings I chose and why)
And you’re still finding camera settings a bit of a guessing game, that’s exactly what we work on inside Auto to Awesome — helping you understand which settings to use, when to use them, and why, so you can feel confident picking up your camera in any lighting situation.
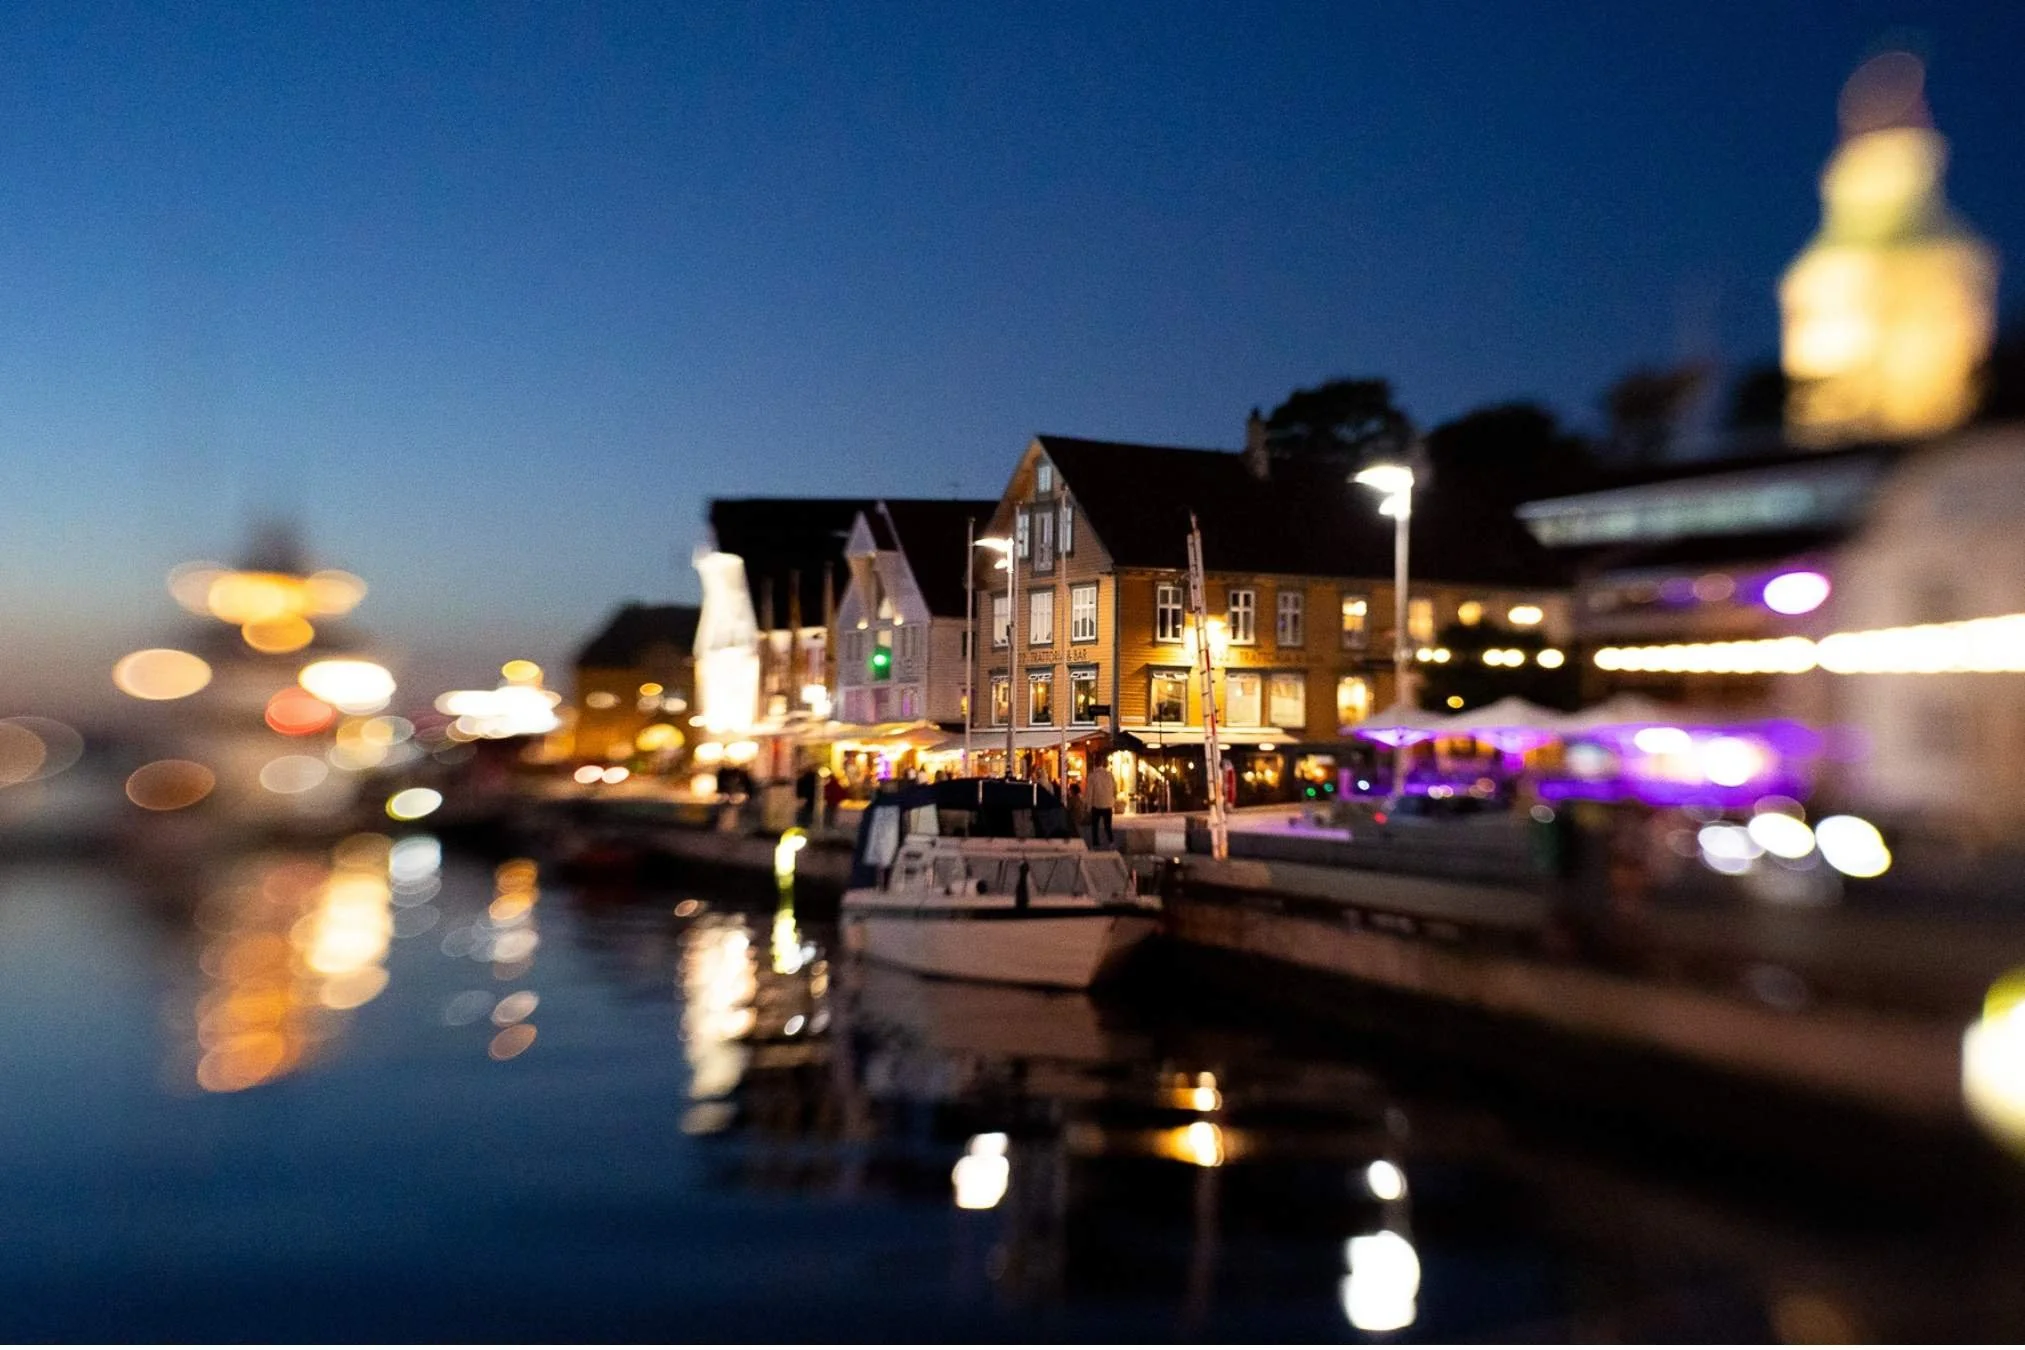
6. Keep Your Camera Steady
When the light is limited, keeping your camera steady becomes particularly important, because even small movements can cause blur when you’re using slower shutter speeds.
If you’re photographing something completely still, a tripod can be a fantastic option because it allows you to use much slower shutter speeds without introducing camera shake.
If you don’t have a tripod, then you can still keep your camera steady! Although I do own a tripod, I’m inherently lazy and can’t bothered going out to the garage to get it, so half the time I use a chair with a stack of hardback books on top of it!
Another simple technique is to hold your camera with both hands, keeping your elbows tucked comfortably against your body, or lean against a wall or rest your elbows on a stable surface - anything that help reduce the cameras movement.
One really, really important point - remember that only works if you subject is still! If they are moving, you are going to need a faster shutter speed to freeze their motion (and a tripod becomes unnecessary - which explains why mine is kept in the garage most of the time!)
7. Help Your Camera Find Focus
Another common challenge when photographing in low light is getting your camera to focus accurately.
Autofocus systems generally work by detecting detail and contrast (although the exact technology varies between cameras) so when there’s very little light, or you’re trying to focus on an area with very little contrast, your camera may struggle.
This is when you might notice the lens hunting backwards and forwards without locking focus.
If that happens, try looking for an area of your subject that has more contrast.
For example, if you’re photographing a person, the edge of an eye or another clearly defined detail may give your camera something easier to focus on.
It’s also worth making sure you’re using an appropriate autofocus mode for your subject.
For someone who is relatively still, a single-shot autofocus mode may work well.
For someone moving around, continuous autofocus is usually more suitable.
8. Embrace the Shadows
This is probably my favourite tip of all!
Because one of the things I love most about low light photography is the way it creates deep shadows, beautiful contrast and a completely different atmosphere.
And yet, when we’re learning photography, we often become so focused on getting a technically correct exposure that we forget about the creative possibilities.
We assume that if part of the photograph is dark, we need to brighten it.
But that’s not always the case!
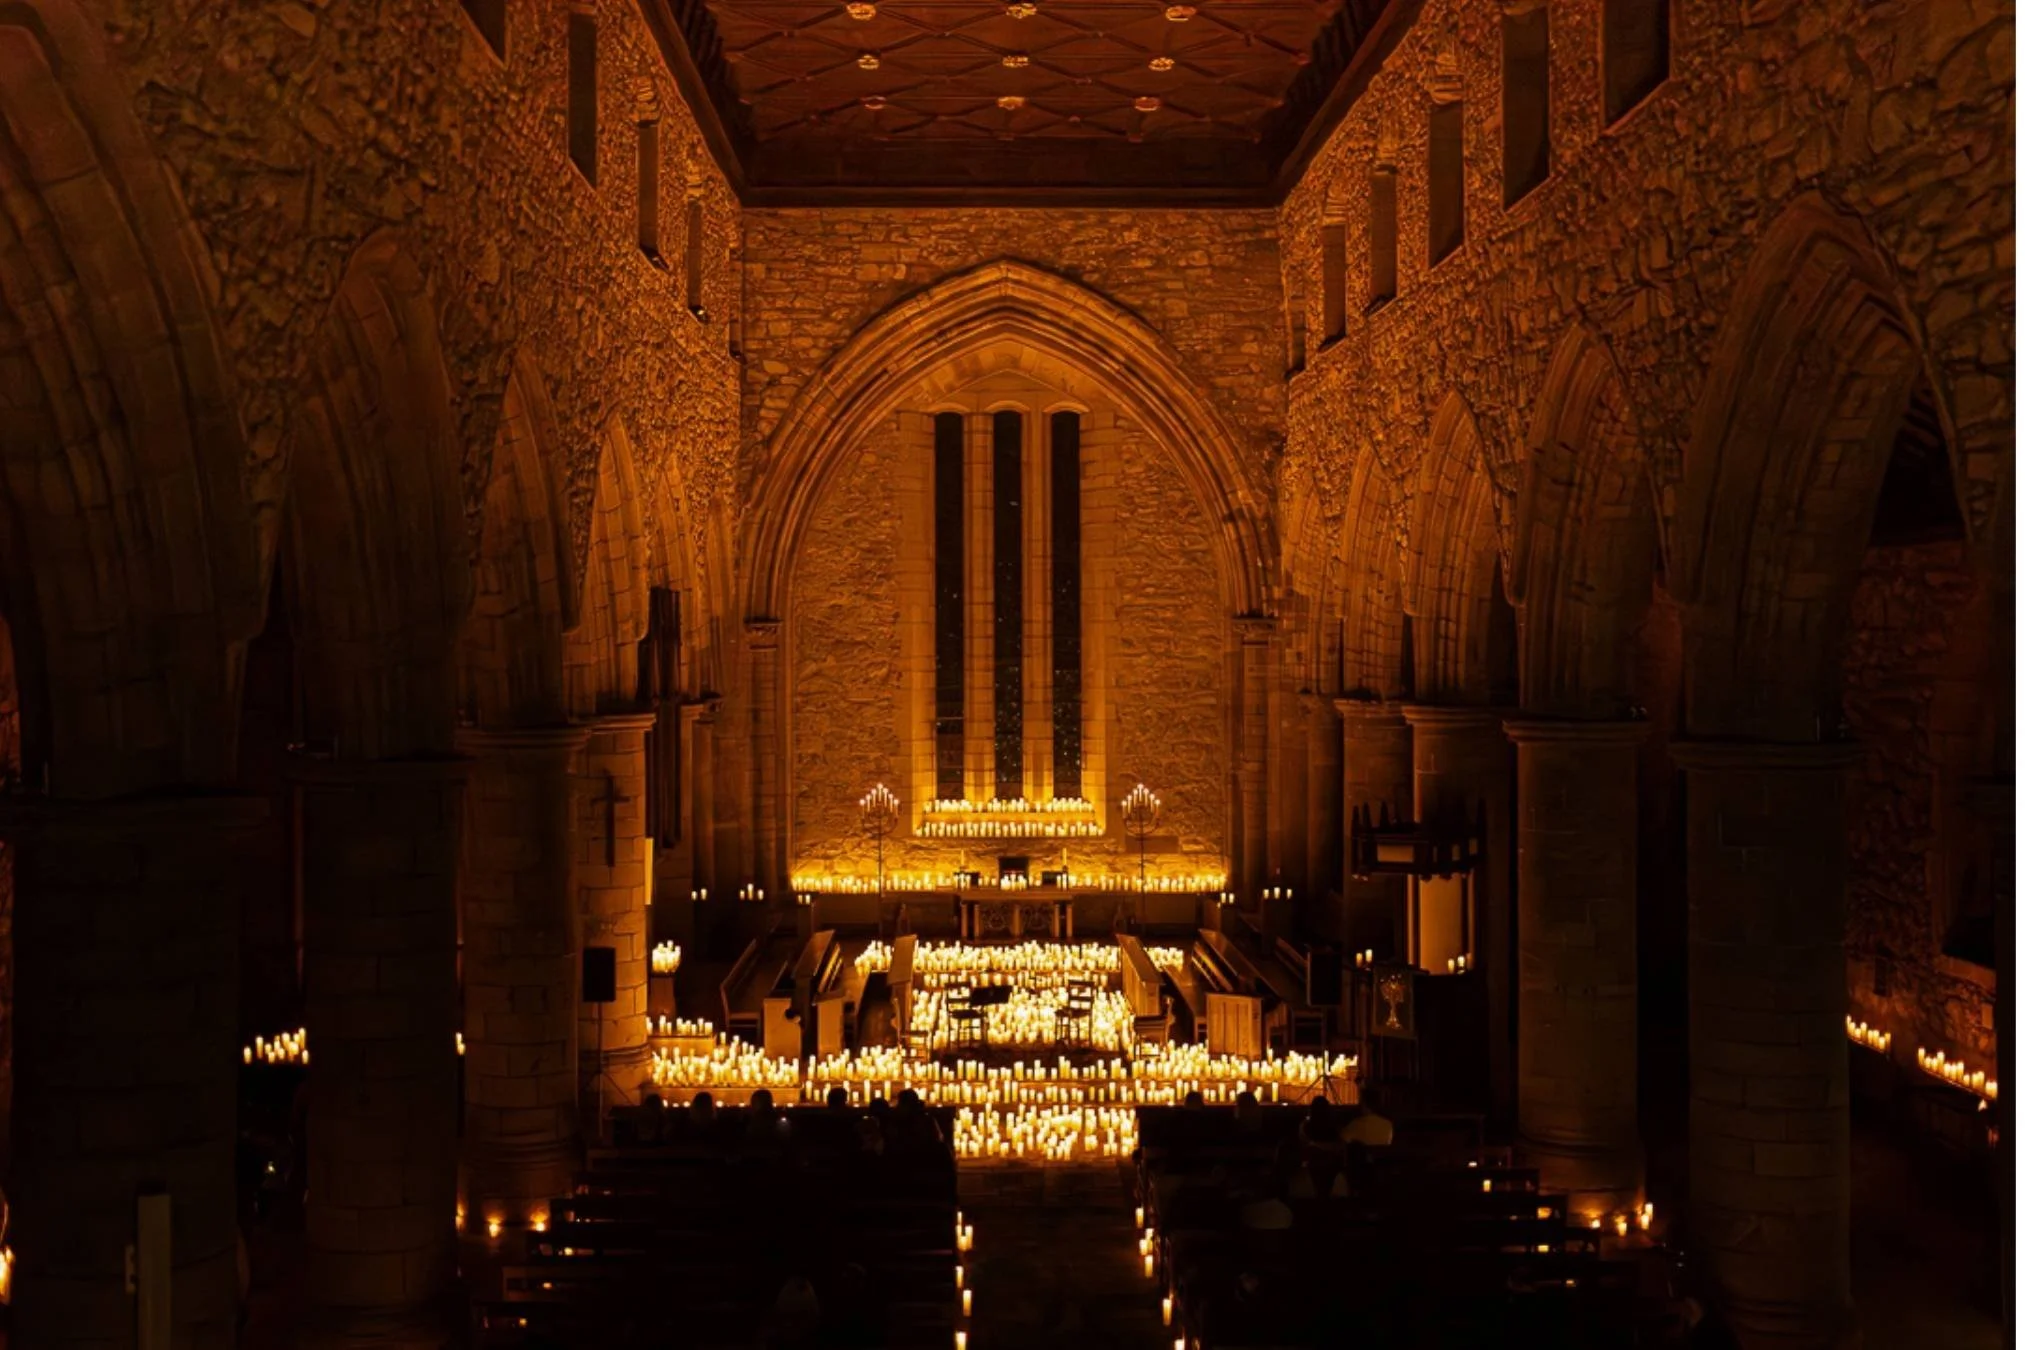
Sometimes the darkness is exactly what makes the photograph work, because those shadows help direct attention towards the subject. Plus they can create mood, add depth and make an ordinary everyday scene feel much more interesting.
So rather than trying to brighten every part of your photograph, experiment with allowing some areas to remain dark.
9. Add More Light When You Need It
Of course, there will be times when the available light simply isn’t enough.
Perhaps your subject is moving too quickly, or you need a smaller aperture to keep more of the scene in focus. Or you do just want that brighter image, and not a moody, shadowy one.
In those situations, adding more light can be the simplest solution.
You could turn on more lamp, or open a door or the blinds more to let in more daylight.
Even a small change can make a difference!
However, you’re comfortable using flash, that can also be a VERY useful option. It will allow you to create a more natural, bright look, rather than embracing shadows or having excessive grain.
(And hey, if you’re NOT comfortable using flash - you can be very quickly! My Speedlights Simplified course gives you a simple framework that will help you master flash in just a few hours.

Common Low Light Photography Problems (And How to Fix Them)
Even when you understand the basics, photographing in low light can still be challenging!
So to (almost) wrap this bad boy up, here are a few common problems and what you can do about them.
My Photos Are Blurry
First, work out whether the blur is caused by camera shake, subject movement or missed focus.
If the entire photograph looks blurred, your shutter speed may be too slow for handheld shooting.
If the background is sharp but your moving subject is blurry, you’ll probably need a faster shutter speed.
If the wrong part of the image is sharp, check where your camera is focusing!
My Photos Are Too Grainy
Visible noise is common when using high ISO settings, particularly in very dark scenes.
Try to make the most of the available light and avoid unnecessarily underexposing your photographs, and remember you can also reduce noise during editing.
But don’t become so concerned about noise that you sacrifice the shutter speed you need!
My Photos Are Too Dark
Check your exposure settings and decide which adjustment makes the most sense.
Can you open your aperture wider without losing the depth of field you need? Can you slow your shutter speed without introducing unwanted blur? Or would increasing your ISO be the better option?
And remember that if you’re deliberately creating a moody photograph, you don’t necessarily need to brighten every shadow!
But if your photographs are consistently coming out darker than you intended, I’ve got a separate guide on why your photos are too dark, including how to correct exposure using your camera settings.
My Camera Won’t Focus
Look for an area with more contrast, check your autofocus mode and make sure your selected focus area is positioned over the part of the subject you want sharp.
If your camera continues to struggle, you may need to introduce a little more light or use a different focusing technique.
And if you’re finding that blurry photos, missed focus or exposure problems keep cropping up, you might want to check out Auto to Awesome, where I walk you through getting to grips with your camera, step by step, so you can spend less time troubleshooting and more time actually enjoying your photography!
Final Thoughts: Don’t Put Your Camera Away When the Light Fades!
If there’s one thing I’d love you to take away from this article, it’s that low light doesn’t have to limit your photography.
Yes, it comes with a few technical challenges 😖
Yes, you need to think more carefully about your settings, pay attention to where the light is coming from and sometimes accept a little more noise than you’d ideally like.
But it also gives you opportunities to create photographs that simply wouldn’t look the same in brighter conditions.
And that’s what I love about it! These days, when the seasons change and the daylight starts disappearing earlier, I don’t see it as the end of my photography opportunities - I’m actually looking forward to it 😉
Your Low Light Photography Challenge!
Here’s something I’d love you to try.
The next time you’re at home when the light is fading, look for one small source of light and create a photograph using ONLY that light.
It could be a lamp, the glow from a television, the last bit of daylight coming through a window or even the light from a tablet.
It doesn’t need to be a person. It could be a book, a cup of coffee, your pet or simply an interesting patch of light falling across the room.
Pay attention to the shadows as much as the light, and experiment with how you position yourself and your subject.
And most importantly, resist the temptation to brighten everything!
Frequently Asked Questions About Low Light Photography
What are the best camera settings for low light photography?
There’s no single combination that works for every situation. A wide aperture can help gather more light, while your shutter speed needs to be fast enough to avoid unwanted blur. You can then adjust your ISO to achieve the exposure you want.
What ISO should I use for low light photography?
Use the ISO that allows you to achieve the exposure you need with your chosen aperture and shutter speed. Depending on the available light, that might mean ISO 800, 1600, 3200 or considerably higher. Don’t be afraid to increase it when necessary.
How can I take sharp photos in low light without flash?
Start by choosing a shutter speed that’s appropriate for your subject. Open your aperture if you can, increase your ISO when needed and use available light to your advantage. Good focusing technique and keeping your camera steady will also help.
Do I need a special lens for low light photography?
No, although a lens with a wide maximum aperture, such as f/1.8, can make photographing in low light easier. You can still take beautiful low-light photographs with a kit lens by making good use of available light and choosing appropriate camera settings.
Is it better to increase ISO or use a slower shutter speed?
It depends on your subject. If you’re photographing something moving, increasing your ISO is often preferable because it allows you to maintain a faster shutter speed. For a stationary subject, you may be able to use a slower shutter speed instead.
More Helpful Photography Resources
Want to keep learning? Here are a few more resources to help you get more confident with your camera, whatever the lighting conditions!
Ever wondered why a photographer chose particular settings? Take a peek behind the scenes of some of my photographs, including the settings I used and why.
📷 Why Your Photos Are Too Dark
If your photos keep turning out darker than you expected, this guide will help you understand why and what to do about it.
🎧 5 Tips for Photographing in Low Light
Prefer listening? Pop on this podcast episode for a few more tips on getting great photographs when the light is less than ideal.
🎁 FREE Camera Settings Cheat Sheet
Want a handy reminder of which camera settings to use and when? Grab my free Camera Settings Cheat Sheet to keep the essentials close at hand.
Ready to stop guessing and really get to grips with your camera? Auto to Awesome walks you through the skills you need to take control of your settings and capture the photographs you want.
Want to take beautiful photographs even when the available light just isn’t enough? Learn how to use on-camera flash to create natural-looking light, without that harsh, obvious flash look.