
The Ultimate Guide to Golden Hour Photography
Golden hour is a time LOVED by photographers! Its warm, golden, honeyed tones and soft light make it a firm favourite for all types of photographers - portrait and lifestyle photographers included!
But what exactly is golden hour? Why exactly is it considered a great time to shoot? And more importantly, how can you use it to create next level, beautiful portraits or images of your family?
That my friend, is exactly what we’re going to look at today!
So what exactly is golden hour?
Even if you weren’t a photographer, you’ll probably have noticed this type of light.
It’s that time of day when the light turns really golden, and everything looks really warm and magical. The sun is low in the sky, and the shadows are long.
It’s just a really beautiful time of day, so even if you didn’t know that it was golden hour, you will probably have noticed the light!
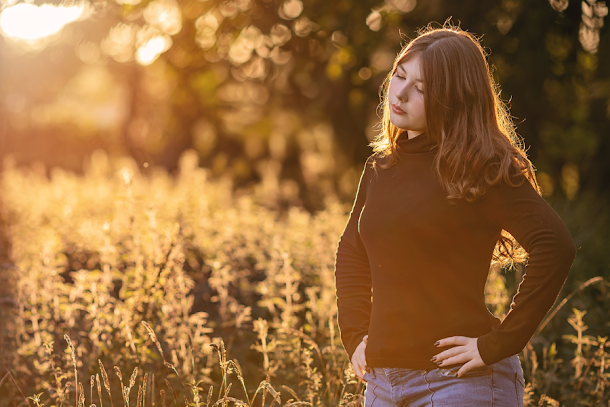
Portrait and lifestyle / documentary photographers like me love this light for a few reasons:
First of all, the colour of the light. The light at this time has a really warm, honeyed tone that just makes everything look more magical and ethereal!
Secondly, the light is softer at this time, so you don’t get the same harsh shadows and contrasty light that you get when the sun is higher in the sky, which in turn, makes it a tad easier to work with.
Finally, the direction of the light is easier to use as it wraps around your subject more easily, helping you light your subject from all directions.
Which all in all, makes golden hour a magical time for photography!
(Although as a side note, please don’t get me wrong, other type of light can be beautiful too! For example, I love shooting in full sun and on cloudy days, because both give a different look. The goal should never be to ONLY shoot in the golden hour, but rather, have it as one option in your toolkit of lighting strategies!)
So when is golden hour?
You get golden hour twice a day (whoo hoo!)
Golden hour happens just after sunrise, as the sun passes up and over the horizon, and the hour before sunset, again, just as it’s low in the sky just before it sets below the horizon.
The time of day this occurs will change based on the time of year, and where it the world you are!
For example, I’m based in Scotland, where in summer, sunset doesn’t happen until around 10pm and is already up by 5am in the morning.
Although my son used to wake me up at that time (so I could at least look at something nice out of the window while trying to mainline coffee) it’s far too early to get up, dress and get somewhere for, so for me personally, golden hour is NOT a time of day I use in the summer.
But in winter? Love it! So it’s worth noting that if it’s difficult to shoot in summer because of how early/late golden hour is, leave using this light until spring / autumn, when you can get a similar look (i.e you’re not in a massive winter coat and gloves!) but at a more reasonable hour.
So golden hour will be different for you based on where you are in the world, but just remember that it’s the hour after sunrise and the hour before sunset regardless.
What time should I shoot at?
Aim to be at your location an hour before sunset, understanding that best light will be around 30 minutes before the sun sets (or of course you could go at sunrise, if you are more of a morning person!)
Please note that the sun sets very quickly once it gets low in the sky, so it does change rapidly at that time too - so be prepared! This is one of those times when it’s great to have shooting plan ready to go before you start.
Which leads me neatly onto:
Scout out your location at the time you plan to shoot!
To make life about a thousand times easier for you, make sure you set aside some time to scout out any new locations BEFORE the day you plan to shoot.
As part of that, think about where the sun is going to be at the time you shoot, and the direction the sun will set. That way you know exactly what time the sun will go, and where you are going to place your subject ahead of time.
(Want to know how to scout a location and plan your shoot like a pro? Check out Location Lab!)
It is still Golden Hour if it’s cloudy?
Yes….and no 😁
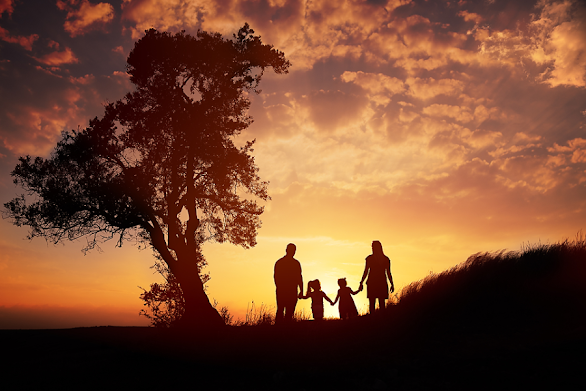
When the weather is cloudy and overcast, although technically it’s still golden hour, if the sun is behind a bunch of clouds, you aren’t going to get that warm golden tones that we associate with golden hour.
Although the light itself will still be soft and directional, it won’t have that same ethereal look you get from golden hour photos.
So the best time for golden hour photography will be then there are either no clouds at all, or they are very sparse, or you get that low lying cloud puffy clouds (these look great!)
Where to place your subject during the golden hour
One of the good things about golden hour is that you have a bit more leeway about where to place your subject.
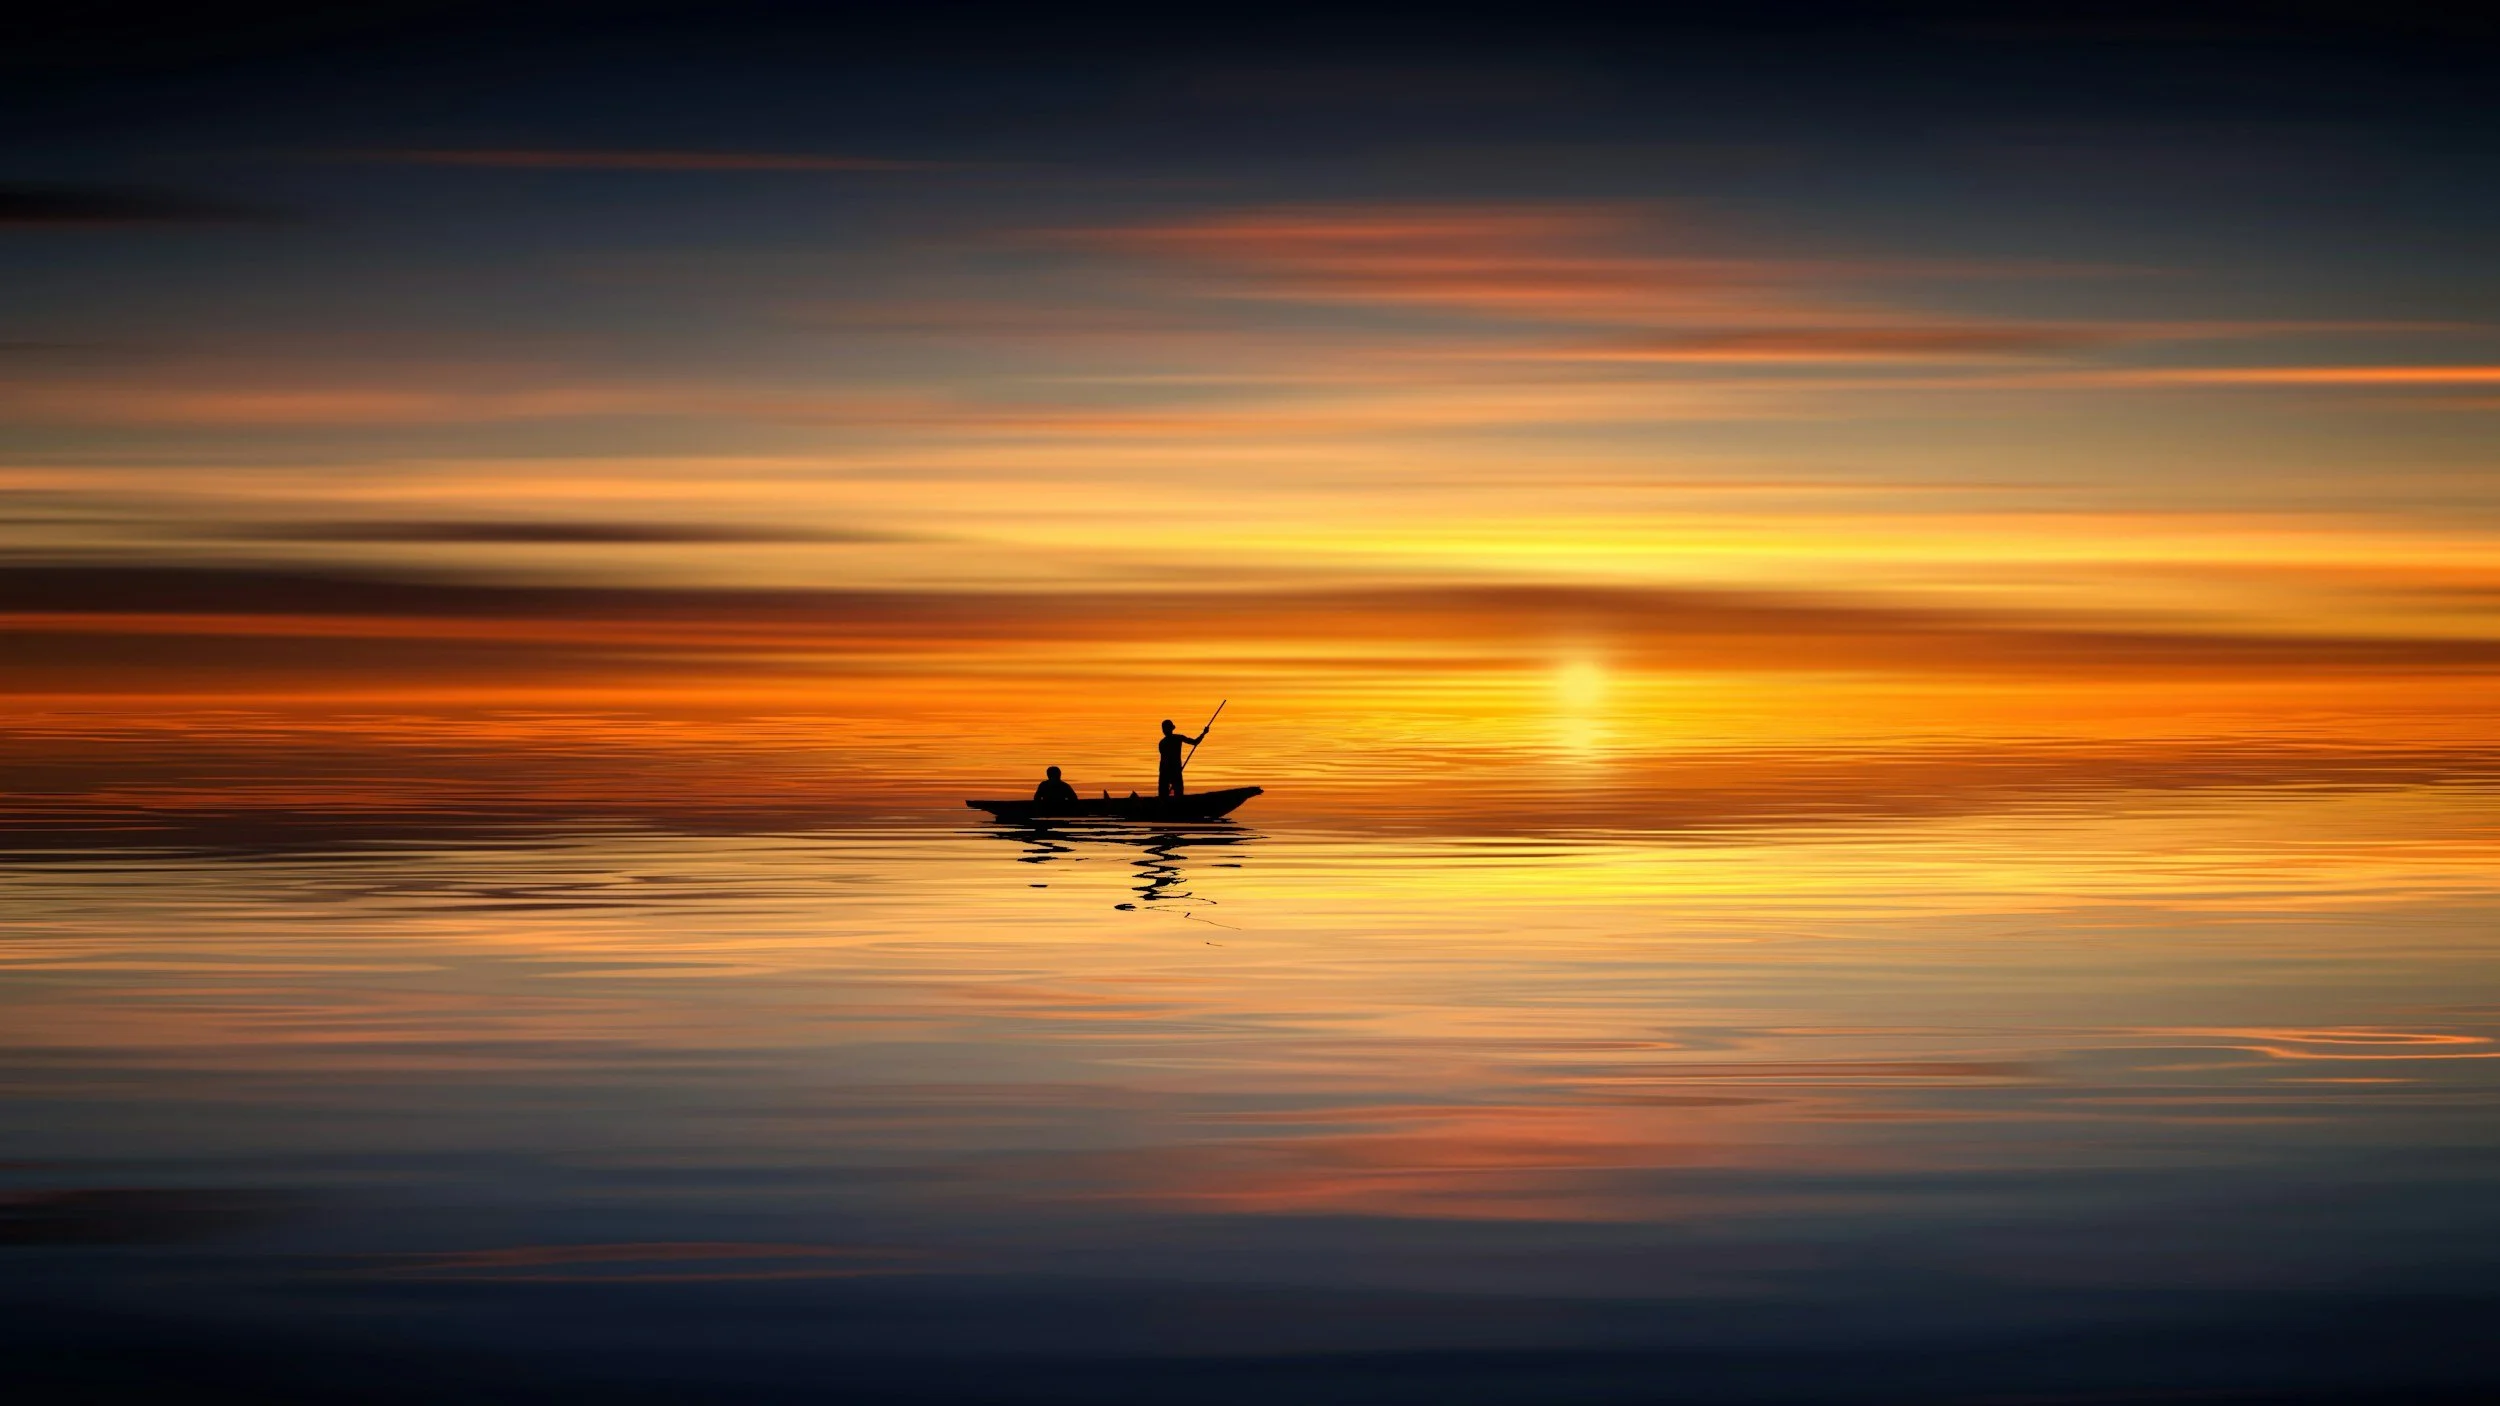
You can light your subject from the front or the side, but my absolute favourite way to light my subjects during the golden hour is to use backlight!
This is when the light is behind your subject, and you as the photographer are shooting into the light.
With the golden hour, you’ll get that soft hazy look to your images that golden hour is most loved for!
However -just like you would want to do when shooting during a sunny day or cloudy day - getting variety from one place is a much better idea.
So aim to light your subject from all directions and you’ll be golden (pun not intended, but it’s a good one so I’ll leave it)
What camera settings should I use?
Of course, the actual camera settings for golden hour is going to depend on a number of factors - so as much as I wish I could give you plug and play settings, I can’t!
However, I personally use a wide aperture so I can get that beautiful buttery blurred backgrounds - maybe something like F2.8.
Then keep your shutter speed as high as it needs to be to freeze the motion in your image. For a single person portrait, that could be something like 1/125 but for kids, you might want to go a bit higher than that!
Pop your ISO wherever it needs to be to expose correctly so you don’t get unwanted grain and noise in your images.
I definitely recommend spot metering in this situation, especially if you are using backlight (otherwise hello accidental silhouette!) and shooting in manual mode,
Focusing during the golden hour
When backlighting your subject, you might struggle to lock focus on your subject.
Your camera relies on finding areas of contrast to latch onto, and the hazy look of backlight can stop the lens from being able to “latch on”
I find that using my lens hood helps, but often I don’t have a lens hood with (most of them have disappeared into the void where the missing socks are over the last 10 years!) so a useful trick is just to cup your hand above the front of the lens (using your hand like a little sun hat) to shield the lens from the worst of the light. Then you can lock focus, take your hand away, and start shooting.
Remember that all the other points relating to getting tack sharp focus will help you here too!

My fave lenses for a golden hour photography
Although you can use ANY lenses for golden hour photography, here’s my personal favourites:
First of all, I use my Sigma 35mm Art Lensfor wide angle / environmental style shots.
When you have a beautiful golden hour sky behind your subject, it just makes sense to include more of the environment! It’s also great for those times you are shooting a family or group and need that wider angle.
This is also the lens I tend to pop on when I’m shooting more documentary style shots - again, because I want to include more of the environment for context.
The second lens I use is my Canon 135mm, particularly for single person or couple portraits - the dreamy background blur really lends itself beautifully to golden hour portraits! (Although you can use this families too - it might just mean you are very far back from your subject!)
I just think the dreamy background blur you get with this lens pairs beautifully with the soft ethereal light of golden hour, but it won’t give you too much of the environment.
Again, I’m all for variety, so I tend to take both with me (and probably my 85mm lens too)
As I say, you do you, but that’s the two that make their way into my camera bag.
Editing your golden hour photos
You can really “shoouzh” up your golden hour photos with a little light editing!
I personally use Lightroom and Lightroom Classic, and for many golden hour photos, I’ll dial up the warmth a tad by moving the white balance sliders over to the yellow and magenta sides.
However, an even better tool to use can be use the colour mixer - adding darker warmth to the shadows and a lighter tone to the highlights.
I also find that I sometimes need to balance my exposure, using the masking tools to bring up exposure on my subject and dialing down the exposure in the background.
(I use my Polished Presets for all of this, it’s much, much quicker and I can edit a photo in seconds, golden hour or no)
Final Thoughts
We’ve covered quite a lot into this dive into golden hour photography, and I hope you’ve found it helpful!
But as I’ve said before, golden hour is just ONE type of light, and there’s no way we are going to be able to take every single photo at this time - it’s just simply not practical.
Most likely your life happens outwith those times, so if you’re shooting lifestyle or documentary photos, it’s unlikely to be at golden hour. And even if you are in business, you can’t exactly just offer ONE time of day (it pays to be adaptable!)
That’s why it’s SO important to have a full range of techniques you can use, so you can work in full sun, cloudy days AND on golden hour (and heck, there is SO much more you can do during the golden hour - this was just an intro!)
So if you want a toolkit of strategies you can use to take beautiful photos in full sun, cloudy days and more advanced tweaks for the golden hour, be sure to check out Sun to Shadebefore you go and get plug and plug techniques you can use on your next shoot!

SUN TO SHADE
Master the art of photographing outdoors with a toolkit of lighting strategies you can use to work the light around you with confidence - even in harsh sun or on dull overcast days!
Other posts you may want to check out:
4 Lighting Myths That Are Holding You Back
8 Photography Lighting Ideas for More Creative Photos
Create Impactful Photos in Boring Light
FAQ: Golden Hour Photography FAQ
WHEN IS THE GOLDEN HOUR?
Golden hour is the hour just after sunrise and the hour just before sunset, and varies from month to month, and where in the world you are!
WHY DO PHOTOGRAPHERS LOVE THE GOLDEN HOUR?
Photographers love the golden hour due to the fact that the light is much softer so there is less hard lines and harsh contrast, which is easier to work with, plus the light itself is warm and golden. This makes images taken at this time look more ethereal and magical, especially when taken with backlight!
WHAT TIME SHOULD I PLAN TO SHOOT A GOLDEN HOUR SESSION?
Golden hour rarely lasts a whole hour - more like 45 minutes. Get to your chosen location around 1 hour before sunset, with the understanding that the BEST light will be 30 minutes before sunset. Work quickly though, as the light changes rapidly at this time!
WHAT CAMERA SETTINGS SHOULD I USE FOR GOLDEN HOUR PHOTOGRAPHY?
I recommend using an aperture of around f2.8 to get a beautiful blurred background, with a shutter speed of at least 1/125. Always spot meter and shoot in manual mode for best results!
WHY AM I HAVING TROUBLE FOCUSING?
Light streaming into the camera lens can play havoc with your camera’s auto focus system. Use a lens hood, or simply cup your hand over the front of the lens to block some of the light from coming into the lens. The find focus, and remove your hand! You might also want to manual focus if you are still having trouble.
WHERE SHOULD I PLACE MY SUBJECT DURING THE GOLDEN HOUR?
Although you can light your subject from many directions in the golden hour, using backlight is REALLY popular, because it gives you that warm “glow” behind your subjects. To use backlight, you (the photographer) shoot into the light - either directly or indirectly - and your subject has the light at their back.
HOW DO I EDIT GOLDEN HOUR PHOTOS?
You can dial up the warmth by moving the white balance sliders over to the yellow and magenta sides, and / or using the colour mixer to add warmth to the shadows and highlights. You will probably also need to balance your exposure, using the masking tools to brighten your subject and darken the background.