
Welcome to the blog!
Scroll down for the latest and greatest, filter by category, check out the most popular tutorials, or search for what you want to learn below!
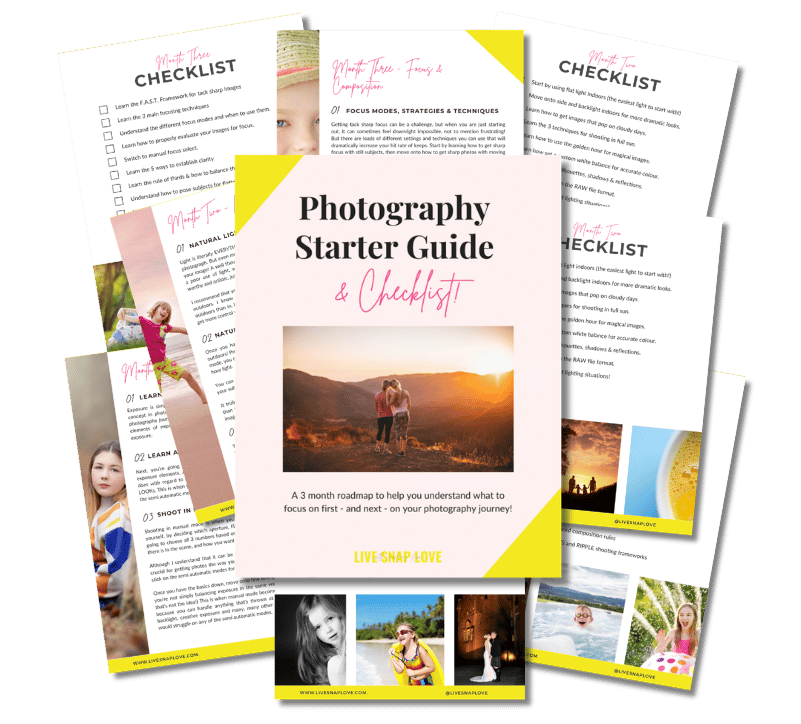
Want to learn photography but have no clue where to begin and what to learn next??!
Steal my Photography Learning Blueprint and get the clarity, checklist and step by step game plan to help you get photos you love - quickly!

Being Ready to Capture Everyday Moments
Even before I started a Project 365, most days I would pick up my camera – not necessarily to get a great shot, but simply to snap the candid moments that happened throughout the day. I've lost count of the number of times I missed a "kodak moment" because I was either fumbling with my settings, trying to find a memory card, or wondering where the heck I'd left my camera bag!
That's why I now have a little bit of a system in place that helps me be prepared and ready to capture anything that pops up. Once you get into the groove of doing this, you'll find that you can quickly pick up your camera and snap away at any time!

How to use Triangles for Photography Composition
One way to make your compositions more interesting is to try to create triangles within your composition - they help divide the frame, guide the eye, and just add visual interest. Although it sounds hard, these are actually very easy to find once you remember to look for them!
Here are some examples:

How to Use a Gray Card
I've spoken before about using a grey card to either set your white balance or exposure, and today I thought I'd go one step further and explain the steps you take to do that! First off, a gray card is just a piece of card that represents 18% gray - in other words the middle gray that your camera tries to expose for (See this post on understanding your light meter for more information on that) Before I got my Expodisc, I used this one - CPM Delta 1 8 inch x 10 inch Gray Card which costs around $10 - but you can get lots of different ones which are pretty inexpensive. (I don't have it but this Pocket-sized one looks good for being a bit more portable). It doesn't really matter which one you choose, as long as they are non-reflective.

10 Tips for a Portrait Close Up
I love a simple classic portrait shot from time to time - having your subjects face as the centre of attention allows to really concentrate on their features and expressions, and can feel much more intimate than other portrait types.
And since it's been a while since I've done one, here's a classic "10 tips" post on them for you!
How Your Camera's Light Meter Works
When you are shooting in Manual Mode (or any other mode for that matter) you are probably using your camera's in-built light meter to "read" the light available in the scene and tell you when you have reached the correct exposure. When the little bar on your meter is at 0, that is your camera telling you that your image will be correctly exposed....in theory at least. However, sometimes, our camera's light meter can get it wrong. Here's why, and how to deal with it:

How To Get Perfect Exposure Using Spot Metering and the Zone System
Having problems getting your exposure spot on? Then I have got the tutorial for you! We are going take a look at how we can combine the awesomeness of spot metering, with the simplicity of something called the Zone System. This system was developed by a very famous black and white film photographer called Ansel Adams, who devised it as a way of determining the perfect exposure in camera for any given scene. Although this was created for black and white film users, we can steal it for use in color and digital photography too!
Enough history: Let's get crackin' with the tutorial!




Check Out These Reader Favourites



It's been quite a few years now since I made the switch from Aperture Priority Mode to shooting in Manual Mode, and it was one of the BEST things I ever did to improve my photography skills.
It was like a whole new world opened up to me, and I started TRULY understanding exposure, and in turn, getting the images that I wanted.
Of course, there was a lot to learn, and there are some things I wish I had known before I started!
So, here are 10 things about shooting in Manual Mode that you might just wish you knew…