How To Get Perfect Exposure Using Spot Metering and the Zone System
Having problems getting your exposure spot on? Then I have got the tutorial for you! We are going take a look at how we can combine the awesomeness of spot metering, with the simplicity of something called the Zone System. This system was developed by a very famous black and white film photographer called Ansel Adams, who devised it as a way of determining the perfect exposure in camera for any given scene. Although this was created for black and white film users, we can steal it for use in color and digital photography too!
Enough history: Let's get crackin' with the tutorial!
WHAT IS SPOT METERING?
As you may already know, spot metering is the most targeted and specific way of metering for exposure. Rather than trying to get the whole scene evenly exposed, it looks at a very small area of your photo and meters for that one little area only. This is super useful in situations such as backlit images, where we want to expose for our subject, not the background.
INTRODUCING THE ZONE SYSTEM
This is where the zone system can help you to even further fine-tune your exposure for more consistent results. When exposing for this small area, we can use this system to figure out how much to over or under expose from what you meter is telling you.
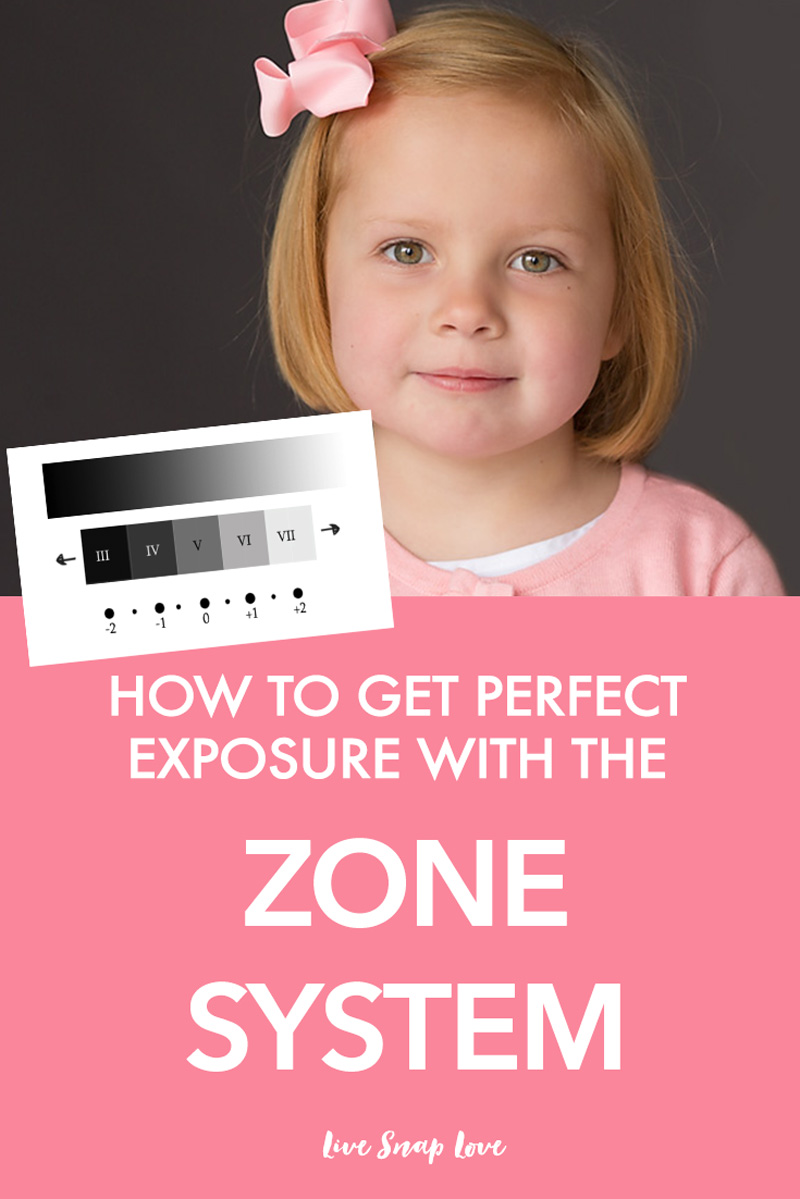
Have a look at the guide below. As you can see, the Zone System divides the range of tones in a scene into ten zones like the ones shown below - from pure black to pure white. Each of these zones is one stop apart. Middle gray (which as you may remember is what your camera tries to expose for back in the tutorial about how your light meter works) is shown as "V".
Although you can use this for all types of photography, as this blog is mainly aimed at helping you take better photos of your everyday life, and in particular your children, I'm just going to concentrate on how you can use this when photographing people.
Before we dig into that, if you are not sure what settings you should be using in manual mode, be sure to download the free cheat sheet to help you out!
SPOT METERING FOR PORTRAITS
Spot Metering combined with the Zone System is used a lot in portrait photography as this is a great way of ensuring that your main subject - the person - is properly exposed. Most peoples' skin tones fall between Zone IV and VI, although of course there are some exceptions going one stop either way. (As a side note, VI is generally the tone for most caucasian skin tone)
We can use this zone system to determine where your subject's skin tone fails, and then under or over expose by the number of stops (remember there is one stop between each zone) away from middle gray. If you are only ever shooting your own child, this becomes incredibly easy to use as if you determine that your child's skin tone falls in VI (for example) you know to ALWAYS over expose (from what your camera's meter is telling you when using spot metering) by 1 stop when spot metering from their skin.
So, to use this correctly, you need to set your camera to spot metering, and meter off the best-lit cheek. Then set your camera to over or under expose to reflect which zone their skin tone is in - moving the number of stops away from middle gray. (So it the skin tone fell into IV, you would underexpose by 1 stop)
AN EXAMPLE....
It's easier to show an example, so here is one using this girl as my subject. I've shown this image twice, once in color and again in black and white image, as I think you can sometimes see where the skin tone falls better if it's shown in black and white as this is just tones of gray like the zone system.
Look at the skin tone - you can see immediately that this much lighter than the middle gray that camera will try to expose for, in fact it would probably fall somewhere between VI and VII. So for this girl, I would spot meter, then expose at + 1 or even + 1 1/2. If I did not do this, the camera would try to darken this down to meet the middle grey, and I would have an under-exposed image.
THINGS TO BEAR IN MIND
One thing to be aware of when using spot metering and the zone system is that you are metering for the skin tone only. This means that other areas of your image may be over or under exposed. Most portrait photographers will agree that as long as the subject is properly exposed, the rest of the image can take secondary importance, and that is definitely something I practice!
LEARNING MORE ABOUT THE ZONE SYSTEM
You can of course use the zone system for other photography types, such as photographing landscapes or flowers, or for metering from something other than skin (such as the sky or grass) so I've only scratched the surface here.
If you are interested in finding out more about the Zone System, you could firstly read about it in this one - The Negative - which was written by the man who came up with the zone system many years ago, Ansel Adams, but please bear in mind he was a film photographer who only shot in black and white, so perhaps a better one would be The Digital Zone System which has converted the information for digital and colour.
To use it fully, it does take a little while to understand it, particularly if you want to use it for something other than skin, but hopefully this has been a good introduction!


