
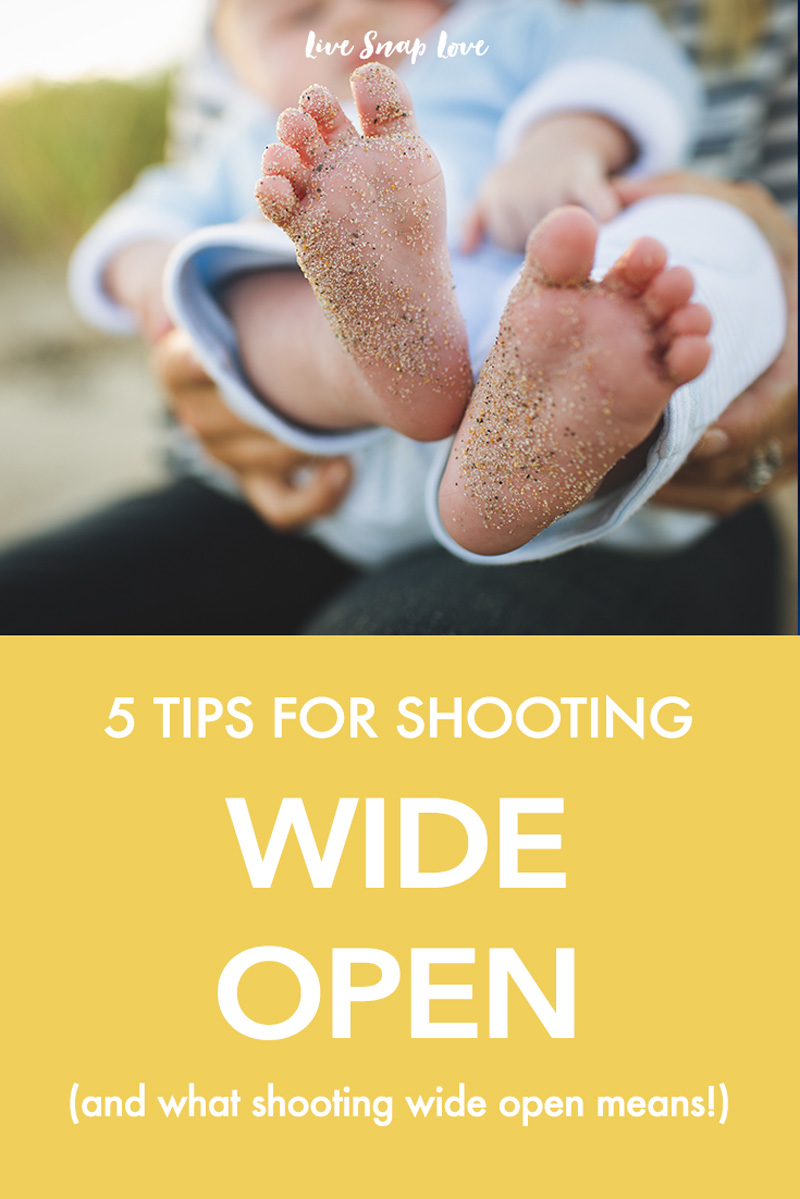
5 Tips for Shooting Wide Open (and what shooting wide open is!)
I love shooting with a shallow depth of field, where you have only the subject sharp and clear, but everything else soft and out of focus. It's such a great way of drawing the eye straight to the subject of the photo, and eliminating any distractions around your subject. You can get this affect from shooting wide open, but it can be tricky to perfect! So, today, I'm giving you five tips for shooting with big apertures.
But, before we get to the tips, let's rewind a little bit, and start at the very beginning, with what shooting "wide open" actually means!
What is "Wide Open"
In case you haven't heard of this term before (or have, but not sure what it means) shooting wide open just means that you are shooting at the largest aperture your lens will allow. As aperture is controlled by your lens, not by your camera, this will vary from lens to lens. For example, a kit lens that came with your camera might only stop down to F3.6, but another lens will stop down to F1.4. When you shoot at the largest aperture for your lens, that is called shooting wide open!
For the purposes of this tutorial, I'm talking about shooting with a very large aperture, regardless of what the actual F number says or whether you could have stopped down a little more :)
Why Shoot Wide Open?
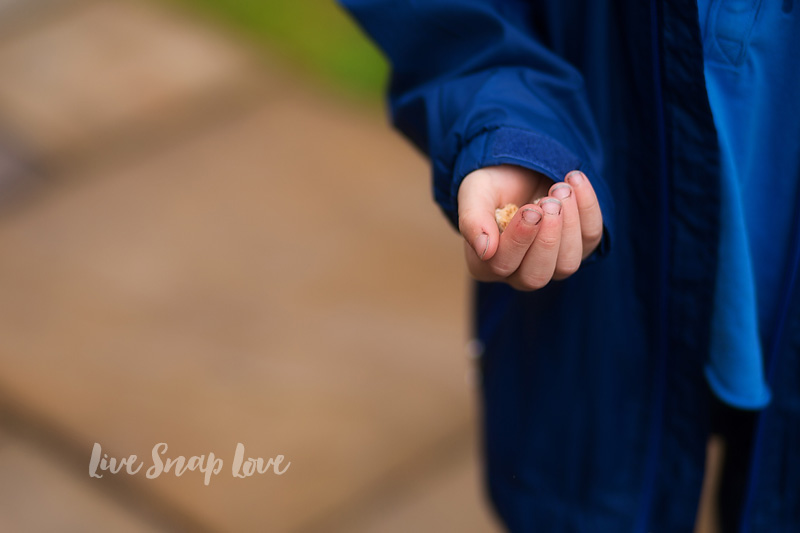
Shooting wide open means that you will have a extremely shallow depth of field, and therefore a smaller area of your image in focus. I personally love that look, where the subject is crisp and sharp, but all around it is soft and blurred. However, you absolutely don't NEED to shoot wide open to achieve that blurred look, as you will get blur at smaller apertures too (and find it easier to nail focus) but sometimes it's nice to really maximise that blur :)
Now we've covered that, let's get a crackin' with the tips! Here's some things to keep in mind when shooting wide open.
1) Toggle Your Focus Points
Shooting wide open means that your area in focus is super narrow, meaning precise focus is difficult to achieve! The easiest way to ensure focus lands exactly where you want it is to choose your focus points yourself - this is often called toggling your focus points. Choose a focus point that hovers over the detail of the subject you want to have in focus. If you are not sure how to do this, I've got a step by step guide to choosing your focus point here.
2) Stick To One Subject
I only ever shoot wide open with one subject - with any more than one I wuss out and choose a smaller aperture to ensure crisp focus. Although in theory you can get multiple subjects in focus even shooting with a larger aperture (by making sure every one of them is on the same focal plane) it's easier just to close up your aperture a little. But with a single subject, go for it!

3) Be Careful of Your Distance from Subject
Remember that the closer you are to your subject, the less of an area you will get in focus. If you are right up close to your subject, the area of focus will be teeny tiny, and really, really difficult to nail. For example, if you are shooting a close up of a face whilst shooting wide open, you could potentially get the eyelashes in focus and not the eye - even if you are toggling your focal points. That's how shallow the focus area can be! Step back a bit to get more of an area in focus even when shooting wide open.
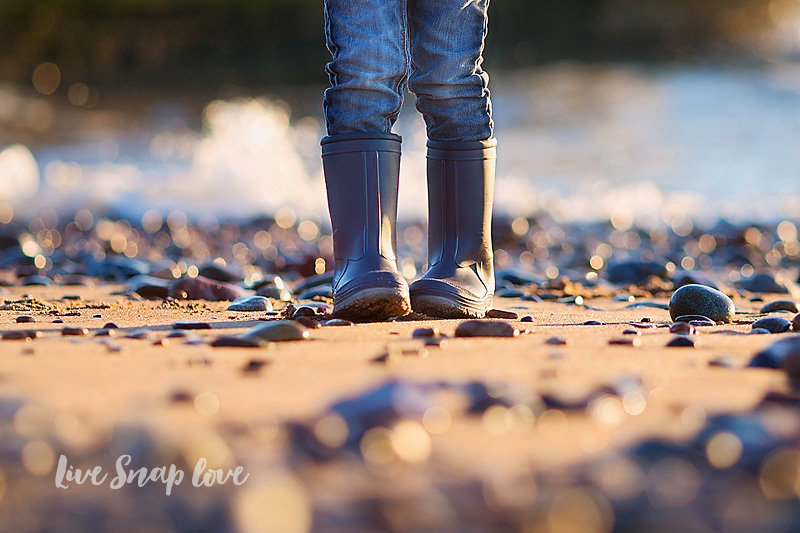
4) Make a Bokeh Sandwich!
Did I just make that term up? I think i might have :)
I'm not sure if there is a name for it, but I love it when you have a strip of blur both at the front and behind your subject, so you can really see the "slice" of focus. To get blur at the front, you'll need to have something close to the lens in front of your subject. The easiest way to do this is to lie down on your tummy and include a bit of space in front of your subject - that will blur out both the front and back and give you your bokeh sandwich!
5) Keep Yourself Steady
One final tip! You should be aware of how YOUR movement can throw off your focus, so it's best to try to steady yourself a little - lean against a wall, or rest your elbows on the table, or just tuck them into your sides. The slightest movement can throw your focus off (remember the example given about focus maybe landing on the eyelashes and not the eye?) so be careful to keep yourself braced and steady as a rock.
If this is your first time shooting wide open, then I suggest you practice when you have the opportunity to take another shot - don't try it out for the first time during your child's first birthday party for example!
As it takes a bit of practice to get what you want in focus, feel free to take a picture shot wide open, then another with a wider area in focus just to make sure you've got it :)
KEEP READING: