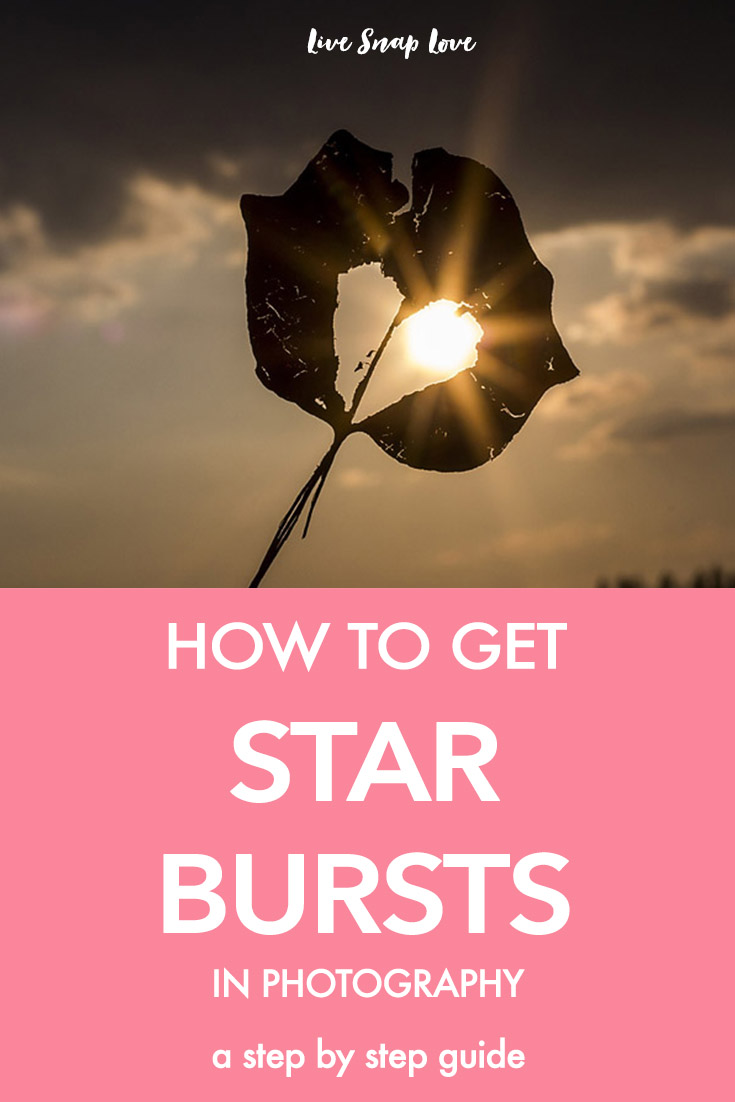
A Step by Step Guide to Creating Starbursts
Adding star / sun bursts to your image is a great way to make an everyday scene or moment look a little bit more interesting, so it’s a great trick to have in your photography arsenal! I actually don't play around with this as much as I should, but since I have just reminded myself of it's awesome affect - I'm off to play with it again today!
If you want to give it a go, it's really simple! Here's a step by step guide on how you do it....
Find a Single Source of Light
These starbursts are created when you have a single small source of light in the image – so in other words, you can't get them with soft or diffused light sources, such as a slightly overcast day. The sun is one single small source of light, but you could also photograph a lightbulb, car headlights, streetlights and so on – anything that is a single small source of light will give you starburst!
Set your aperture to the highest F number you can!
Since your aperture is determined by your lens, this number will vary from lens from lens, but most lenses will stop up to at least F16. The bigger the number, the better the star burst affect will be! From a technie point of view, this means that your aperture gets really, really small, which in turn creates a little bit of bending to the light getting in, and creates this starburst effect. So, now you know :)
Do not look directly at the sun!
Whatever you do, please do not look directly at the sun through your viewfinder!!! As you probably already know, this is not going to be good for your eyes (I forgot once and spent a few hours with weird vision – I don’t recommend it at all, plus of course you can do damage to your eyes that you can’t even see) So, no sun in the viewfinder - to get around it I kinda hold the camera up so I can see the scene in the back of the camera and wave it in the general direction, then crop to a better composition in camera. Yes, I look weird.
Block the Sun with Another Subject
You can position the sun in your frame so that it is peeking out from behind another subject – this helps with the star burst affect and helps tone down the strong light of the sun. If you are shooting lights at night, you don’t need to block out the light at all, since it's not so strong.
In low light, keep an eye on your shutter speed
Since you are closing down your aperture so much, you are probably going to find that you might struggle with using a low enough ISO or getting a high enough shutter speed in lower light situations. In which case you can of course dig out the ol’ tripod to use - which will give you the best results - or just use a slightly higher ISO than you would normally.
I hope these tips for getting star bursts helped - I'm off to play myself!


