
Welcome to the blog!
Scroll down for the latest and greatest, filter by category, check out the most popular tutorials, or search for what you want to learn below!
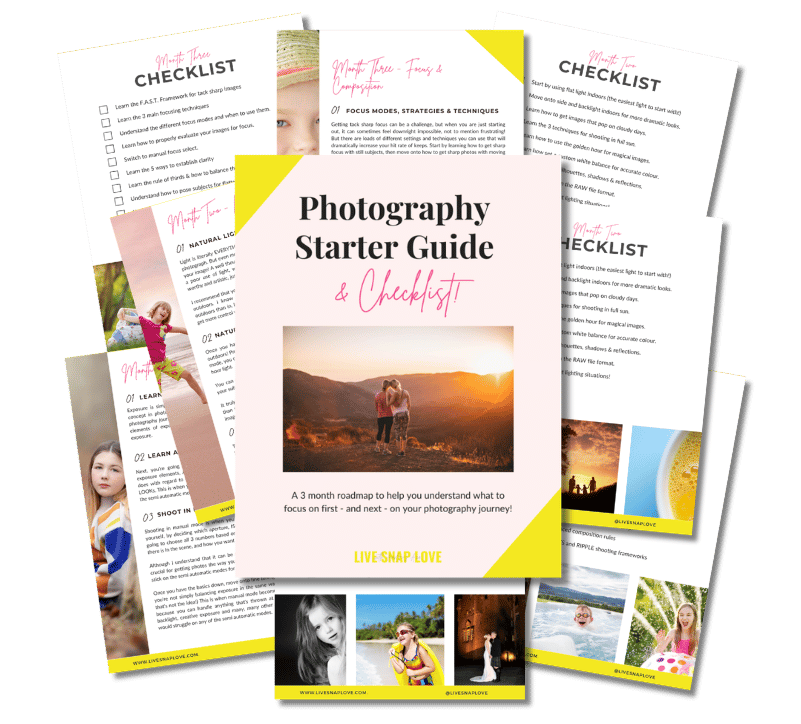
Want to learn photography but have no clue where to begin and what to learn next??!
Steal my Photography Learning Blueprint and get the clarity, checklist and step by step game plan to help you get photos you love - quickly!

Taking Better Images with your Pop Up Flash
You have probably heard numerous times that if you are trying to get better quality images and improve your photography, you shouldn’t use your cameras pop up flash. Why? Because it produces a very hard light which will a) look unnatural and give you lots of hard shadows b) hit your subject straight on so that he or she will look flat and drained and c) will probably always leave your subject with red-eye. All in all, deeply unflattering! For this reason, I definitely prefer taking images using natural light, and strive to do so, but there are times when you simply do need to use flash, for example taking photos indoors when there is little light available.

15 Tips for Photographing Toddlers
One of the things I am asked most frequently about is whether I have any tips for photographing toddlers, so I thought I'd put together some for you! Although these tips certainly apply to professional photographers wanting to capture this age group, I've written these more with a parent photographing their own child in mind - so in natural situations, not necessarily studios or formally posed.

Exposing for Skin
We talk a lot in photography about making sure that we get the "correct" exposure in camera. This is particularly important in portraiture, as pulling your exposure up or down significantly in processing can make their skin look a weird colour, and gives a harsher contrast which is generally unflattering and best avoided! .
Great skin happens first in camera, so for the most part when taking images of people, we want to make sure that our subject is currently exposed. The best way to to do that is to use your subjects skin as your metering point!
And here's how do it :)

5 Quick Tips for a Shooting a Back Lit Image
Backlighting can be a wonderful choice for lighting an image - from a warm buttery backlight to a blown out window. Shooting with the light facing you does present some challenges though, so it's important to set your camera correctly. Here's how:

How to Use Exposure Compensation
Although I am a strong advocate for shooting in manual mode, as I believe it was only when you fully commit to taking full control that your images turn out the way you want them to, I do realise that there are many people who feel happier using the semi automatic modes (such as AV or TV) instead.
If you are one of these, I urge you to use exposure compensation if you aren't already!
(Actually, I urge you to learn manual mode, but this is the next best thing!)
Righto, let's have a look at what exposure compensation does, and when you might want to use it!

How, When and Why To Use Burst Mode
Most cameras, even point and shoots, have the option of taking photos in burst mode (also called continuous mode) What this mode allows you to do is to take several shots in rapid succession and is very useful for action shots, such as jumping or sports, when it's hard to press the shutter at the exact moment you need. I use it for action shots, like the jumping one above and the running one below, and for things like dancing (like the one of my son dancing in the street at the end!) so that I can make sure that I have the "perfect" moment captured.




Check Out These Reader Favourites


It's been quite a few years now since I made the switch from Aperture Priority Mode to shooting in Manual Mode, and it was one of the BEST things I ever did to improve my photography skills.
It was like a whole new world opened up to me, and I started TRULY understanding exposure, and in turn, getting the images that I wanted.
Of course, there was a lot to learn, and there are some things I wish I had known before I started!
So, here are 10 things about shooting in Manual Mode that you might just wish you knew…