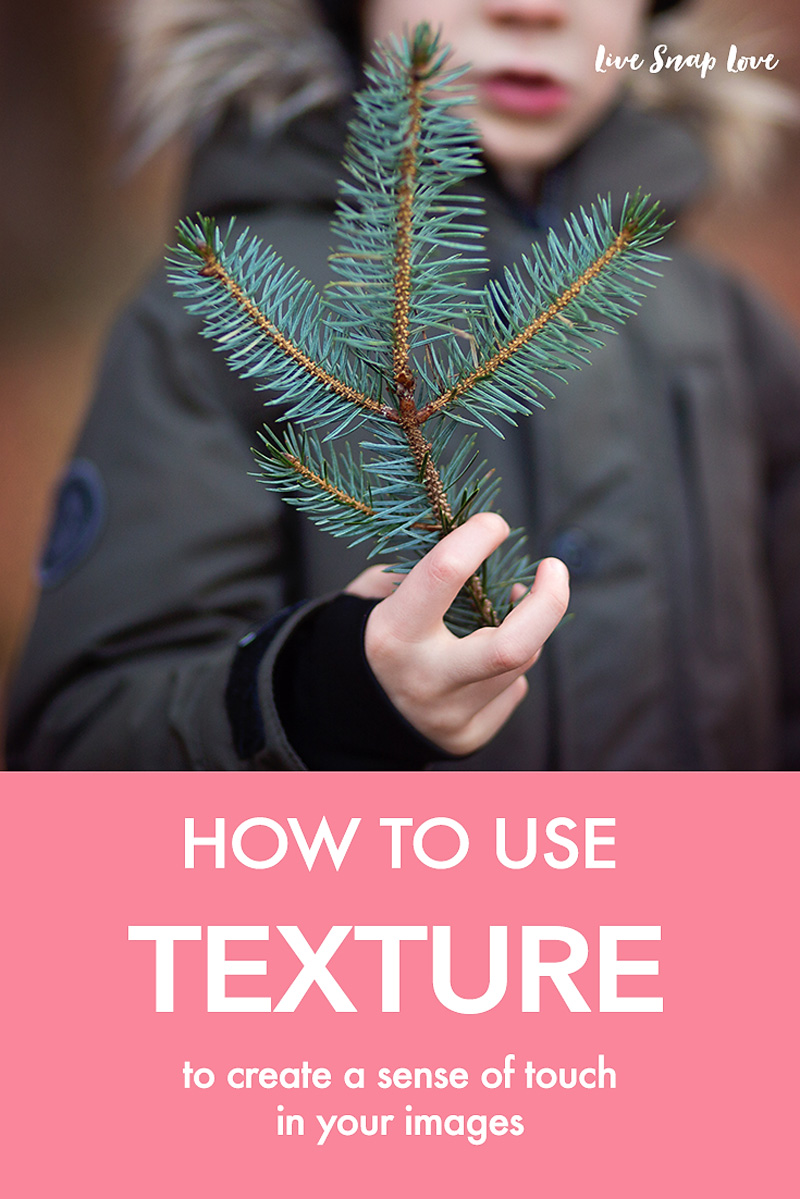
How to Use Texture To Create a Sense of Touch in Photography
Capturing texture can add an extra dimension to your image, by conveying not only how something looks, but how it might feel as well, for example being soft, or rough, or wet. It's a pretty dang powerful thing to be add to add a sense of touch to an image! That's what we are going to look at today - how we can use texture in everyday images to create a more powerful photograph.
There are two ways to photograph texture – the first is to make the texture the subject of your photo, and the second is to incorporate it into an image where something else is the main subject, to add extra interest.
Let's get crackin' with two ways you can use texture in your image!
#1 - Texture As The Subject
When you make texture your subject, this then becomes the main focus of the image, and the object itself is of secondary importance. Examples of this type of image could include the close of up a tree bark, the rust on an old boat, or even a crumpled bed sheet. We are not concerned with the object as a whole – just the textured element of it. (You could even create abstract images by focusing so much on the texture that the object itself is not known)
Although a macro lens would allow you to get close and photograph smaller details and textures, you really don’t need a macro lens! You can easily take a photo of texture that is taken with a normal, wide angle or telephoto lens.
# Incorporating Texture
Another way to use texture (and probably the main way I use it) is to have it in the frame to add texture and interest to the image, or even have it support a feeling within the image. For example, in a portrait it could be as simple as incorporating a chunky scarf or a straw hat, or photographing them against a wooden or rock backdrop. These are simple additions that simply serve to make the image richer and more interesting to look at, but don’t pull attention from the main subject. The texture is pretty much just there to add an element of "touch" into the image.
You can take it one step further and also use it to create a feeling – for example, photographing a baby on a fluffy rug to give a feeling of softness.
Tips for Using Texture
Once you have found or added your texture to your image, the most important element is how you light it. Ideally, you want to photograph your subject with sidelight. Sidelight gives you stronger shadows, which helps bring out the form and texture, and adds that three-dimensional look to the image (any images where you feel you could reach out and touch the subject are normally taken with side light) If you really want to bring it on home, underexpose slightly - this will give you more shadows, and therefore shows up the texture even more :)
Whatever you do, don’t use pop-up flash! This creates flat light that will wash out any texture If you want to use flash, use an on camera Speedlight, and bounce light to the side to create sidelight. (This is true not just for texture - avoid pop up flash like the plague!)
Also consider your angle when photographing textures – you can shoot straight on so that all the texture is on the same focal plane, of you could shoot from a side angle, which will help create the texture.
As always, editing can enhance your image, in this case, by making the texture look more clear and sharp. In Lighroom or ACR, you can simply move the clarity slider to the right, which in turn enhances mid tone contrast, which in turn makes fine detail clearer. You can use this all over your image, or just use the adjustment brush to brush it over the areas you want to bring details of the texture out - like on the image below.


