
The 5 Tools You Need To Get Started In Photography
Let me start by saying this is a LONG post - not one of those "quick lists" of camera gear that doesn't really tell you very much nor is particularly helpful. Today, I'm going to break this down for you - what you need, why you need it, what you can get away with using just now, what you should invest it first to get the biggest return on investment, along with a few tips and tricks for using them. (Told you it was a long 'un)
Although I never want anyone to have to go out and buy new equipment, I also want to keep it real.
I don't want someone who keeps hearing that "it's not about the gear", feeling discouraged because they are not getting images that are as good as they hoped when in fact, their gear DOES have some impact on their images. That's not fair nor helpful in my book. (That said, the whole thing about knowing how to operate your camera, how to use light and composition effectively does hold true - you need this along with the gear. They go hand in hand like a pair of lovebirds)
So, let's start this post with a breakdown of the 5 tools you should ideally have when learning photography.

OK, ready? Let's go!
1) A Camera that allows you to shoot in Manual Mode
In an ideal world you want a camera that will allow you to shoot in manual mode, in other words, where you can control all three elements of exposure. The camera will have an M setting on the top - if it does not have that, you will struggle a little to get certain shots. If it doesn't have the ability to shoot in full manual mode, then you want one that can at least shoot in AV mode, with the ability to use Exposure Compensation.
It doesn't matter if you know how to shoot in either of these modes right now, but it is something you will want it in the future, otherwise you will have zero control over your exposure!
I'm going to assume for the purposes of this post that you already have a DSLR - but if not, but don't buy ANYTHING until you come back and read the rest of this post, OK?
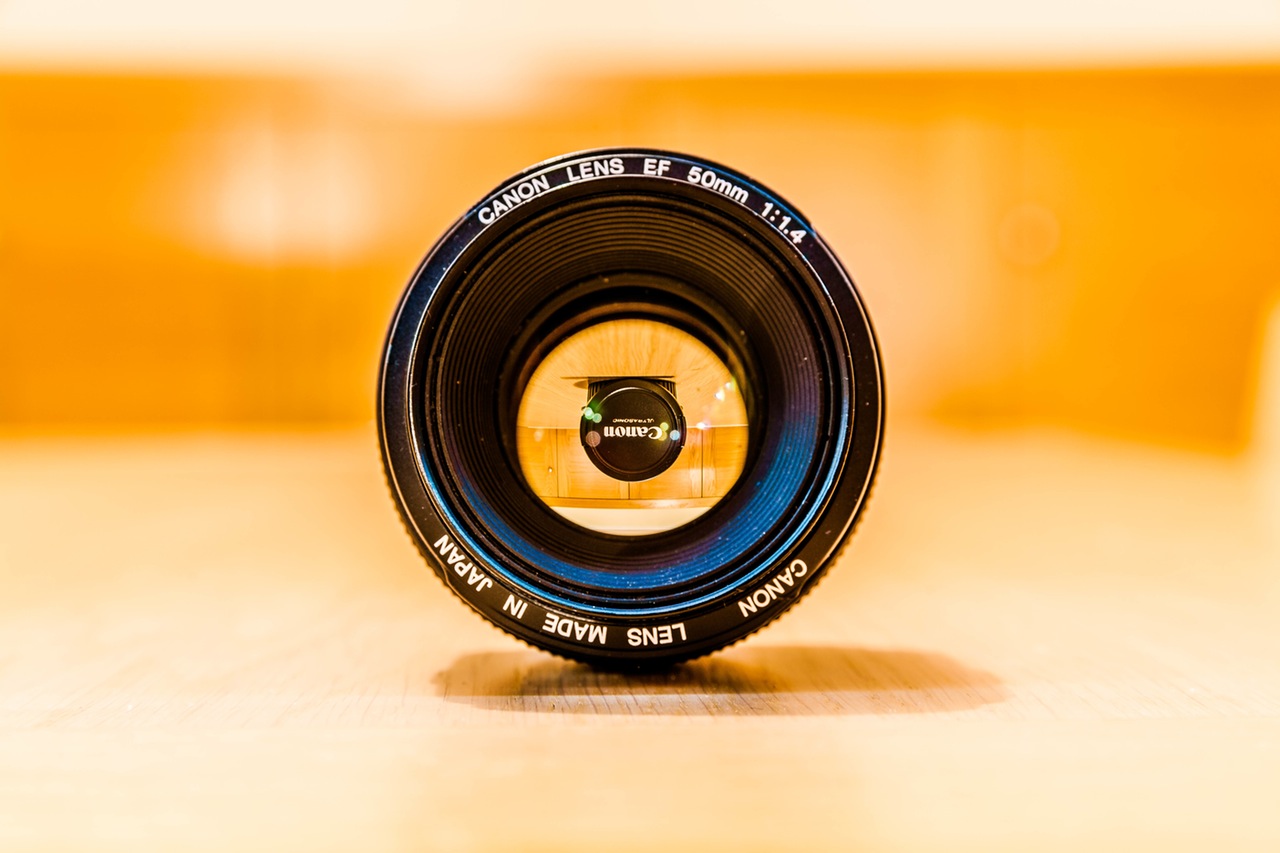
2) A Lens
You are also going to need a lens to go along with your DSLR. Many cameras come complete with "kit" lenses, and these lenses are usually zoom lenses that have a good focal range (meaning they can zoom in and zoom out and cover a wide range) which can be useful. Their plus side is they are cheaper than dedicated lenses, but unfortunately there is a reason for that.
The truth is your kit lens probably isn't very good.
Kit lenses just aren’t as sharp as others, and are slower to focus, and most of them don't open up to a nice wide aperture. I say this not to make you go out and buy a new lens, but to understand that your lens may have limitations, and that you need to learn to work around them.
For example, you will probably not be able to get those really blurry backgrounds that you like, because your lens won't give you a big enough aperture. But you CAN make sure that you position yourself and your subject in such a way that you maximise the blur you can get (move your subject farther away from the background, and move yourself closer to the subject - both of these things will make things blurrier (in a good way)
You may struggle to get enough light into the camera for the same reason (that small aperture) in which case move your subjects into the light, or if that's not possible, use your flash (but check out this post first!)
You can still get really good photos with a kit lens - provided you know and understand how to work your camera, and therefore around these limitations. Learn your craft - settings, light, composition - and you'll be able to put that kit lens to good use!
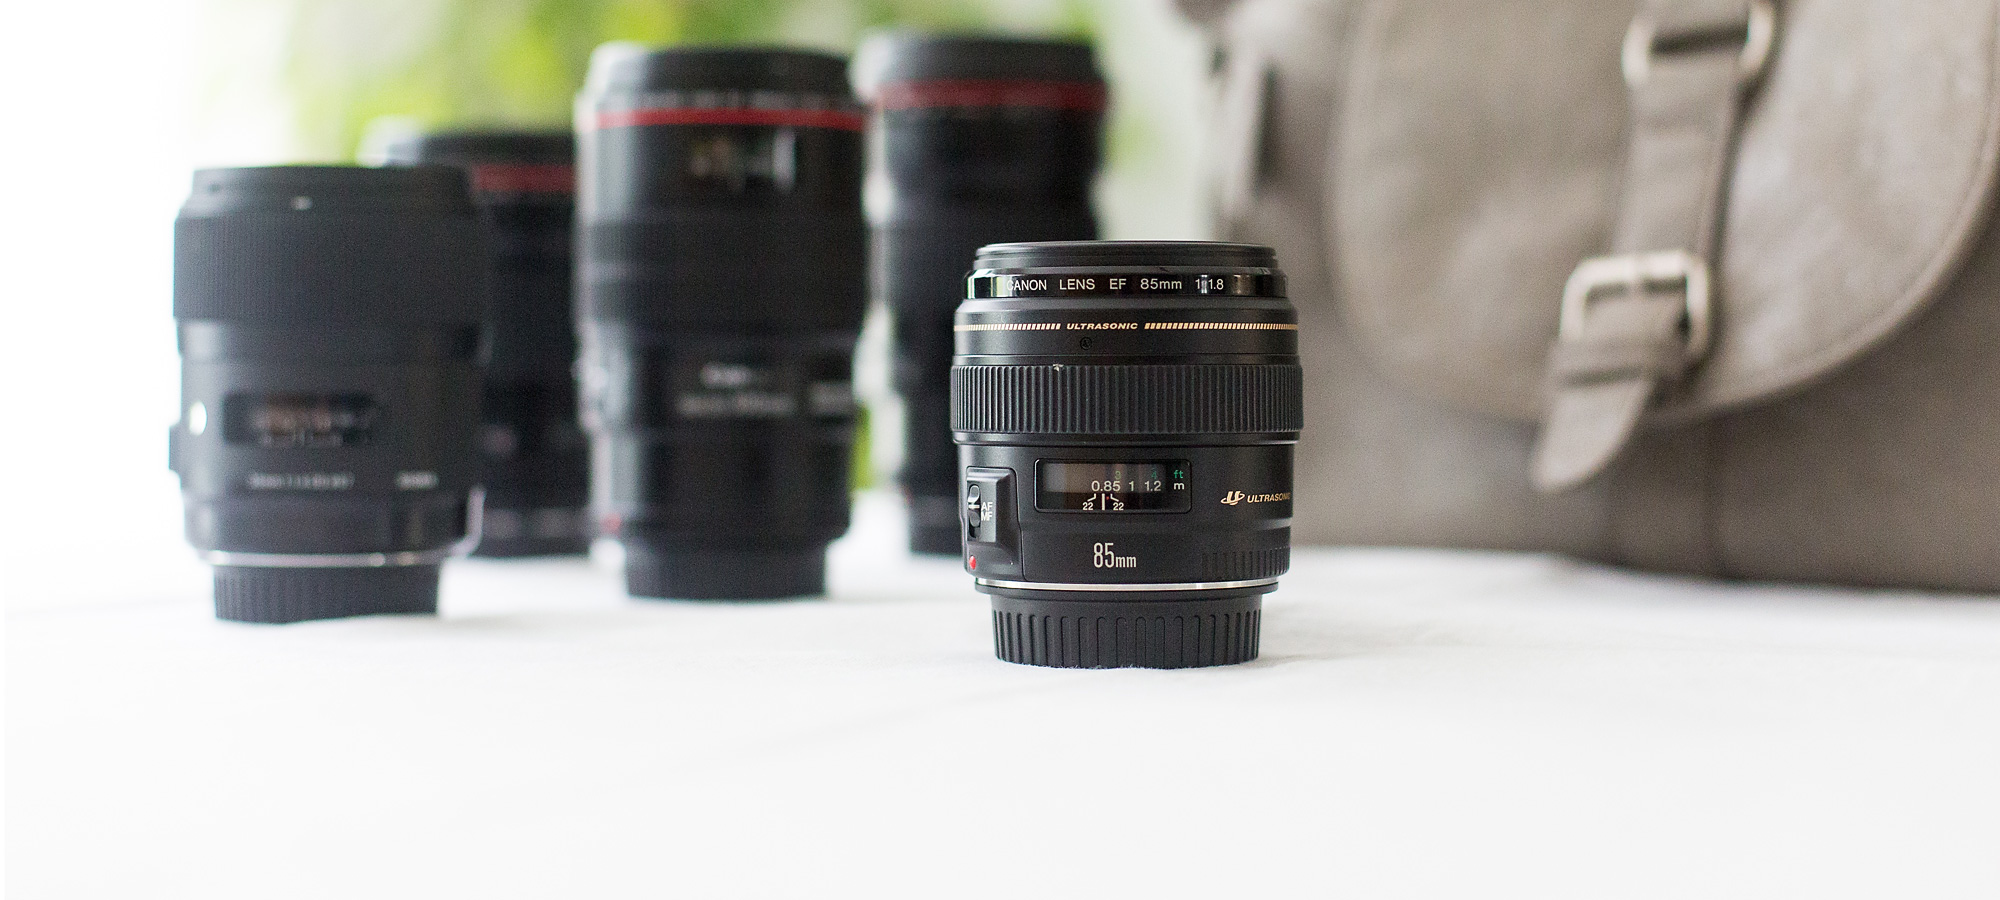
When you really feel limited, off you go and upgrade - you can get some great lenses that are pretty affordable. If you were to hold me against a wall and threaten me until I gave you a recommendation, I'd say go with the 50mm F1.8 lens (either Nikon or Canon, both good!) which will give you a nice big wide aperture to let lots of yummy light into the camera, and give you those blurry backgrounds. It will be quicker to focus too. (In fact these lenses are fab for the price)
3) A Fast Write Speed Memory Card
Memory cards is not something that really gets me excited truth be told, but actually your memory card can be pretty important - particularly if you want to take lots of action images. The reason is that different cards have different write speeds - in other words, just how quickly the camera can "write" the image onto the card.
Have you ever taken a bunch of images then got frustrated whilst your camera takes a little nap and refuses to let you take an image? That's because the camera has to take a break to catch up writing the images onto the card. It has a "buffer" - an amount of images it can write at any one time, and once you fill the "buffer" you can do nothing but wait.
The solution is to get yourself an memory card that has a decent write speed. This will, by default, also give you a better "read" speed, which is of very little importance to me personally, but it does mean that your computer will be able to read the images off the card quicker, so the process of getting your images off your memory card and onto your hard drive will go faster.
4) A Grey Card
A grey card is one of these cheap and cheerful things that are simply worth their weight in gold, especially for a beginner. They are around $10 (depending on how fancy you go, you might go up to $12!) so really affordable, and hugely worthwhile.
There are two things that you can do with a grey card - use them to set exposure to get your image so that your final image is not too bright nor to dark. Of course you will want to get to a point where you can set your exposure "by eye" by your knowledge of the scene (and that's something we go into in detail my ecourse Auto to Awesome) but when starting out, it's an easy way to begin to take control of your exposure.
The second thing we want the grey card for is to set white balance. White balance is the color of light, whether it's cool or warm and so on (Seen images where the image looks too blue or too yellow? That's white balance in action, or rather, the wrong white balance in action).
White balance is my nemesis, and it's really only in the last year or so that I feel I can correct white balance in processing. When you start in photography, your eye for correct color just simply isn't there to begin with, and although you will begin to see quite quickly that the color of an image is "off", you won't be able to pinpoint how to fix it. Setting your white balance in camera takes away this guesswork, and gives you the correct color IN CAMERA. Of course that is useful enough on it's own, but as you begin to see what a proper white balance looks like, you'll get to a point where you can identify and fix white balance issues without using one. Which means even just as a learning tool, they are pretty much a must :)
5) A Editing Program that can edit RAW FIles
When shooting with a DSLR, you have two choices of file formats in which to take your image - RAW or JPEG. Most amateurs shoot in JPEG. However, shooting in the RAW file format should really be mandatory for new photographers, as I believe that is when you will get the most benefit from it! You will be able to bring up under exposed photos without introducing wonky color casts and grey skin, or bring back highlights and detail in images that you have over-exposed, and even set your white balance in processing.
You don't need to start off shooting in RAW - you can progress up to this as you will need to learn some basic editing steps at the same time.
If you bought a Canon or Nikon camera that is capable of shooting in the RAW file format, you will be able to use their own proprietary software for editing your RAW files - this usually comes free with your camera so you don't have to spend a penny.
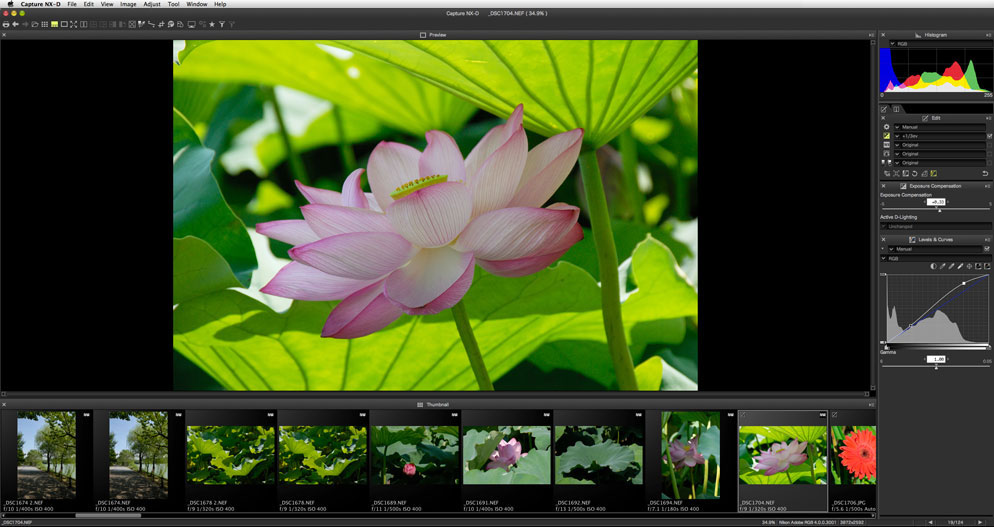
image from nikon of their free sofware
Again, if and when you are ready to move further in your photography, there are paid for programs that will allow you to do even more!.
Sounds good but funds are limited! What should I invest in first?
The first thing you need is a DSLR of course, but since you cannot have a DSLR without a lens, the two go together :)
In which case, there are two scenarios here - you haven't get got your DSLR and lens combo purchased, or you have but you bought the kit lens that came with it and you are not sure whether to invest in the lens or a better quality DSLR first.
In both of these cases, your lens is the most important element.
Let me explain why.
If you have an entry to mid level camera, these are usually what is called cropped frame, meaning they have a smaller sensor for picking up light. What this means in practice is that your images will be grainy and not very clear when you need to use slightly higher ISO's - say when shooting indoors. This is true for all entry/mid range cameras that are not full frame - so the difference between two entry level DSLR's that are at slightly different price points is more to do with other features (such as having WIFI and so on) than it is between the size of this sensor. So in that sense, they will be fairly similar.
Lets move onto the lens part of this combo. As I explained earlier, the kit lens that comes with these cameras don't open up very wide, meaning they don't let a whole lot of light into the camera........which in turn means you have to use a higher ISO.......which in turn gives you grain. Even if you don't understand all this right now, just realise that you are essentially pairing two things together that don't work well in lower light situations.
Your choice now becomes to move to a full frame camera, or get a better lens.
It's a lot more expensive to get a full frame camera than it is to simply go out and get yourself a starter lens - you can pick up a decent lens for around $150.00. (You might also want to consider buying a gently used one - many people go on to upgrade from these so you should have no bother picked one up)
With these lenses you have the opportunity to let more light into the camera, which in turn will reduce that ISO - the setting that is giving you the noise in your images. With a better lens your final images will also be sharper and have a better image quality overall, plus it should be better for finding and locking focus on your subject.
So as far as I am concerned a lens is pretty much the top-priority for the first upgrade when you feel you need it.
If you haven't yet bought your DSLR, and can afford a slightly better DSLR with a kit lens, or a slightly less good DSLR with one of the 50mm lenses, choose the latter. If you have already got a DSLR with the kit lens, and are wondering whether to upgrade the camera or the lens, personally I would choose the lens first.
Do I really need to get all this stuff?
Let's be honest here - what gear to have is all about just how seriously you want to take your photography.
If you are just shooting for the fun of it, to capture moments from your day to day life, it's perfectly OK to be content with "good enough" images for shots of your family, and maybe go out and get someone else to take your family images when you want something special to hang on the wall.
If you want to create images that could be sold, or are of the same quality, then you need to invest a little in your equipment. Having a lens that can open up nice and wide allows you to take shots in less than ideal situations, and shoot with lower ISO's that help give you that crisp, clean look you are going to need for pro level images.
Remember though, all the fancy equipment in the world will not make a jot of difference if you don't know how to use it. Remember, the right equipment just makes more things possible in the right hands. Your pro photographers will not only have equipment that allows them to do the job, but they will also have invested in learning, so they know exactly what they need to do with it.