
Beginner Photography Tips: Your First Steps with a DSLR
Did you get a brand spanking new DSLR this year? Yay for you!
It can be quite disconcerting to pick up your camera for this first time, see all the dials and buttons, and realise you don't know how to work it except on AUTO!
As tempting as it is, you don't want to stay in AUTO too long, as in order to get the best out of your DSLR - and get those images you dream of - you need to take a little bit of control. Here are my recommended first steps, along with few tips and tricks that will get you started off on the right foot.

1) Learn Aperture Priority Mode
The first thing to start off with is probably to learn how to shoot in Aperture Priority (AV) mode. AV mode allows you to take the camera away from AUTO, but with the safety of the camera still adjusting the other settings to get you the correct exposure.
You'll need to learn a bit about Aperture, and Depth of Field, but once you do, you can start to tell your camera what aperture to use, and the camera will set the other two elements of exposure - shutter speed and ISO - for you. It's a great introduction to taking control of your camera.
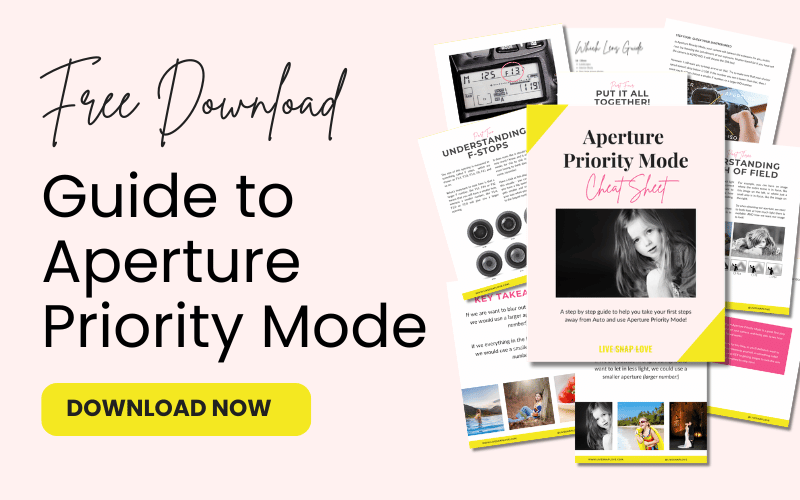
I’ve actually got a free guide for you that details how to shoot in aperture priority mode (and how to get a blurry background too!) step by step. Go here to grab it!
2) Use Exposure Compensation
Pretty soon you will realise that shooting in AV mode gives you good creative control, but sometimes you want the image to come out darker or lighter than what the camera has decided is optimal exposure. This is where exposure compensation comes into play. This way, the camera is still balancing the exposure triangle for you, but you are simply telling it to shoot a little brighter or a little darker. You can read all about exposure compensation here.
3) Learn Minimum Shutter Speeds
There is a lot you can do by playing with your shutter speed, but for now, it's easiest to concentrate on minimum shutter speeds. if you let your camera pick a shutter speed that is too slow (which it often does when left to it's own devices!) then you will introduce motion blur, where your subject can be blurred or "soft". For now, don't let your shutter speed fall below 1/125 for stationary subjects, and higher for moving subjects.
4) Move to the Light
One of the most common mistakes I see is that people don't have their subjects near a light source. As you progress, you will start to learn how to cope with low or harsh lighting, but for now, try to move your subject closer to a window, or shoot in a room that has plenty of natural light. Open up the curtains, shutters or doors to get light into the room or onto your subject!

5) Get a Photo Filing System
I know - boring stuff! But, honestly, one of the best things you can do right now is to start with a good filing system for your photos. I sort by year, then month, and then within each month I have a folder for each activity. This way, I can much more easily find what I am looking for, and I don't have to try to document two years worth of images farther down the line! Here's some simple tips for organising your family photos.
6) Invest in a Lens
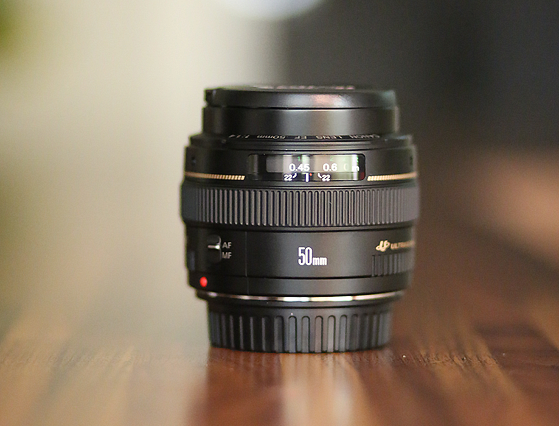
After a while, I'm going to bet that you are going to be a little bit frustrated with the kit lens that came with your camera. This is because you are going to find it hard to shoot indoors and get enough light, and your images simply aren't going to have the "look" that you were aiming for - more a middle of the road kinda quality to them. I'm sorry, but at this point, it's best to invest in a starter lens. The most common beginner lens in the 50mm F1.8 lenses (both Canon and Nikon have versions) but you can read all about which lenses might suit you best in this post on choosing your first lens!
7) Shoot Daily
The absolute best thing you can do is practice. Use your camera daily, and get one skill down before you move onto the next. Every time you use your camera, you build up a little bit of muscle memory, so your fingers know instinctively where to go to change your settings. If you like, you could take on a photography project - I've got a list of 15 photography project ideas here on the blog for you to consider!
8) Invest in Knowledge
I have always said that nothing has moved me quicker in photography then when I worked my way through a book, or taken a workshop. Investing in knowledge is the one thing you can do that is GUARANTEED to improve your photography skills. My Exposure Essentials ecourse literally takes you by the hand (and I do mean step by step) through learning your camera, taking you from all the AUTO modes to confidently choosing your settings yourself in just a few days!
Dont’ forget you can get started on the first step right now (as in this very second!) by downloading our free aperture priority mode guide - it lays everything out for you step by step, so be sure to download it before you go!
Have fun! You've just started on a great journey - enjoy it!