Must Use Camera Settings for Portraits
Although I’m a big fan of unposed “lifestyle” or documentary images, I can’t deny that i love a good portrait shot too!
So this blog post, we’ll cover the best camera settings for portraits using natural light - either indoors or outdoors.
Please note that if you work with studio lighting, or use flash, your settings are going to look different from the ones below. But since I love natural light, and I’m guessing that most people who read this blog use natural light, that’s what we’re going with :-)
Are you ready? Then let’s dive in!
Camera Mode: Manual Mode
Using manual mode will give you the most creative control over your exposure so I strongly suggest that you use this mode - especially if the light you are working with is a little tricky, or you’re working in lower light.
For those of you reading this who might be newer to photography, manual mode is simply when YOU decide the settings for all three elements of exposure (ISO, Shutter Speed and Aperture) depending on the look you want, and the light you are using.
This gives you the utmost control, so it’s a mode I recommend you use 90% of the time - and definitely for portraits :-)
I’m going to give you some suggestions below for all three settings, but I also strongly recommend that you download my FREE manual settings cheat sheet, which will give you more ideas, and also help you choose the right settings in different situations.
Aperture
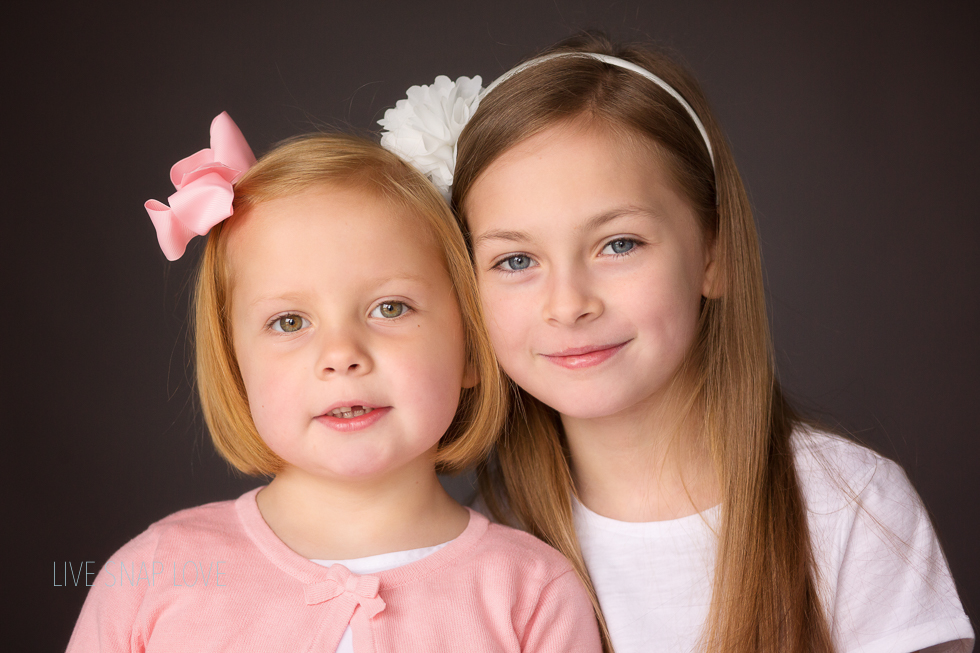
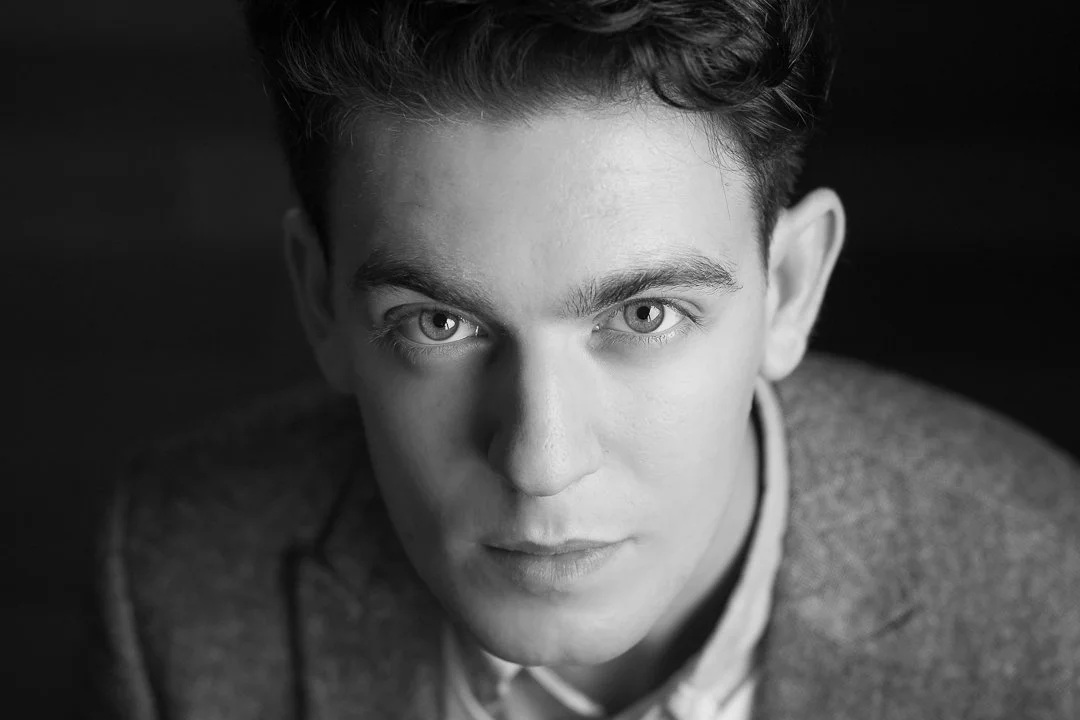
With portrait photography, you generally want to blur out the background, as this allows your subject to “pop’ more off the background, and helps bring all our focus and attention to them!
Now, there are a LOT of variables that go into selecting the right aperture, but for portraits, you’ll want to be anywhere from F1.4 to around F5.6.
If you are new to determining which aperture to use, go for something in the middle like F2.8 or F3.2 - it will be enough to blur out your background, but not SO narrow a focal plane that you don’t get your intended subject in focus!
Shutter Speed
For shutter speed, the absolute minimum you want to use for a portrait is 1/125, but I’d recommend you go a little higher than that - especially if your subject is a child.
Also keep in mind the focal length of your lens - higher focal lengths mean you need to use a higher shutter speed. So if you’re using a 200m lens for your portraits, you’ll need at least 1/200 (but again, I’d go higher - closer to 1/400!)
ISO
Again, this will vary depending on the natural light you have available at the time - so it could be as low as ISO100 or you could need to come up waaaay higher if it happens to be a dull and overcast day, or if you’re indoors. (Don’t forget to to grab that cheat sheet!)
Choose the lowest number that you possibly can - this will help keep noise to a minimum, and help make your subject crisp and clear.
Just a little side note - be careful not to underexpose your portraits. Underexposure makes noise worse, so don’t be tempted to use a low ISO number and think you can get away with bringing up the exposure in processing - you’ll just end with a noisy image that doesn’t look as tack sharp as you would like.
White Balance
Skin tones can be a freaking nightmare to get absolutely right, but you’ll be off to a great start if you have the correct white balance to begin with.
So, my advice would definitely be to set a custom white balance in camera, rather than relying on the Auto White Balance (which more often than not, will get it wrong!)
My favourite white balance tool is the expodisc, simply because it’s less intrusive to use, but a simple $8 grey card will do the trick too - as long as you have something to show the camera what’s “neutral”, you’ll be golden.
And there we have it! The most important camera settings for portraits.
Before you head off to go and practice all that, be sure to download the free manual mode cheat sheet, which will help you remember what we said here, and give you some other suggested settings. Go get it here!


