
The Secrets to Taking Great Beach Photos
Want to know how to get good pictures at the beach? Then this is for you! Today we’re going to look at how to plan your beach photoshoot to get the best results, along with some tips for beach photography, including what time of day to shoot, what to wear for portraits at the beach, what equipment you will need, ideal camera settings and much, much more!
Let me start by saying the beach is a fantastic place for photography: you’ve got soft sandy beaches, beautiful deep blue skies, awesome colours, soft fluffy clouds, and happy contented people…..so what could possibly go wrong?!
Well as it happens, a lot :)
Getting good photos at the beach can be challenging, because there’s often a lot of light bouncing around, along with harsh sun and deep shadows, plus you will rarely get the beach to yourself, so you always have to work around people.
The good news is these can all be worked around with just a little planning, so let’s start by looking at the thing most likely to make or break your beach photos: the time of day you shoot.
What’s the best time to take pictures on the beach?
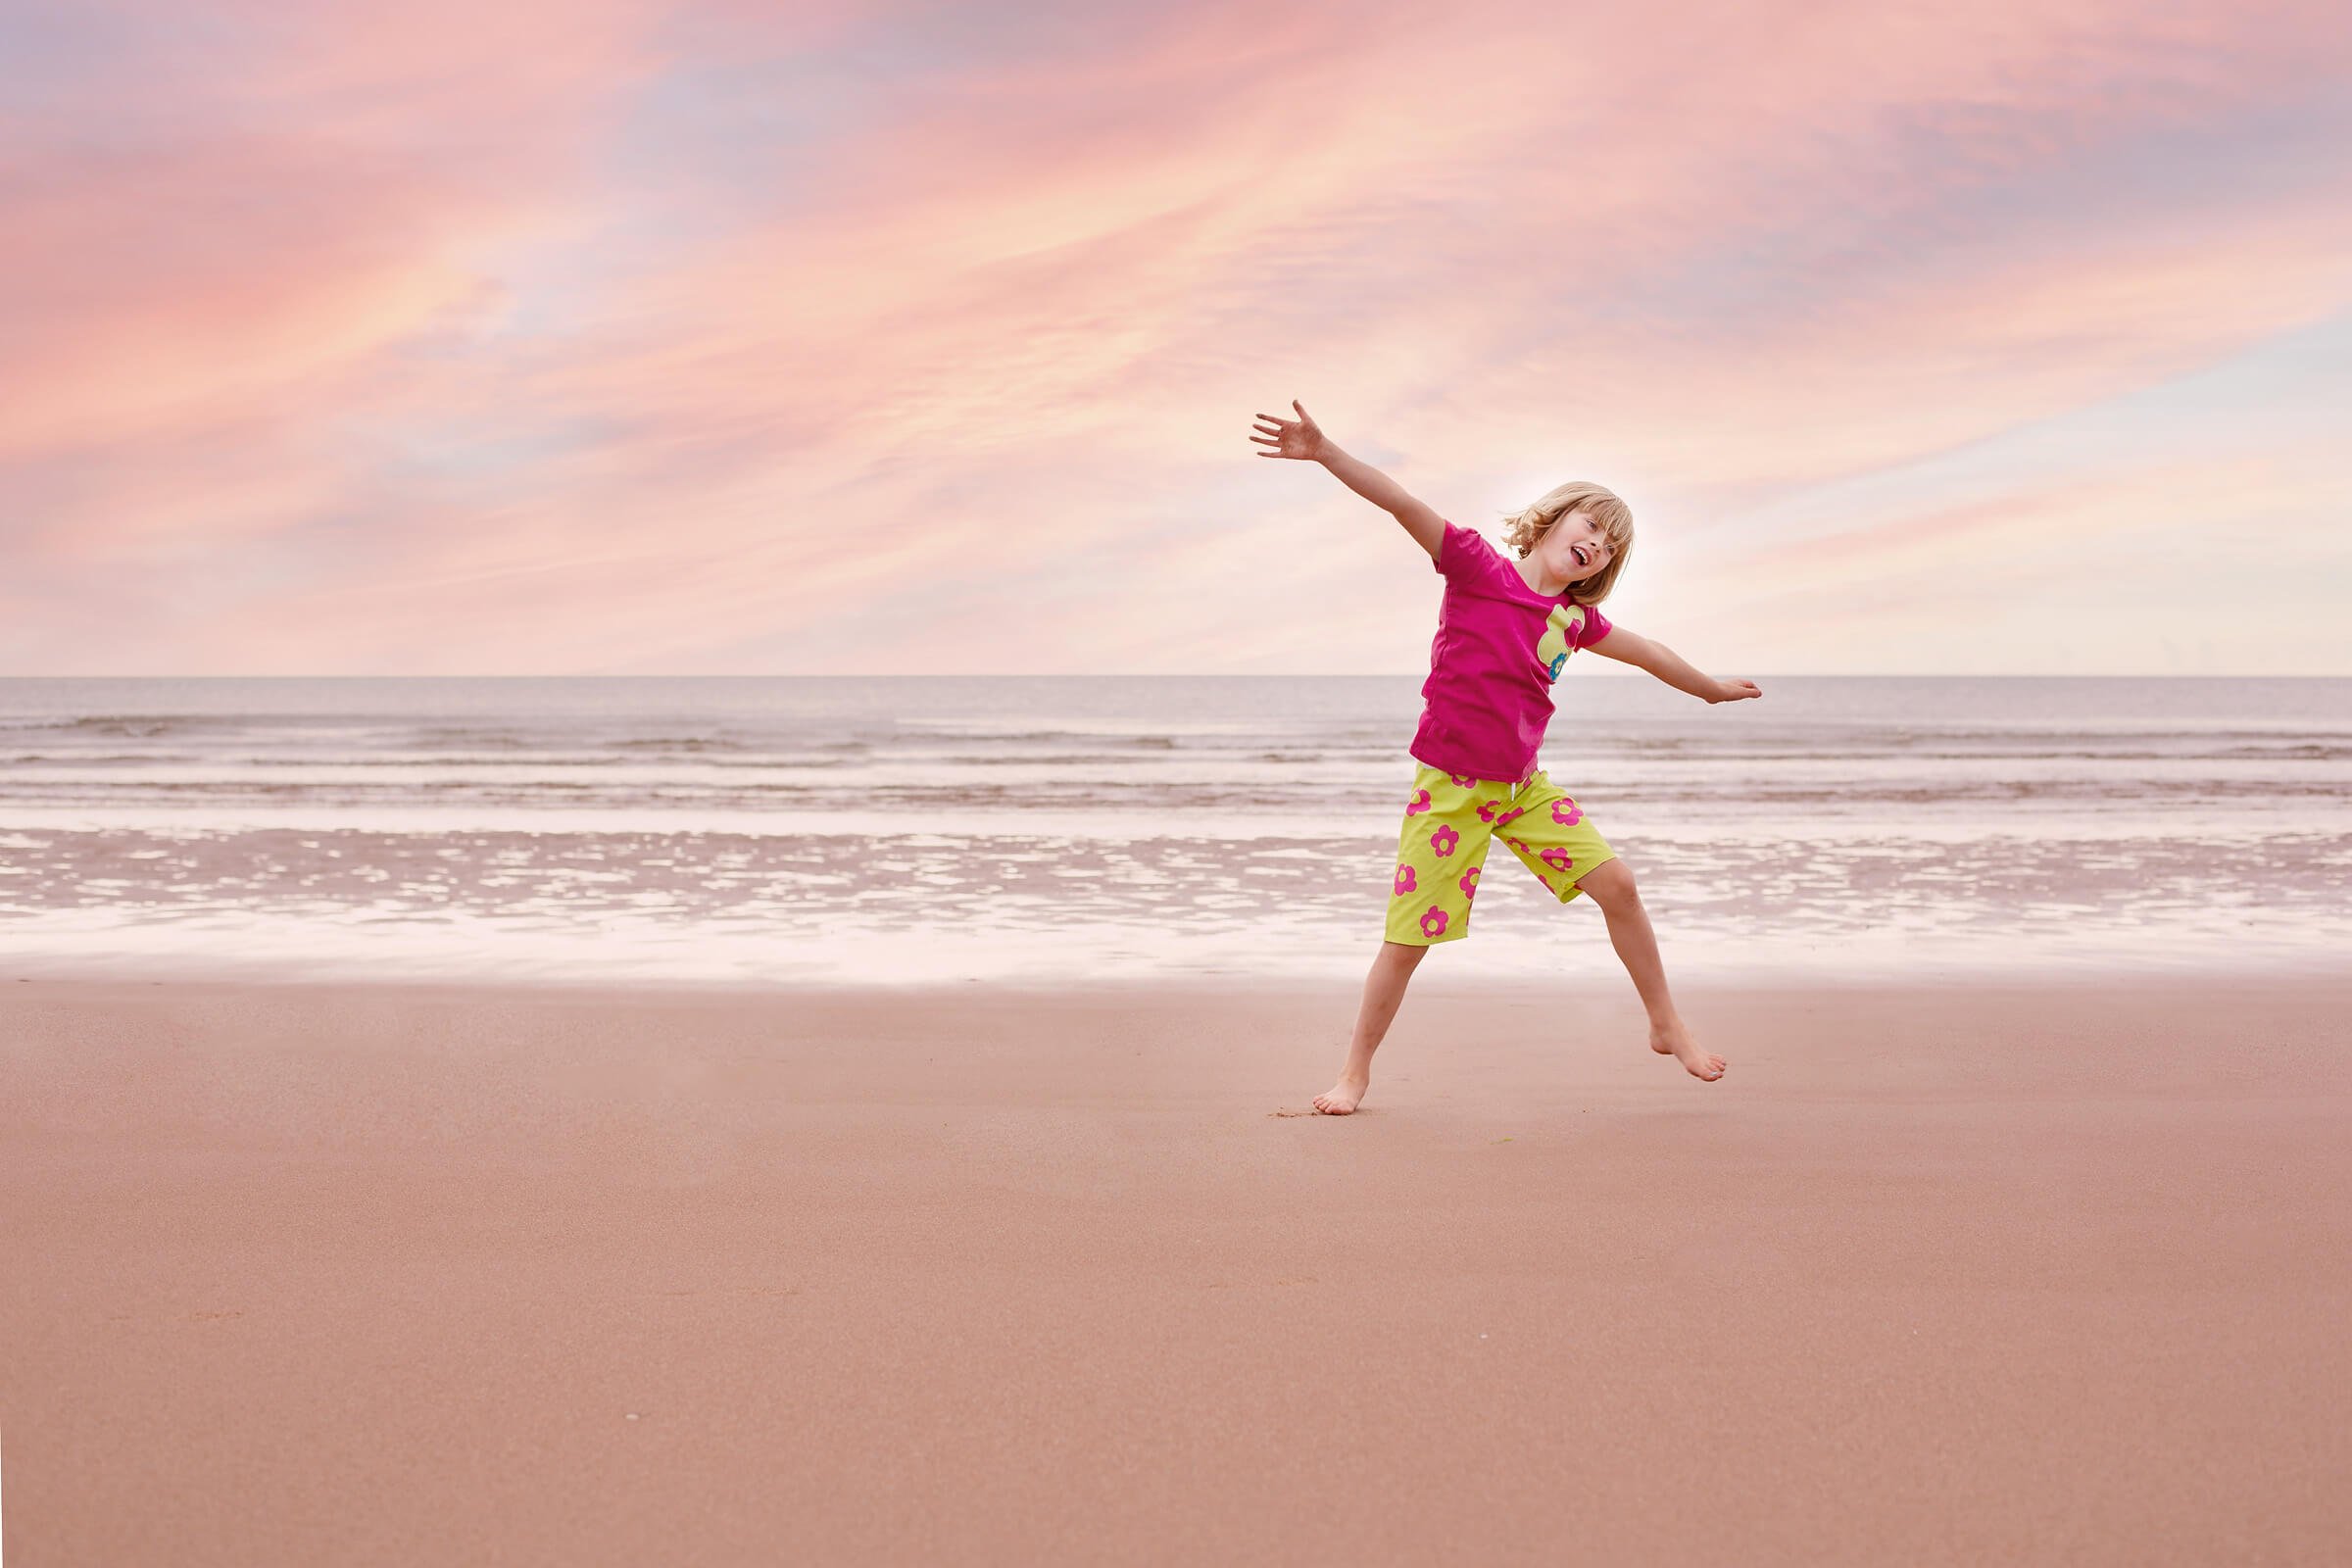
The absolute best time to take beach pictures is undoubtedly the golden hour - that magical hour just before sunset and the hour just after sunrise.
This is when you will get beautiful colours in the sky, and soft light that is perfect for getting those dreamy backlit images, especially in the last (or first) 15 minutes.
Morning golden hour tends to look a little fresher, and less intensely coloured, so if you want more dramatic warm skies, evening golden hour will suit you better, but both work equally well.
Unfortunately, catching golden hour can be really tricky in certain parts of the world - my sunrise in summer is 4.30am, and the sunset is 10pm, so it’s not really an option for many families. I tend to go in early morning or late afternoon, which, although not the BEST time to shoot, the light is usually still manageable. (The closer you can make it to the golden hour, the better!)
The worst time for portraits at the beach is midday, or when the sun is directly overhead, as this leads to harsh shadows on your subjects, and an unflattering angle of light!
Try to avoid this if at all possible, but of course, if you are at the beach to capture memories more than anything else, you’ll just have to work around it. In this case, embrace the more saturated colours you get a this time of day, or find open shade to get flattering light for portraits.
The final time worth a mention is dusk (those 15 minutes after sunset) when you can get amazingly soft light. The light changes incredibly rapidly at this time though, so be prepared to work quickly, and change your settings repeatedly.
(We talk more about light quality, along with directions for light, in our free Mastering Light Starter Guide, so be sure to go here to download it for free!)

What camera settings should I use for beach photography?
The actual camera settings you use will be determined by what you want your photo to look like, what you have in the frame, how much light is in the scene and so on. Which all means it’s pretty impossible to give you camera settings that you can just plug in and use!
So instead, here’s a few tips for you:
TRY BRACKETING
It can sometimes be difficult to get everything you want correctly exposed, so try bracketing your shots, so that you get different areas of the scene correctly exposed. You can then merge them together in Photoshop (or any other editing software that allows you to do it!) You can take different shots at different exposures manually, or you can set your camera to take several exposures of the scene automatically - just look for the bracketing option on your camera!
USE SPOT METERING
As I do with most things, I recommend spot metering! The bright sky and the reflected light from the sand and sea can play havoc with your camera’s metering system, as can shooting into the light, so always spot meter from your subject for best results.

BE PREPARED TO USE A HIGHER APERTURE SETTING
If you are shooting at midday (or close to it) in full sun, then there is a LOT of light bouncing around. You may have to close up your aperture more than you would like, especially if you’re camera only gives you a maximum shutter speed of 1/4000. Just be warned! If you want some more help choosing your camera settings, check out this article on How to Choose Your Camera Settings In Manual Mode.
SHOOT IN RAW
Shooting in RAW is indispensable for beach photos! This way you can correct or get artistic with white balance, and you get much more leeway for bringing back blown highlights or dark shadows. Again, you can learn more about RAW in Photography here.
What lens should I use for photos at the beach?
Shooting at the beach is a great time to experiment with different lenses!
A wide angle lens is great, because it allows you to capture more on the scene, which is perfect for family and environmental portraits.
However, some of my favourite beach photos were taken with a longer length lens to get some gorgeous glittery bokeh, so it pays to experiment!
Decide what you want first - are you looking to include the environment, or get photos that feel like you’re there? Then go wide angle. (My personal favourite is the Sigma 35mm Art lens)
If you want a tighter view and a dreamier feel, go for a longer length lens - I go with a 135mm in my bag too :-)
If you are more of a zoom person, then a 24-70mm is an ideal focal length.
As a little side note - take your lens hood with you!
If you are shooting into the sun for backlit images, you could end up with haze that is overpowering your subject. Use a lens hood to cut back on the haze a little, so that you can still get the details of your subject, but still retains some of that dreamy backlit quality.
One more tip (gosh I am full of them today) it’s best not to switch lenses at the beach if you can avoid it - the last thing you want is sand in your camera sensor! If you do decide to change them, try to do it with your camera in it’s bag, and angle yourself so that the wind isn’t blowing the sand toward you. And don’t dilly dally either - get the new one on as soon as possible to limit the amount of time the sensor is exposed. (If you do end up with sand on your sensor, blast it away with this!)
What equipment do I need for beach photography?
If you want to get background blur on a sunny day, you might struggle because there can be a lot of light bouncing around at the beach! In which case, it can be useful to take a Neutral Density Filter that will cut down on the amount of light reaching sensor, allowing you to shoot a little more wide open. (Get one to fit your lens size - the one linked there is 77mm, but check the thread size of your lens before ordering)
Polarizing filters are also fun as these can give you more deeply saturated colours and reduce haze. (you can read more about what Polarlizing filters are here!)
The only other thing I would recommend is a neck strap- you don’t want to accidentally drop your camera onto the sand, or worse, in the water. (shudders)
Some ideas for more creative beach photos…
Although just getting down there on the shore is great, also look out for areas that have elements that you can use to get more interesting compositions.
Look for things like:
Wooden walkways
Pathways lined with grass
Sand dunes
Multi coloured beach houses
Jetties and piers
Lifeguard stands
Rocks
Umbrellas
Etc!
These can all help give you variety in your beach photoshoot, as you can use them in the background, for your subject to lean against, for leading lines, and in some cases, for open shade.
Other things you can do are capture a silhouette, or the shadows from the harsh sun like the photo below:

On word of caution - be careful if you are posing someone not to ask them to stand on slimy rocks that could be slippy, or in any place they are in danger of falling into the water, or falling from a height. Safety first!
What to wear for a beach photoshoot?
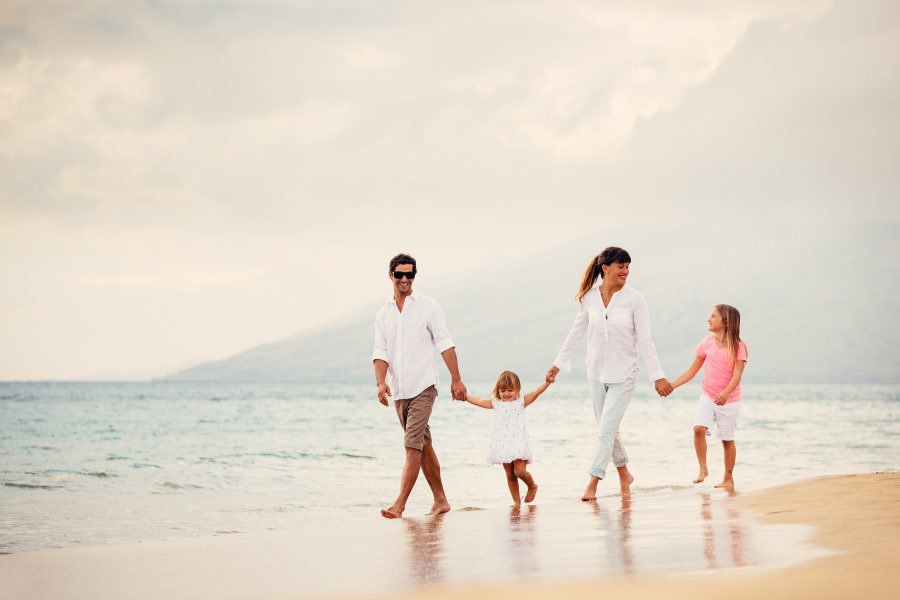
There’s a couple of ways you can go with this - you can choose soft pastel colours like cream, whites, light blues or pinks, and get a soft more tonal feel, OR you can go for bright, saturated colours that will help your subject really pop from the frame. All depends on what you’re going for!
For traditional portraits, I’d stick with the soft colours though. (Here’s an article that give more examples of what to wear for a beach photoshoot)
For photos of your family at the beach having fun, then I think bright colours really help cement that fun feeling, and work perfectly.
What do I do if it’s cloudy?!
It’s happened to us all - you head to the beach filled with joy at the thought of the glorious colours you’ll get at sunrise, or the bright, saturated images you can get at midday….and then you get there and the damn sky is filled with clouds or mist.
But don’t let this be an excuse to put your camera away! You can get some beautiful, ethereal photos when the beach is misty, and cloudy days can make really interesting, dramatic skies (especially if close to a storm!)
In fact, clouds that move in front of the sun can be a blessing when shooting in full sun as you take advantage of the soft light to get softer photos or more portrait style shots.
Even all white skies can be good - think of them as the perfect white backdrop!
How to Edit Beach Photos
Of course, the actual taking of the picture is only half of the equation, so remember to polish those beautiful pictures up in post production.
I always start with white balance and exposure, before doing anything else. So set your white balance (being careful to make sure skin tones are true to life - for example, don’t go overboard trying to bring out the warmth of a sunset with white balance, use your more targeted sliders like HSL in Lightroom. or levels and colour balance in Photoshop)
If you have taken images that have strong highlights and dark shadows, consider dodging and burning to help bring down distracting highlights, or lift shadows that are too dark, or simply use the highlights/whites and shadows/blacks slide in Lightroom.
Then there is SO much creative editing you can do, depending on the time of day you shot. Full sun? Punch up those saturated colours to really make them pop.

Afternoon hazy sun? Play up the haze with levels in Photoshop or the tone curve in Lightroom. Blown out sky? Combine two images (from your bracketed shots!!) or use a sky overlay to add more interest. You could even add a coloured gradient!
If you are new to editing, take a gander at this post on How to Edit Your Photos in Lightroom for more ideas of what to do, and most importantly, when to do it :)
Finally, get rid of any distractions in the frame, like random people that wandering unknowingly into your shot, the inevitable soda can that has been dropped, or patches of ugly seaweed. A few minutes with the patch tool in Photoshop should get rid of these no problem (although you can often do it all in Lightroom, I just tend to prefer the more targeted controls of Photoshop!)
Here’s some more articles and resources I think you’ll like:
FREE Mastering Natural Light Starter Guide
8 Tips for Shooting at The Beach
How to Take a Silhouette Photo
How to Choose Your Settings in Manual Mode (with examples!)
Travel Photography: What Photography Gear to Pack
There you have it - some (hopefully!) helpful tips and tricks for getting great photos at the beach! If I missed anything you want to know about, be sure to ask away in the comments below: