5 Natural Light Tips for Beginners
I pretty much exclusively use natural light for my images, because I love the variety and beauty it offers. I also love the challenge of working with what mother nature has given me to work with on any particular day!
However, learning to work with and see light effectively does take some time, so today, I want to go over some tips for working with natural light that is just for beginners.
Let's get stuck in!
Tip #1- Keep the light simple....at first
There are so many different types of light, and so many ways to light your subject, that it can be tempting to try everything at once. However, until you truly understand light - and most importantly know how to meter effectively for it - it's easier to stick to some simple lighting situations at first.
The easiest way to light your subject is to have your subject face into the light, and for you to be (almost) in between the light source and your subject. (just be careful not to block the light) This gives nice, even lighting on your subject which is universally flattering, and very easy to photograph in as you don't have big light contrasts.
If you are indoors, have your subject face the window. The only thing you want to watch out for here, is making sure that the sun isn't streaming directly in through the window. If it is, choose a different window, or wait until the sun has moved around and away from the window.
If you are outdoors, it's a little more tricky as you can't "manage" the scene so much. Having your subject face into the light source is much easier to achieve on a overcast day, as the clouds soften the light and make it more even. Having someone look directly into the sun will lead to squinty eyes too which is not the most flattering look!
Lighting your subject from the front is often referred to as flat light, because the light lands "flat" on your subject, and does not give you any shadows. Whilst that might sound like a good light, shadows are actually GOOD things, because they help mould your subject, and give a more three dimensional quality to the image.
This is why, when you are happy using front light, you are going to branch out to try to angle your subject away from the light a bit, so that you introduce some shadowing. Again, it's simple to to do - just have your subject turn away a bit from the light source so that it hits them more from the side than the front. It's a gentle way to introduce using different types of light - just angling your subject differently to produce different levels of shadowing.
Tip #2 - Move your subject until you see catchlights
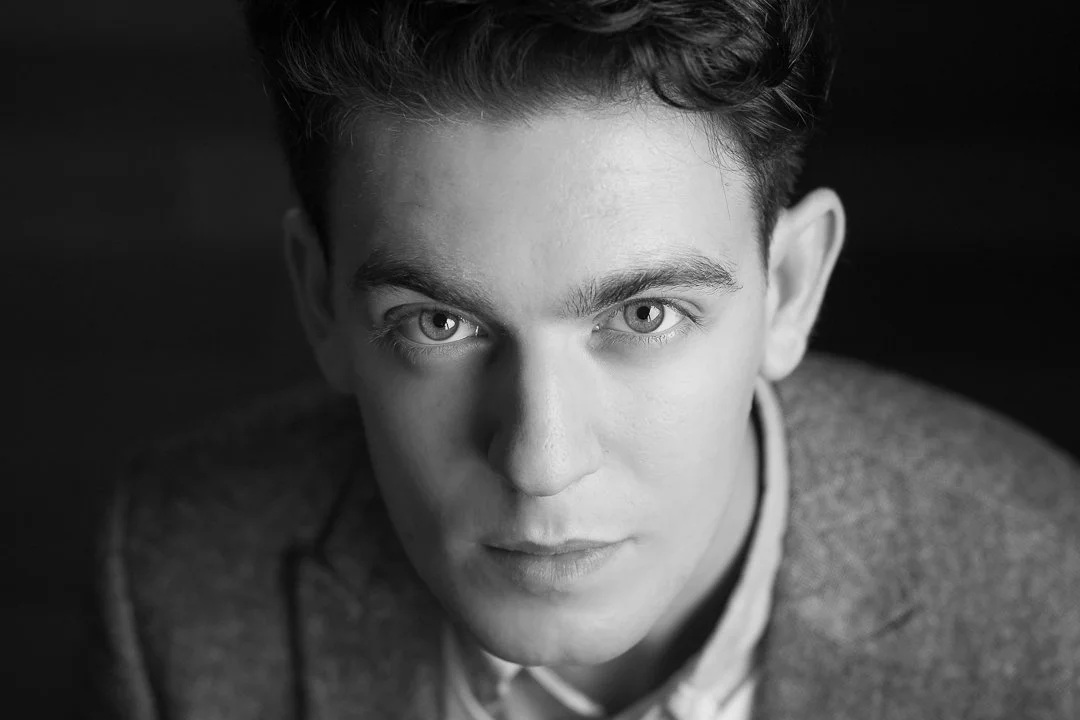
Catchlights are simply reflections of the light source in your subject’s eyes. You always want to see a bit of a catchlight, because they add life to an image of a person - without it, the eyes can look "dead".
It's very simple to create catchlights - you need to have your subject where the eyes can pick up the light! (A great exercise in being able to see catchlights is to have your subject turn 360 around in the same position, and watch how the catchlights in the eyes change with each turn) You can read more about catchlights here.
If you light your subject from the front, then you should automatically get fantastic catchlights. However, when you start to move your subject away from the light, in order to get that shadowing, then you will need to keep watch on the catchlights to make sure you still have them!
Of course I totally appreciate that you may not want or be able to move your subject, in which case you will just need to be primed and patient and wait until you see that spark in their eye before snapping the shutter!
Tip #3 - Watch for dappled light
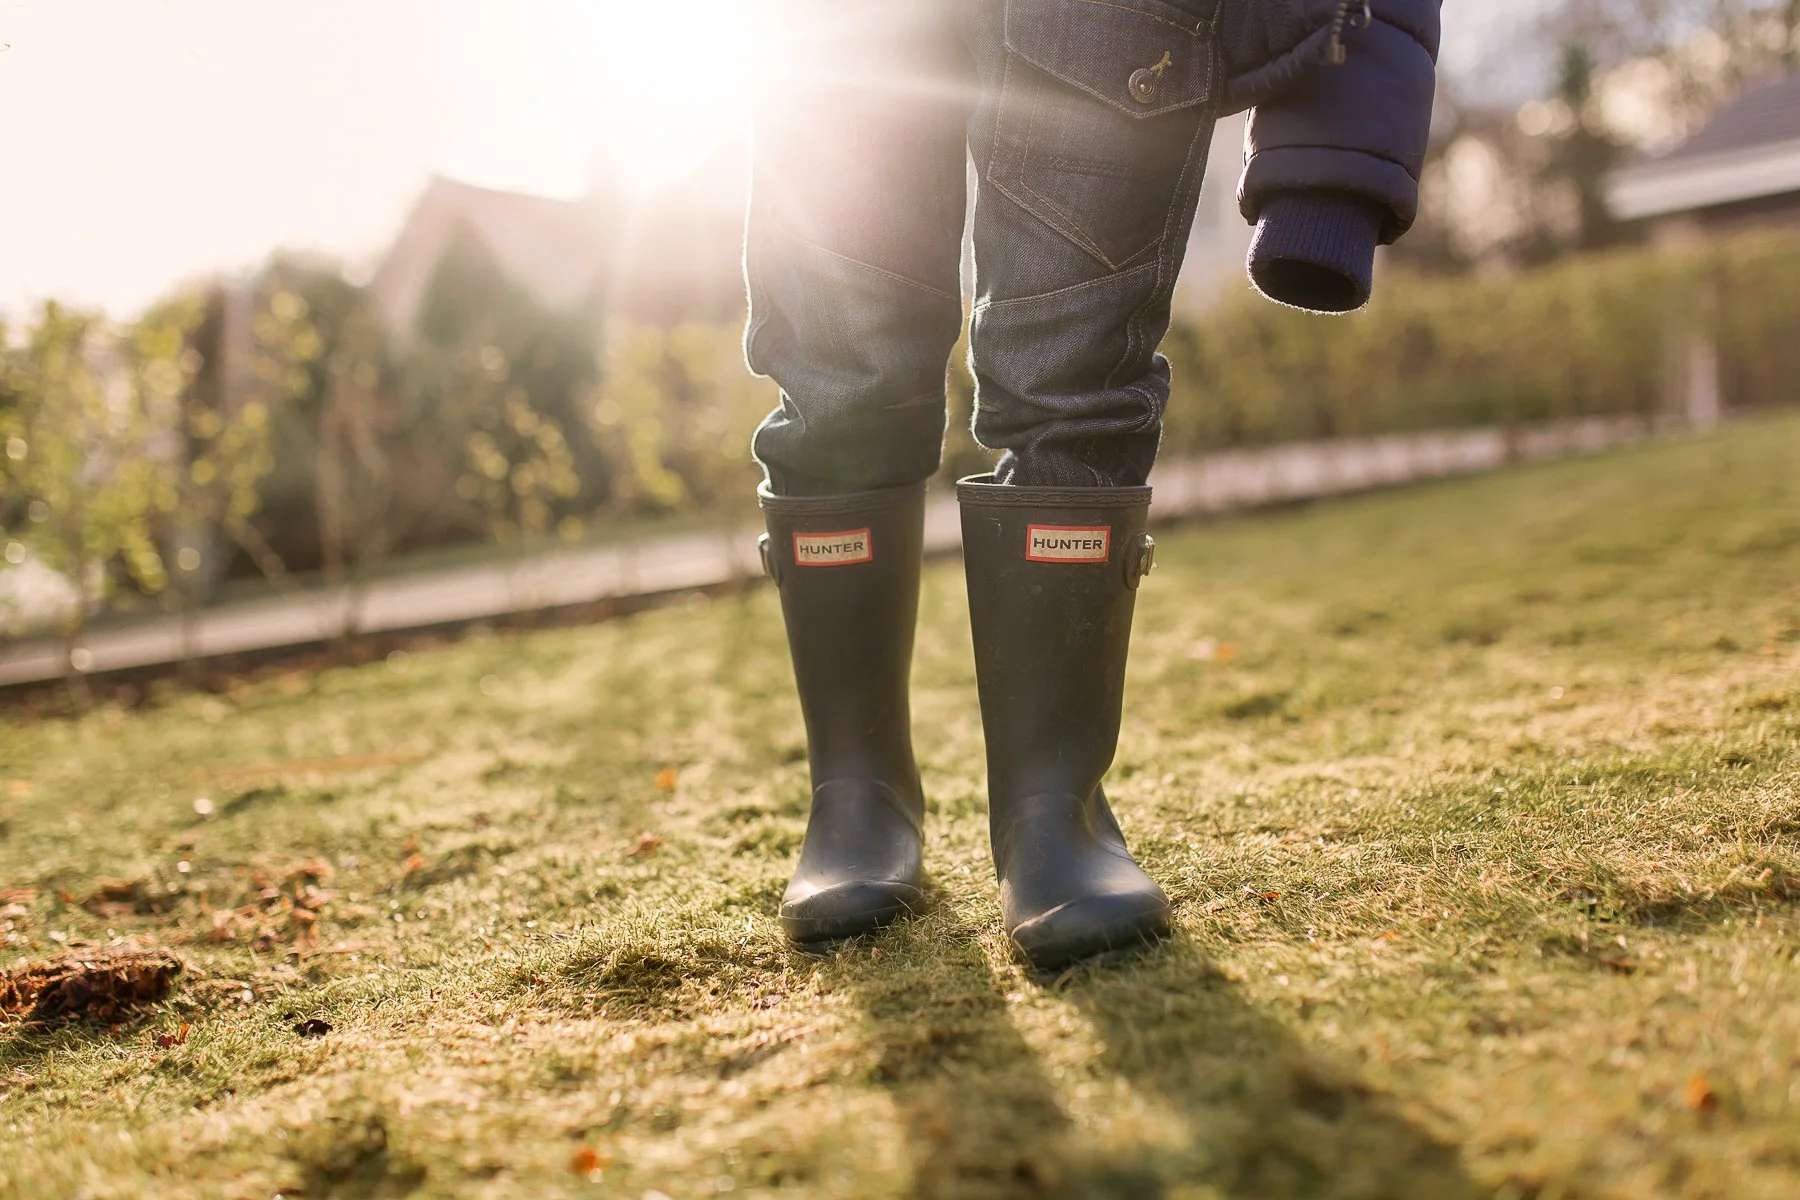
Dappled light is when you have patches of light poking through an otherwise shaded area. For example, if you underneath a tree, then most of you would be under shade, but you would get small patches of light beaming through. These patches of light will give you blown highlights if you don't know how to meter effectively, and also give you distracting elements within the frame if they land on your subject.
Again,, when you understand and can work more easily with light, dappled light can be fun to play with, but for a beginner, it's best avoided. The easiest thing to do is simply move your subject so that they are in an area of shade that is fully covered, or back out into open light.
Tip #5 - Don't mix different light sources
Another thing to avoid is mixed light sources. A classic example of this is where you have natural light coming in from a window, and the light from a lamp both lighting the scene. However, it can be any two sources of light, for example, when you have an iPad light and a tungsten floor lamp both lighting your subject.
The reason we want to avoid this is because of our white balance. White balance is simply the colour of light, and different types of light emit different colours. It can either be cool, which is bluer, or warmer, which is more yellow.
Our eyes (clever things that they are) can "read" and adjust for different colours of light, even in the same scene. However, our camera can only set ONE white balance at a time. This means that if you mix your light sources, you could have one light showing as being blue, and the second light source as being yellow, which can make your image look decidedly off.
You can fix this in processing, but it can be tricky and time consuming (and in some cases you won't get the best result) so the best thing is simply to avoid it when shooting. If you have natural light coming in, turn off any lamps and just go with natural light. Alternatively you could turn on more lamps, and close the blinds. (Here's a guide to fixing white balance in processing if you need it)
My usual caveat applies as there may be some instances when you WANT those two different white balances in a scene - for example when you are photographing a house in a snow scene, you may want to show how cold it is outside by having the white balance look blue there, and show how much warmer it is inside, with the white balance looking more yellow. (Yup, for every single rule there is a reason to break it somewhere!)
Tip #5 - Avoid High Noon
When you are first starting out, I advise that you avoid the harsh sun of midday. It's much harder to get good exposure at that time, as the contrast is so much more extreme. It's also not the most flattering of angle of light, as the light comes from directly overhead, giving your subject "racoon" eyes.
Cloudy days are far easier to work with when starting out, just because the sun is diffused by clouds giving a softer light, but you STILL try to avoid midday, as the sun will still have some direction and you won't get the most flattering light then. It will also be difficult to get catchlights into the eyes - which as you know, is something we want!
Of course, midday sun can look great too, so if you are more experienced you definitely don't have to avoid it - in fact I love the challenge of full sun these days! It's about starting with light that is easier to work with, before building up to more challenging types of light.
Remember, these tips are just for beginners, so when you get more experienced, you will definitely want to branch out into learning how to conquer ALL lighting situations. For example, you will want to get outside in full sun and play with shadows or silhouettes, or place your subject in a patch of light to get dramatic light, or move around your subject and experiment with backlight or split lighting. The possibilities are truly endless!


