
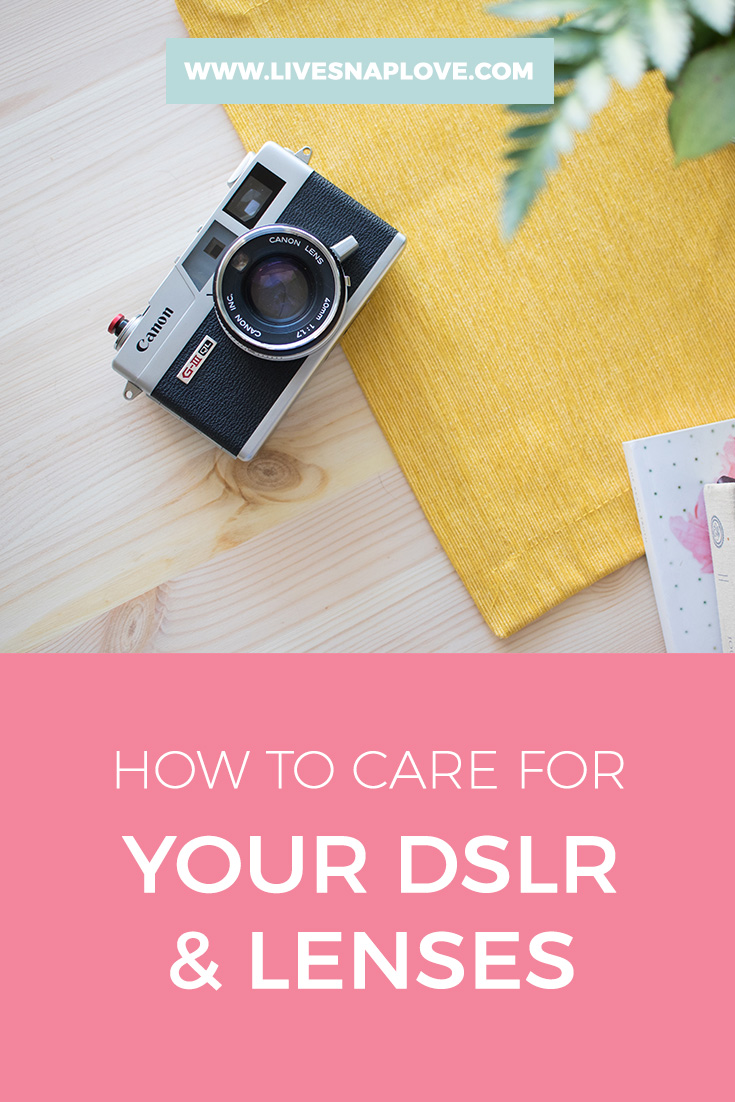
How to Care for your DSLR & Lenses
After investing all that money on your amazing new camera and lenses, it makes sense to spend a little time on them to make sure that they stay in tip top condition!
This is mainly so that you continue to get the best image quality and extend the life of your equipment, but it also helps should you want to sell on some of your equipment at any time. I've sold a couple of lenses now and I've gotten a pretty good price for them: lenses in particular hold their value well if you look after them.
I have a bit of a routine that I have with cleaning and maintaining my gear - and I'm sharing it with all today!
1) Clean Lenses Regularly
Your lenses need to be cleaned regularly to ensure the best image quality and also to cut down on dust and particles that could potentially scratch your lens surface, so I do try to clean these regularly. Here's what you do: Gently brush over the lens surface with a soft brush to remove any debris or dust. (The reason to brush the lens first is to make sure that you are not rubbing a bit of grit across the lens when you clean with your cloth. This could potentially scratch it - the last thing you want to do!) Once you have any grit off, just give the lens a gentle clean with a Microfiber Cleaning Cloth or tissue, or the soft padded side of your LensPen if you have one. Most marks will come off with this (especially with the Lenspen) but if you have smudges on your lens that the cloth doesn't get rid off on it's own you can use a lens spray cleaner - make sure you use one specifically designed for camera lenses so you don't rub off the special coating that lenses have to reduce glare etc. You don't need to use a cleaning fluid all the time though, just if you have smudges that your microfibre cloth doesn't wipe off - but usually by the time I'm getting around to giving them a good clean they need some fluid to get the greasier fingerprints off! You should be doing this with both the front and rear elements. I suggest getting a cleaning kit like this one, which has a brush, cleaning fluid, microfibre cloth and a Lenspen.
For day to day cleaning of my lenses, I use a LensPen. It has a soft brush on one side and a soft cleaning pad on the other, which you use to gently buff away any smears. There's no liquid so it doesn't dry out. The Lenspen is handy, quick and works really well - I like the fact that I have my brush and cleaning element in one, and it's easy to store in my bag and use when I'm out about.
2) Keep your DSLR Clean
Dust and debris can easily make it's way into your camera sensor, especially if like me you change lenses a great deal, so it's good to keep your camera clean. Although the dust doesn't do much harm on the outside, the more dust there is on your camera, the more has the potential to get into your sensor and lenses, so a clean camera body is a good thing to have! Just give the body a clean on the outside with a microfibre cloth to pick up any dust particles, and clean the viewing screen with a bit of lens cleaning fluid if it has a lot of smudges on it. You might also want to give your viewfinder a bit of a once over - you can simply use a cotton swab dabbed in a little lens cleaning fluid.
3) Get The Sensor to Be Professionally Cleaned
You will occasionally need to have the sensor of your camera cleaned - you can do this yourself but I'm too scared to do this, as you really need to know what you are doing as you have the potential to do so much more harm than good! Wait until you get a build up of dirt - you'll start noticing specs appearing on your images, then take it to have the sensor cleaned professionally by your local camera repair shop. How often you need to do this depends on how often you change lenses and how careful you are when you change them. Probably every year for a non-professional - even longer than that if you don't change your lenses terribly often. To check if you need your sensor cleaned you can do the following:
1. Set the aperture to f/16 or higher (large apertures tend not to show up the dirt)
2. Take a picture of something white - a wall, ceiling or piece of foam core (You may need to do this outside as you will struggle to get enough light inside. Either that or use a flash)
3. Check the resulting image for grey spots - if there are any this is probably going to be dust on your sensor. Take a few different shots in different areas to be sure.
As I say, if there are just one or two on the outside of the lens you can wait until they start to build up a bit - you will probably always get a little bit of dust in the sensor.
When your lens is shooting wide open, you won't see that much dirt - it's when you are closing up that aperture that the specks start to become a nuisance so I am currently blissfully unaware as to how dirty my sensor is!
4) Clean Out The Camera Bag
Around every three months (give or take) I take my camera and lenses out of my camera bag and give the bag a good clean - hoovering on the inside to pick up any dust on crumbs that might find their way into my camera and lenses. (If your camera bag also doubles as purse or nappy bag, I would clean it much more regularly than that - it's amazing how much crumbs can accumulate if you are carrying around snacks etc!) I do this when I'm cleaning my lenses and DSLR.

5) Give Accessories A Clean
At the same time, I give my flash gun, memory card, batteries etc a quick brush on the contact elements to keep them clean will make sure there is never enough of a dirt build up to cause problems. . Remember if you are not planning on using your camera for a while take the battery out - they have the potential to leak and you don't want that to get into your camera body!
6) Store Equipment Properly
This is definitely more of a "do as I say" not "do as I do"! My DSLR lives in the kitchen most of my time so it's ready for impromptu snaps, but technically speaking you really should store your camera in a bag to protect the electronics from dust and falls - anything that allows it to be covered, and padded to absorb the shock of a fall is best. The same applies to your lenses - ideally they should be bagged with a dust cover - something like these. That way if they get pulled over or fall from the shelf - they are not going to suffer any damage.
7) Protect Your Equipment
Make sure that you always have on a lens cap when not taking pictures, and that the rear element on the lens is also covered when not in use. When changing lenses, do so out of the wind, cover the sensor as much as possible, point the camera down and do it as quickly as you can so that you are limiting the amount of dust that can get into the sensor. If you are storing your camera without a lens on it, make sure that you put the front cover on to stop dust getting into the sensor.
8) Servicing
You should also take your DSLR to be serviced every three to five years - I've never had one that long so it's never come up yet! It may change with different camera types but generally they will check the general functionality of the camera, the autofocus system, calibrate the metering system and upload any firmware update, and give the sensor and mirror are given a clean at the same time.
I think that pretty much covers it! Here's my camera cleaning kit and some ideas to what to get:
All-In-One Kits
Camera Cleaning Kit - this contains everything you will ever need so if you don't yet have anything this kit is a great one to get.
Nikon All in One Cleaning Kit - Ditto
LensPen Camera Cleaning Kit - A great little kit - comes with a LensPen, Microfibre Cloth, and a LensPen MicroPro for cleaning your viewfinder.
Once again, I have managed to make the relatively simple thing of DSLR maintenance into an epic post. Yes, it looks a lot on paper, but it's actually not that much - a good clean now and again, some sensible storage precautions and some trips to an authorised service centre is all you need to keep your gear in great condition for years to come!