
How to Photograph Children's Artwork

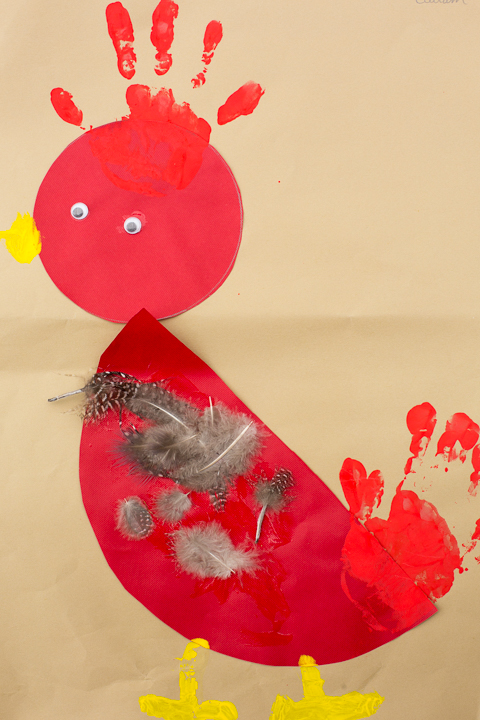
Every week my son will come home from school with at least two or three new works of art - and possibly a certificate or two - which up until now I've simply been tossing into a large storage basket. Even though not every single one makes it into the basket, the pile is still getting pretty big, so to stop it from becoming overwhelming, I've decided to take action on the artwork!
In a nutshell, my strategy is to keep just one or two pieces that I can't bear to throw out, and to photograph the rest. This is a great way to keep the piles of artwork down to a minimum, and lose the guilt about throwing them away at the same time :). Although you could scan them, I find that many of them are simply just too big to find inside my scanner, and also it is just MUCH quicker to photograph them. I got through a three years (!) worth of artwork in around 20 minutes.
Here's how to photograph children's' artwork:

STEP ONE: Find a room that has loads of natural light but no direct sunlight, and get the artwork as close to the light source (window or door for example) as possible. I choose my sunroom as it is all glass, and on a cloudy day when the sun isn't streaming directly in it's great for tasks like these.
STEP TWO: Turn off the flash - you shouldn't need it if you have followed step one above anyway!
STEP THREE: Use a higher F stop setting on your camera. I ended up using F8.0 ( I had loads of light) but F5.6 or so is fine. If you cannot control the settings on your camera, use Landscape scene mode - this will naturally give you a higher F stop.
STEP FOUR: Make sure you have your white balance setting correct - we want minimum, if any,post processing! (To save on having to do ANY type of post processing, set your camera to JPEG if you normally shoot in RAW. However, if you feel that your children's artwork deserves a bit of polish, feel free to give them a little edit!)
STEP FIVE: You need to stand directly over the artwork so the camera is parallel to it. I used my 50mm lens (so I wouldn't have to deal with any distortion) and was just able to have it on the table whilst I stood over it. You need to make sure that your lens is completely opposite the print, and not at an angle. If you only have a longer lens, stand on a chair and / or put the artwork on the ground so you can get right over it, or even pin it to the wall using blue tack.
STEP SIX: Make sure you are not blocking the light source - you don't want to see any shadows on your children's artwork.
STEP SEVEN: Make sure that you have all the lines straight in the viewfinder (the top edge of the artwork should align with the top edge of the frame) and that you are parallel to the artwork. If you want to ensure you don't have to crop the images in processing, make sure that it fills the frame.
STEP EIGHT: Snap away! Once you have your settings correct, you can just take one photo after the other until your back seizes up from being bent over piles of artwork.
STEP NINE: Upload, and check that they have all transferred OK to your computer. If everything looks fine, quickly, but quietly, make your way to the trash can with three years worth of artwork and toss it in, and get back before you are cornered by your five year old demanding to know why you have just tossed his painstakingly made creations.
Finished!
So, now I have all the artwork photographed, uploaded, and saved as JPEG's. This is great, but - in the same way that I don't want to have any other type of images on the hard drive only - my next step is to display and curate them! So, here is a post with some ideas for displaying and storing your kids artwork!
Have a great weekend when it comes!