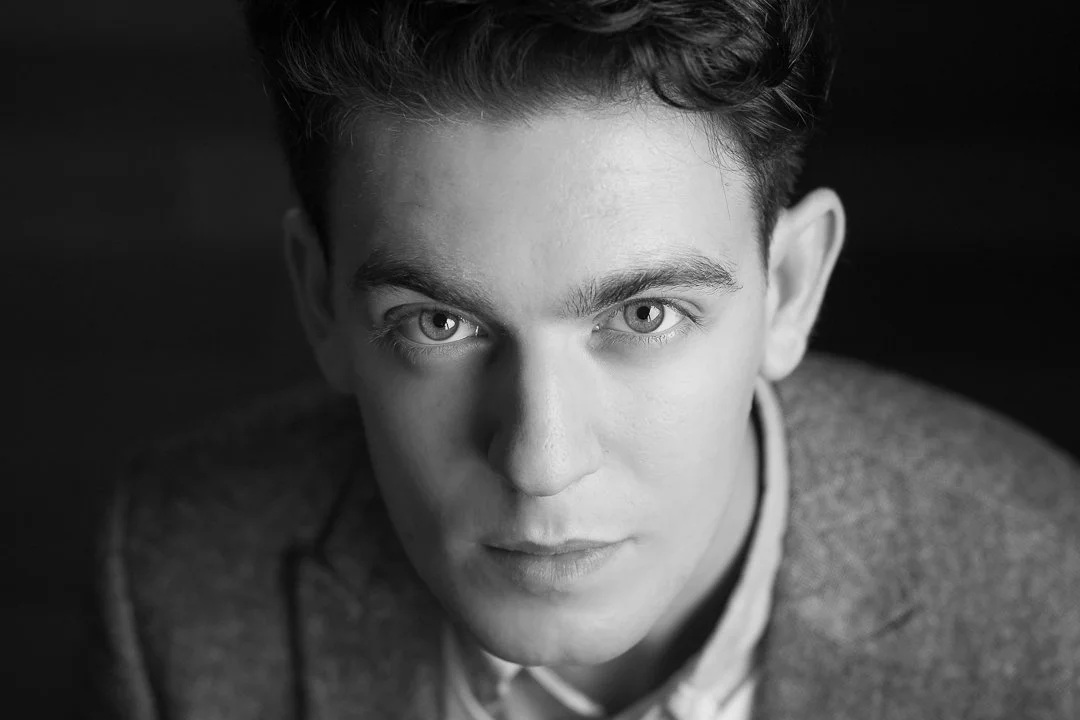
How to get a blurred background
If there is one thing that people most want to know when they are starting out, it's the trick of getting your subject in sharp focus, whilst leaving the background blurred.
This is used a lot in portrait photography, as it allows the subject to really stand out and be the main feature, and I find this is also useful for lifestyle photography, when you are probably working with less than ideal backgrounds!
Getting a blurred background is actually quite simple to do, it just needs a little bit of practice, so let's get straight on with the five steps to getting amazing, yummy background blur, shall we?
Before we dive in, I just want to let you know about an awesome little freebie I have for you that goes along with this post! It’s a comprehensive 8 page Aperture Priority Cheat Sheet, which has suggested numbers on all THREE elements of exposure for you - so Aperture, Shutter Speed and ISO, plus a guide to shooting in Aperture Priority Mode. You’ll need it to get the most out of this blog post, so before you go any further, go grab it here, then come back here to learn how to get a blurred background!
STEP 1) Set your camera to aperture priority mode.
The first thing you need to do is set your camera to Aperture Priority Mode.
This will allow you to set the aperture manually, but the camera will take care of the rest of the settings, like shutter speed and ISO (which together with aperture, controls the amount of light that reaches the camera sensor)
As you get more proficient, you will want to manually set all three in Manual Mode (which really is not as scary as it sounds!
But for now, simply turn the dial on the top of your camera to AV (if you use Canon) or A (if you use Nikon)
STEP 2) Set your camera to a low (small) number.
The next step is to set your aperture.
Aperture is measured in something called F stops, and how small a number you can use will depend on the type of camera you have, and the type of lens.
If you have the kit lens that came with your camera, you may only be able to go down to F3.6 but other lenses will stop lower, say F1.8 or even F1.4.
If your lens only goes down to F3.6 then I would suggest using this setting.
If you have a prime lens that will allow you to stop down F1.8, then I suggest choosing a few stops above, at F2.8. This is just so you don't get any issues with your focus - we still want our subject sharp, and just have the background blurred.
Using a large aperture (small F number) is the first step in getting a blurred background. The smaller a number you use, the more blurry the background will be, but honestly, F2.8 will do just fine if you follow the rest of the steps.
STEP 3) Make sure your subject is a reasonable distance from the background.
Don't worry too much if you can't go as low as you would like with your F number, as there are some further things you can do that will enhance the background blur!
The first is to make sure that your subject is as far away from the background as possible.
Basically, the further away your subject is from the background, the more blur you can get. If your subject is right up against a wall it doesn't matter what you do, you'll not get much blur!
So, pull them away from the background and then....
STEP 4) Stand further back and zoom in on your subject or use a longer length lens.
Basically, a longer length lens will give better background blur (it basically magnifies the blur, making it look even more out of focus)
So, if you have a ZOOM lens, I'll like you to stand farther back from your subject, and zoom in.
If you don't have a zoom, and you have a choice of lenses, choose the one with the longest focal length. The focal length is simply the number before the "mm" on your lens - so a 85mm is a longer focal length than a 50mm. If you have the "nifty fifty" (a 50mm F1.8) then this is a perfect length to get some blur.
STEP 5) Focus on your subject and take the photo!
Press your shutter down halfway to set focus on your subject, wait for confirmation that focus is set (usually a green light) and press the button!
You'll get different results depending on all the above factors, but if you keep the above in mind you should manage this easily, and get great results.
Try it out - set your camera to aperture mode, set it at a low number, stand back from your subject and zoom in (if you are using a zoom) and try to make sure your subject is a good distance from the background, and see what happens!
And if you read all the way down here without grabbing your cheatsheet - go do that now! It will help make the above much easier as you’ll know which settings to use! Go here to grab it before you forget :)


