In just six weeks, you could be handling your camera with total confidence—and capturing scroll-stopping, pro-level photos you love (and can’t wait to show off 😉).
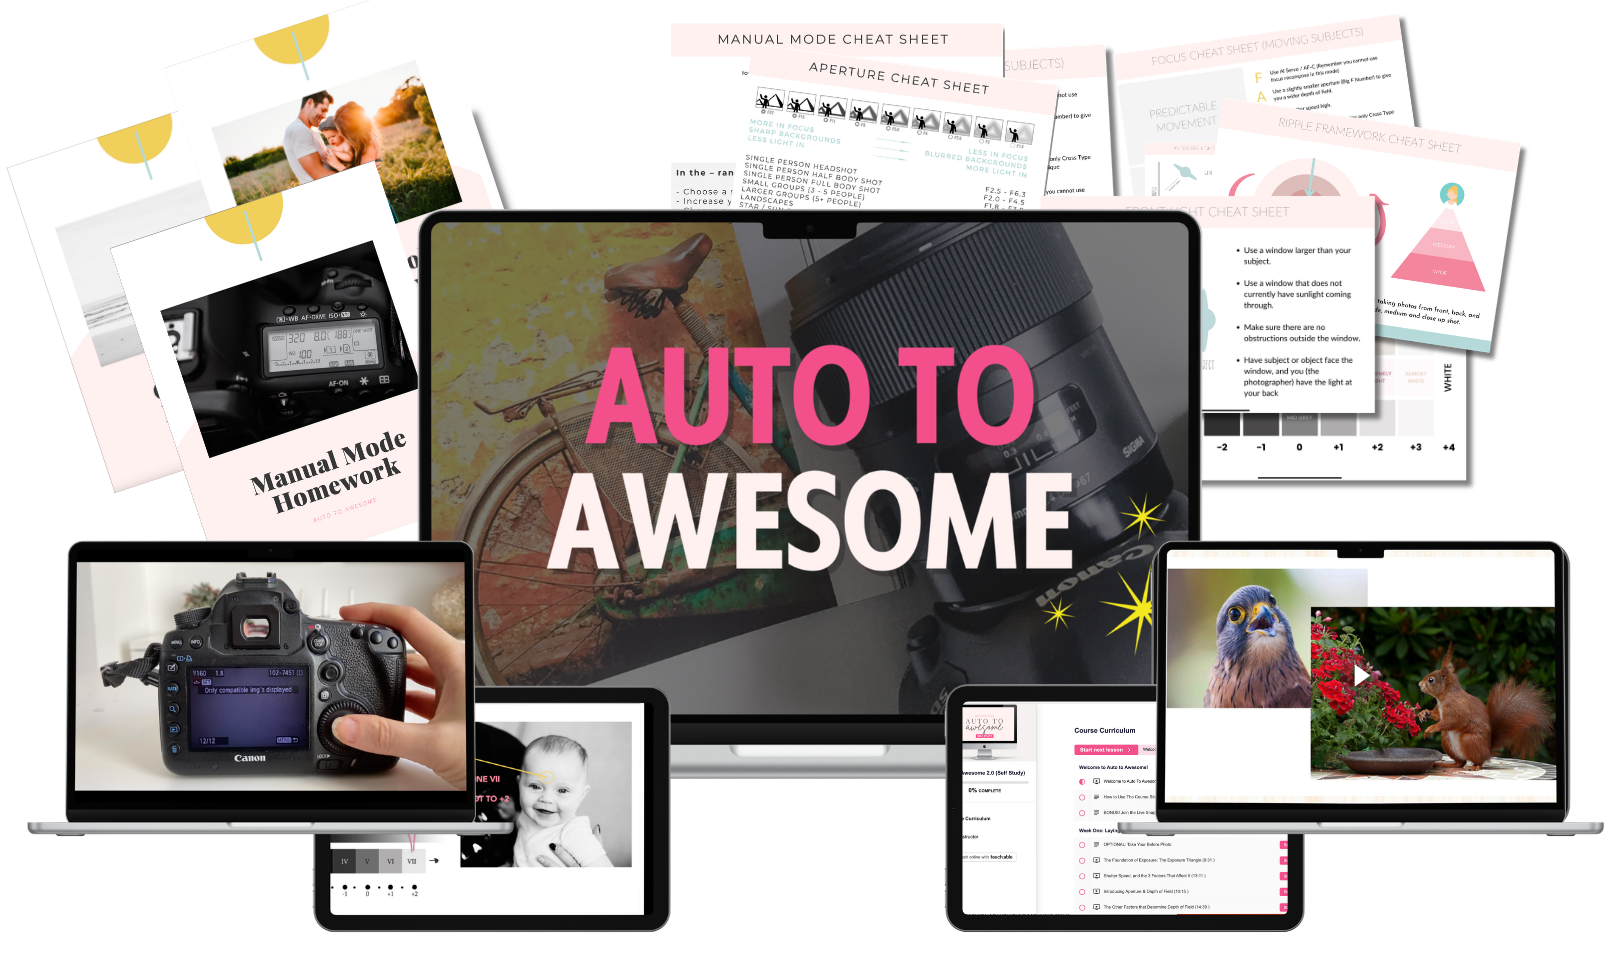
Auto to Awesome is currently closed for enrollment.
While you wait for the doors to open, why not grab our FREE camera settings cheat sheet to help you while you wait?
Let me guess...You forked out a wad of cash for a "fancy" camera...
... but most of your photos are dark, dreary, and out of focus, and absolutely nothing like the light, bright, tack sharp images you thought you'd be able to get with it!
So you're spending hours scouring the internet for tips and tricks (or worse, thinking AI has the right answers!) but because you don't have all the info, nothing feels like it's coming together, and worse, you don't know what you need to do to get better results.
Heck, you might even be thinking that you just aren't talented in photography, so you should quietly give it up, and hope no-one asks why you’re still taking pictures with your phone camera.
It's time to take control, so you can start to make the photos you see in your head become a reality!
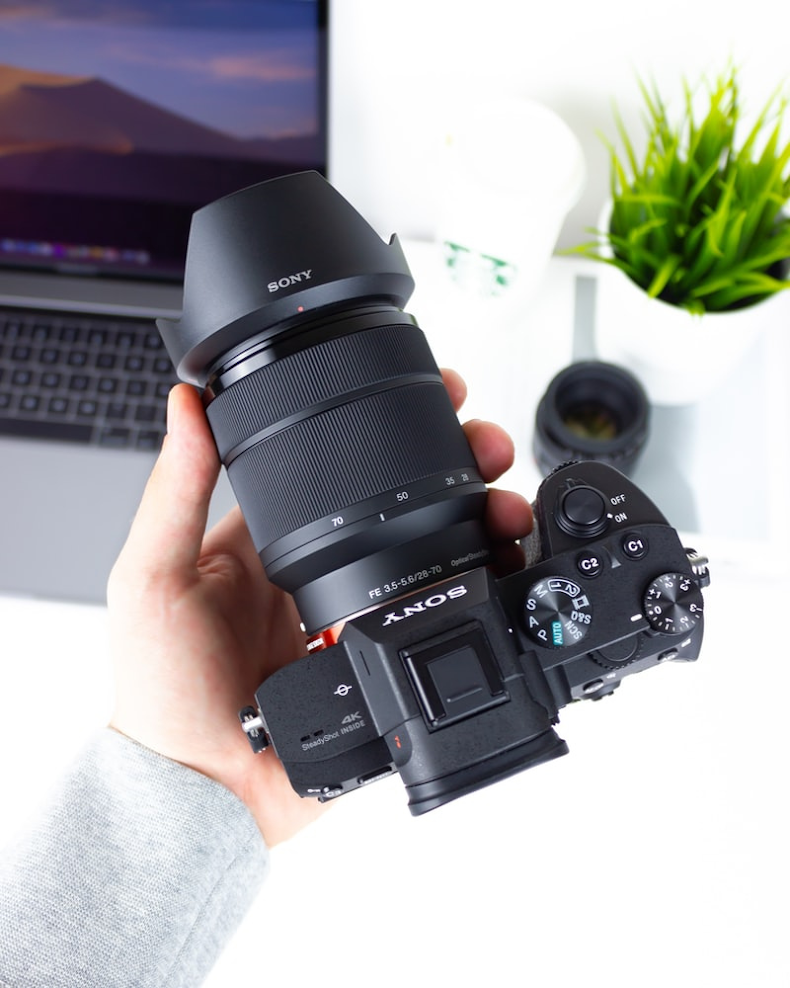
Which is exactly what these students did...
...so they could take photos like these....

🙋♀️ Does this sound familiar?!
You’re…

Frustrated because you see all these beautiful images taken by other photographers, and are STILL wondering "how the heck did they DO that?!"
Taking forever to get your settings right because you’re constantly fumbling and second guessing yourself, and by the time you’re ready, the moment’s already gone.
Wasting hours reading disjointed tutorials where nothing comes together, and you swear you're actually going in reverse.
Spending money on tools and gadgets in the hope they will help you take better photos….. but that don't seem to make that much difference!
Wondering why most of your images are soft and out of focus - in fact, so many that you're beginning to think your lens must be broken 😁
Tired of getting inconsistent results and trying to "save" your images (or crossing your fingers that no-one will notice the slightly out-of-focus bits)
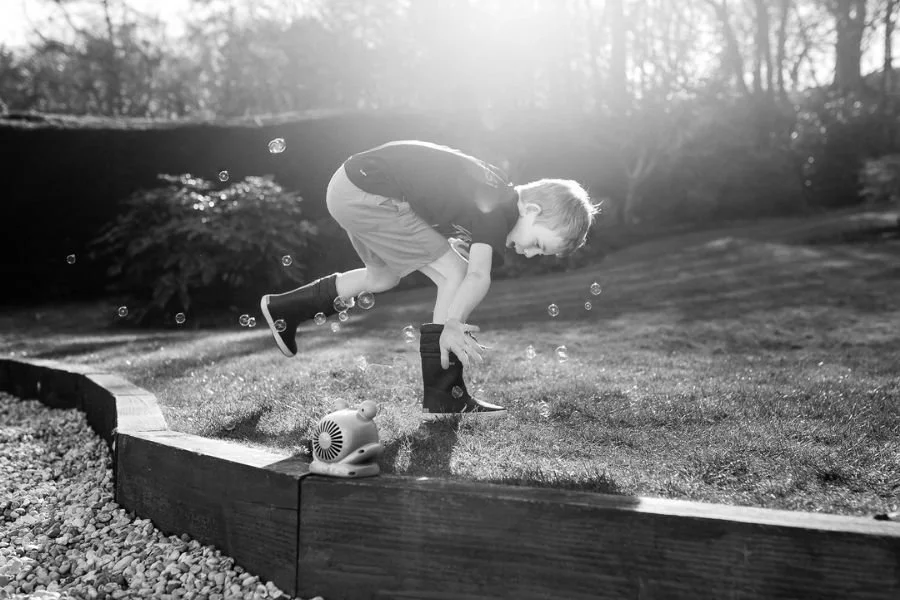
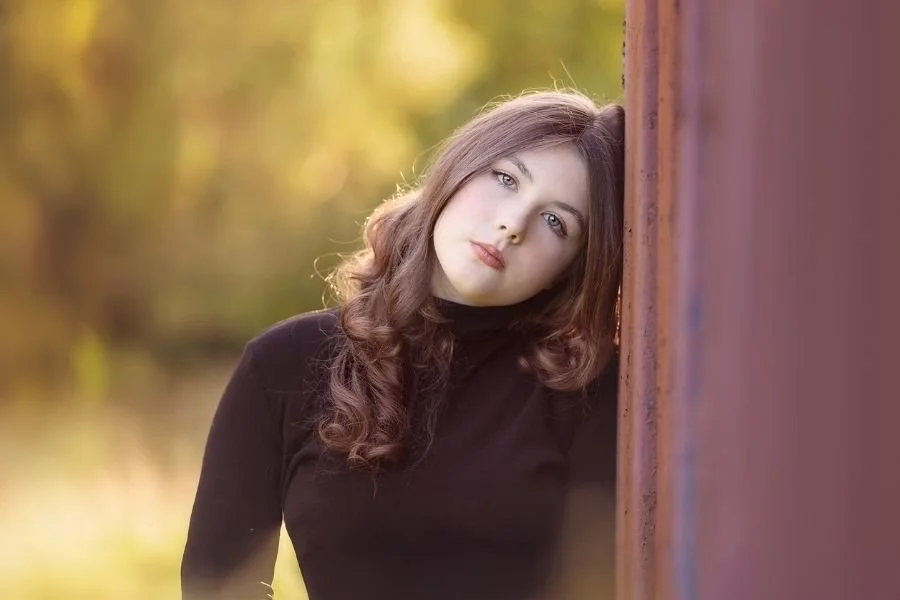

Instead, imagine if in just a few weeks from now you're...
⭐ WOW-ing your family and friends with your shots because you know exactly what you need to do to get professional level photos.
⭐ Consistently taking tack sharp, beautifully exposed images, and no longer have to try to salvage one good image from 50!
⭐ Feeling confident and in control every time you shoot, and can stop second guessing yourself, and instead approach every situation with a bounce in your step.
⭐ Picking up your camera, and KNOW what exact settings to use in every situation, regardless of what you’re shooting (and can change them quickly when needed!)
⭐ Loving the photos you create, and no longer feeling embarrassed to share them (and get a secret thrill when someone asks YOU - “How did you get that?!”)
⭐ Taking pictures so darn good that you’re being asked by your friends to take pictures for them, and maybe even making money doing something you love!
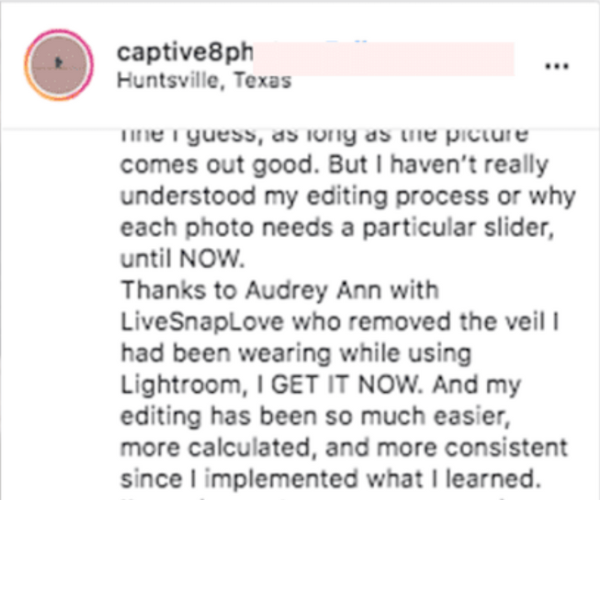
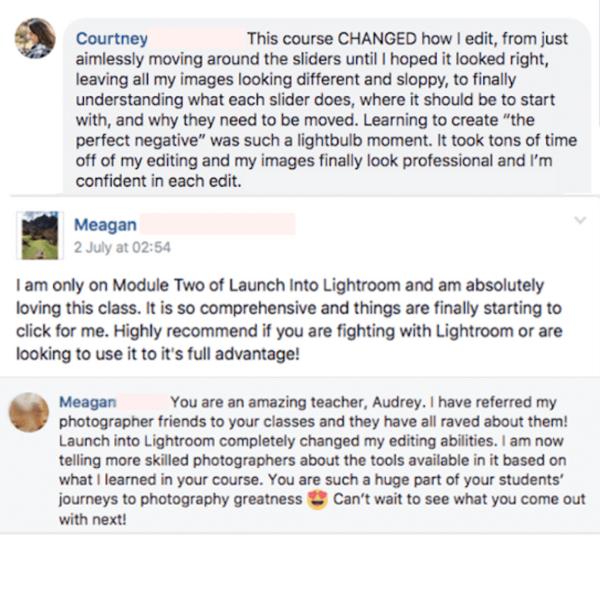
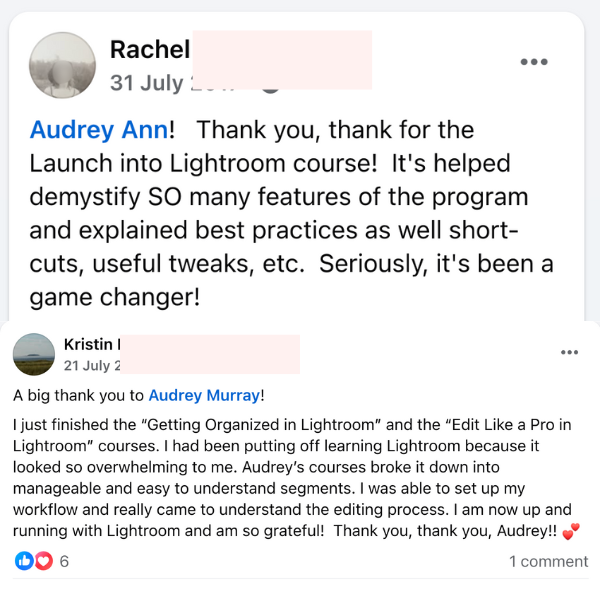
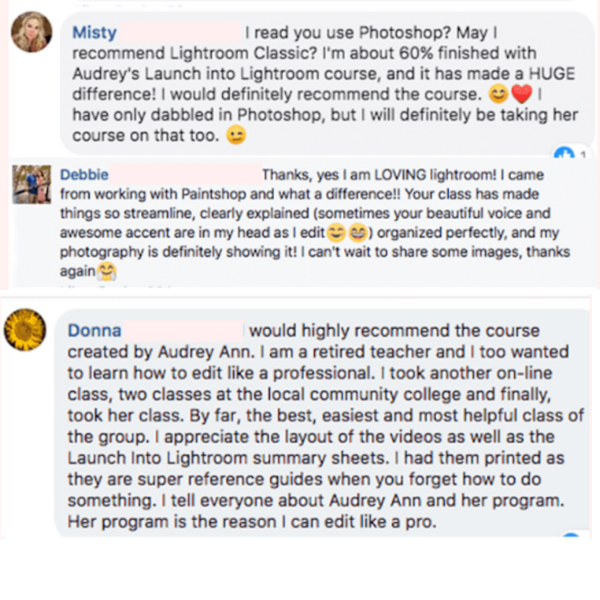
Don't take my word for it....hear what our students had to say!
But how do you get to this nirvana?
You've probably figured this out already - without some kind of roadmap to follow and a guide to show you the ropes, learning photography can feel seriously overwhelming.

Because here’s the thing...
When you're not aware of WHAT you need to learn, no amount of free information can help you.
You’ll simply end up watching a mish-mash of complicated tutorials that don’t make sense, and that don’t fit together - so you’ll probably miss out on all the critical little nuggets of information that help it all come together and make sense.
That's because every single thing in photography is connected.
It’s like one large intricate puzzle, with all these different pieces linking together. If you’re missing even just a few of those puzzle pieces, you’ll never have the whole picture, and you won’t get images you love.
That’s why trying to learn photography through disjointed tutorials just makes the whole process take 10 x longer than it should, and feel 10 x more stressful and frustrating.
It’s just really, really difficult to find everything that you need that way, not to mention trying to figure out how all the pieces fit together!
The result? YEARS of overwhelm, frustration, and wasted time.
That's why I created Auto to Awesome; so you could learn photography with an easy to follow framework that lays it all out for you, step by step and action by action!
Which is exactly what these students followed to get photos like these!
Auto To Awesome
Auto to Awesome is a six part program that gives you a complete, proprietary FRAMEWORK to follow that will turn your images from boring, middle of the road snapshots, into wall worthy, professional level images - and in a relatively short amount of time!
This course takes you by the hand and walks you through it ALL, step by step and setting by setting, so that this truly is the only photography course you'll need to start getting photos you love.
Auto to Awesome is currently closed for enrollment.
While you wait for the doors to open, why not grab our FREE camera settings cheat sheet to help you while you wait?
Get ready to go from..
❌ Endlessly searching for tips & tricks, but feeling like no matter how much you learn, nothing connects.
❌ Missing capturing precious moments, as you’re fumbling with your camera and taking too long to get your settings right.
❌ Stop wondering what crucial things you’re missing that is stopping you from feeling like you’ve got this.
❌ Feeling frustrated because the photos you get don't match the ones you see in your head.
❌ Being embarrassed to share your photos, because you know they are not as good as you want them to be.
✅ Taking photos of anything, anytime, anywhere, without panic because nothing fazes you anymore!
✅ Shooting with confidence, knowing EXACTLY what settings to use every single time.
✅ Getting more creative photos that stop the scroll
✅ Filling up albums of images that beautifully capture your days, just like you see them in your head.
✅ Taking photos that go beyond ho-hum snapshots, and instead, create images that people rave over.
✅ Feel confident, empowered, and proud to share your photos with the world!
“So how does Auto to Awesome compare to similar programs?”
We firmly believe that Auto to Awesome is the most comprehensive, valuable, all-inclusive program of its kind on the market. Period. Full stop. Mic drop.
Here's what sets it apart:
❌ While other programs teach you one small piece (like manual mode or focus) or string together random beginner tutorials and call it a “course.”...
✅ Auto to Awesome gives you the whole picture—camera settings, light, manual mode, focus, composition—taught step-by-step so each lesson builds on the last. Nothing skipped, nothing left to guess.
❌ While other programs simply teach you boring theory...
✅ We go further with proven proprietary frameworks that make the complicated stuff click (and make changing your settings way easier!)
✅ We give you EVERYTHING you need - including downloadable binder notes, homework PDF's printable cheat sheets, FAQ Hubs and more.
❌ While other programs give you long winded tutorials and nothing more...
✅ Auto to Awesome gives you the whole picture—camera settings, light, manual mode, focus, composition—taught step-by-step so each lesson builds on the last. Nothing skipped, nothing left to guess.
❌ While other programs teach you one small piece (like manual mode or focus) or string together random beginner tutorials and call it a “course.”...
✅ Auto to Awesome has all those extra little nuggets of info that actually make it all come together and make sense.
❌ While others keep some stuff back in their "beginner" programs...
✅ This proven course has been taken by over 2,500 students, and has been continually refined and developed since it's release in 2017. Created by a photographer with over 17 years experience, it follows a unique, proprietary framework you can't get anywhere else (including AI!)
o you can stop searching for that course — y'know, the one that actually connects the dots and helps you create the photos you’ve always wanted.....
Because you’ve just found it. 😉
❌ While other programs have been chucked together using AI, or created by photographers with little experience...
Is perfect for you if you're...
A new photographer, starting from zero, and you want to skip the years of frustration and trial and error and fast track your growth.
Auto To Awesome
OR
You already have a lot of knowledge, but it's not connecting, you're unable to consistently get the results you want. You want to see what information you've missed on!
Real testimonials - straight from out students!
Inside Auto to Awesome, you'll get access to:
Our Proprietary 6 Phase Blueprint
A clear, easy to follow roadmap where each step is connected to the last (and nothing missed out)
Video Trainings & Unique Frameworks
Learn the core aspects of photography with comprehensive video trainings & out unique, easy-to-follow frameworks.
Over The Shoulder Demos & Image Pullbacks
Watch as I change my settings, make changes to set ups, and use the light in different ways, with camera demo videos and image pullbacks.
Homework & Assignment PDF's
Each lesson includes homework, given as a PDF guide, and every module ends with an assignment that ties it all together.
Downloadable Cheat Sheets & Binder Notes
Downloadable quick-reference guides, cheat sheets and full binder notes to keep you on track - and for you to refer back to for life!
FAQ Hubs
After teaching this course for 9 years, I know what you might ask...so I've answered them all in our end of module FAQ hubs!
Take a peek inside!
Auto to Awesome consists of six modules, designed so that each lesson and each module connects to the step before. That way everything works together, and you'll get photos that you cherish quickly! Let's break down each module...
Module One:
Lay The Foundation
The Exposure Triangle and how to keep it balanced
The 3S formula for choosing the right shutter speed
Depth of Field & The Space Rules for choosing the perfect aperture and keep critical elements in focus
The simple steps to creating dreamy creamy background blur (even with a kit lens)
Noise reduction techniques - wave goodbye to grainy images!
Know exactly what "numbers" to use for each of your settings - without guesswork or using generic “middle of the road” settings.
Module Two:
Manual Mode Made Simple
The simple process for perfect, juuuuust right exposure, every time.
Learn the game changing system that will help you adjust your exposure without tools
Avoid blowouts and hot spots that ruin your image (and when it might not matter)
The game-changing CLICKS method that help you adjust your settings faster.
Say goodbye to inconsistent exposures and struggling to keep up in manual mode!
Module Three:
Harness Natural Light
The 3 D's - simple lighting techniques for indoor window light.
The secrets to getting images that pop in boring cloudy weather.
Essential strategies for shooting on sunny days so you can shoot whatever the weather.
How professionals manipulate the light around them for images that have depth and drama
Feel confident shooting in any type of light, indoors and out, from low light to sunny day!
Module Four:
Get Clean Natural Colour
The secret to perfect, true to life color in camera.
How to identify when you have the WRONG color in your images.
The steps for getting clean, custom white balance with tools and without.
The setting you can change for best results in post processing.
Module Five:
Get Tack Sharp Images
Discover the unique F.A.S.T Framework for tack sharp images in ALL situations.
Mix and Match Focusing Techniques that you can dip into
Strategies for sharp action shots, even with unpredictable movement!
A game plan for nailing focus with families and larger groups.
Accurately evaluate your focus, so you know exactly what to aim for!
Troubleshoot with our Focus Failure Flowchart
Improve your "hit rate" of sharp photos with advanced focusing techniques.
Module Six:
WOW with Composition
Learn the 5 ways to establish clarity in your images
Balancing Techniques to ensure your image doesn’t look “off”
The tips and tricks that ensure that your subject pops right off the frame.
The all important portrait and posing “rules”
The Ripple Method for ensuring variety
The I.M.P.A.C.T.S Formula for telling a story with your images
Critical composition guides for images that have the WOW factor
Plus you'll get these awesome bonuses!
BONUS NO 1
Mental Photography Checklist
To help you keep in mind everything we have learnt in this course when shooting, you'll also get a Mental Photography Checklist that will help you remember what you will need to consider and adjust when shooting!
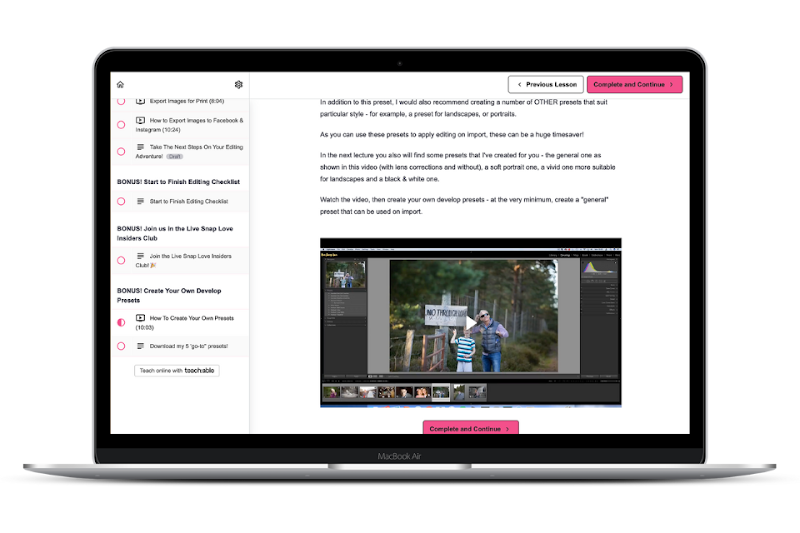
Create Your Own Develop Presets (+ steal mine!)
Once you have learnt how to edit, you'll start to find yourself making similar adjustments - and that's when it's time to create a preset!
Although presets are definitely NOT a replacement for learning how to edit, they are a great tool for speeding up your workflow.
In this bonus guide, we'll cover how to create your own Develop presets, plus I'll give you 5 of mine!
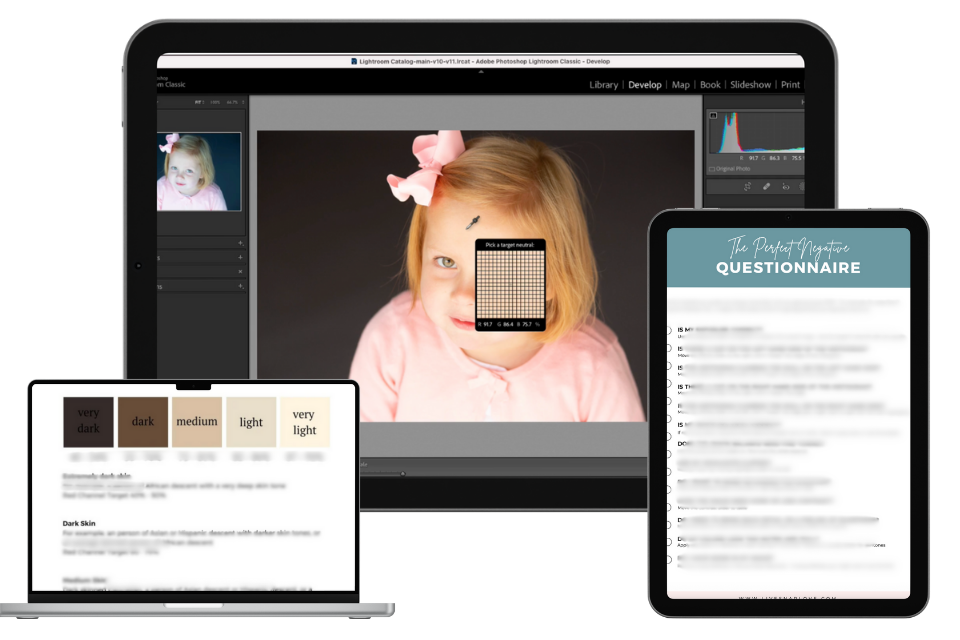
Module Two: Create Your Perfect Negative
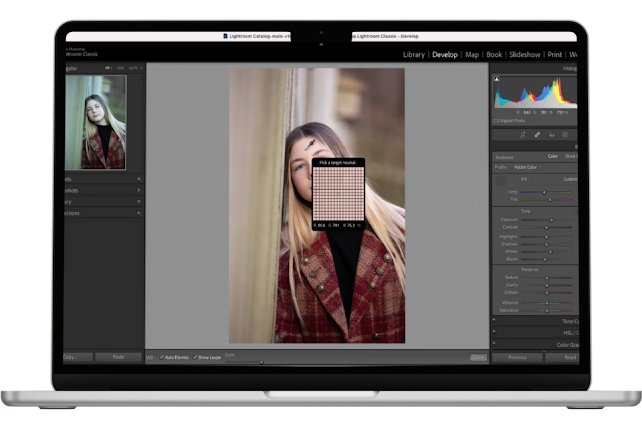
Learn the secret to adjusting white balance to get authentic, true to life colour, along with our skin “formulas” for using skin as a guide.
Stop guessing at the perfect exposure, and instead use your subject’s skin to tell you when you've reached that perfect brightness.
Adjust overall and secondary contrast to give your image depth and pop.
Make basic enhancements to give a subtle boost, so your images look natural, but polished!
Discover how to adjust your image to make it look sharper and cleaner.
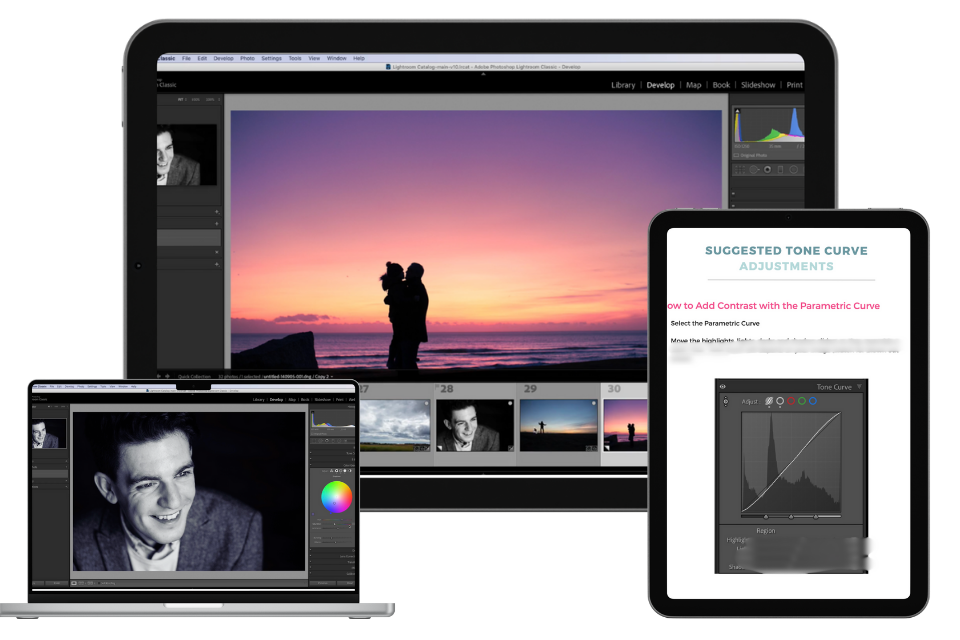
Module Three: Take Creative Control
Learn the pro tricks for adjusting the tones in your image to add interest and depth.
Discover how to convert images to stunning black and whites and the subtle adjustments that stop them looking "muddy"
Get the secret to manipulating the colors in your images to bring back lost details, add interest, or fix out of control colours.
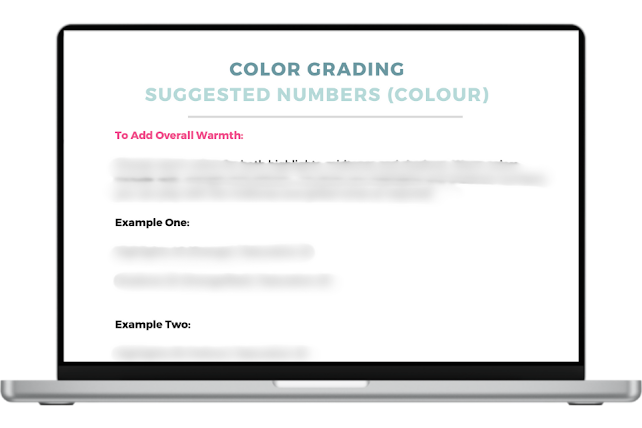
Apply effective colour grading to to enhance your voice and the mood of the image. You’ll even get suggestions to which numbers look great together in our colour grading combinations guide to get you experimenting with ease!
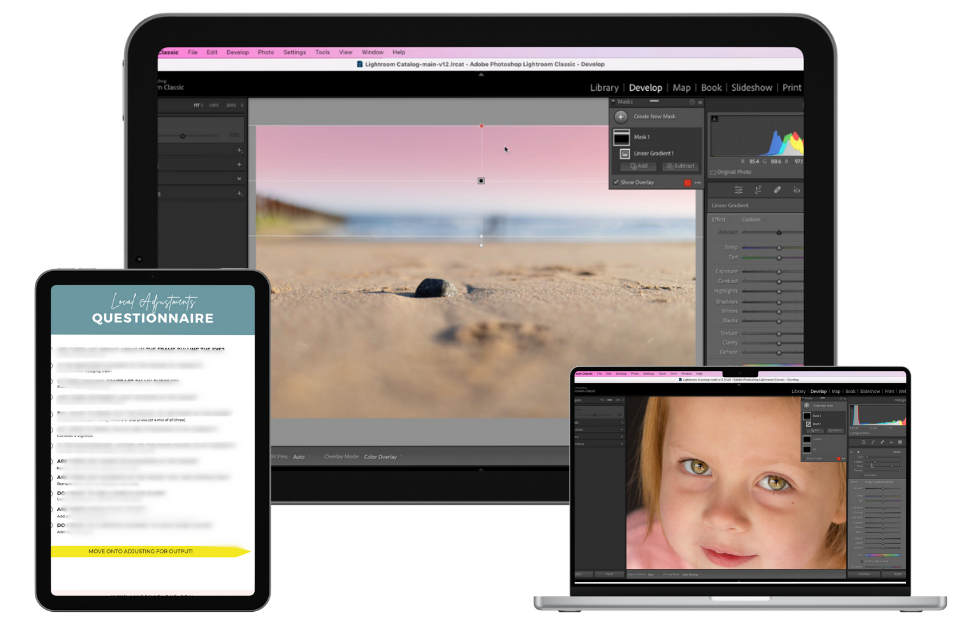
Module Four: Local Adjustments
Discover how to pull your viewers eye around the frame and bring focus where it should be.
Get pro secrets for playing with light and shadow that add depth and dimension to your images.
Take your portraits to the next level and make your subject looks like the best version of themselves (but without looking like plastic dolls or aliens!!!)
Clean up unwanted distractions from the frame for a sleek, professional finish.
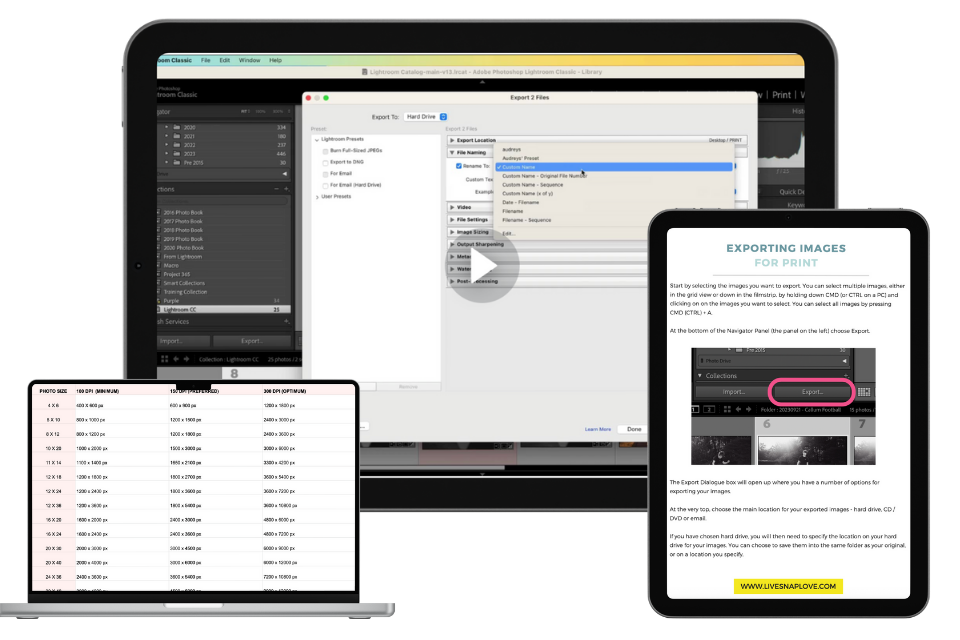
Module Five: Finishing Touches
We’ll cover how to ensure that your prints match the screen.
How to create high quality JPEG's for prints.
Make sure your online images look sharp and with good colour.
Finally, we'll go over how you can move images into Photoshop for advanced editing, and then back into Lightroom Classic again!.
Module Five: Finishing Touches
We’ll cover how to ensure that your prints match the screen.
How to create high quality JPEG's for prints.
Make sure your online images look sharp and with good colour.
Finally, we'll go over how you can move images into Photoshop for advanced editing, and then back into Lightroom Classic again!.
PLUS THESE BONUSES - FREE!
GET YOUR HANDS ON THESE BONUSES FOR FREE WHEN YOU JOIN EDIT LIKE A PRO IN LIGHTROOM CLASSIC TODAY!
Learn the repeatable pro editing framework for photos that WOW.
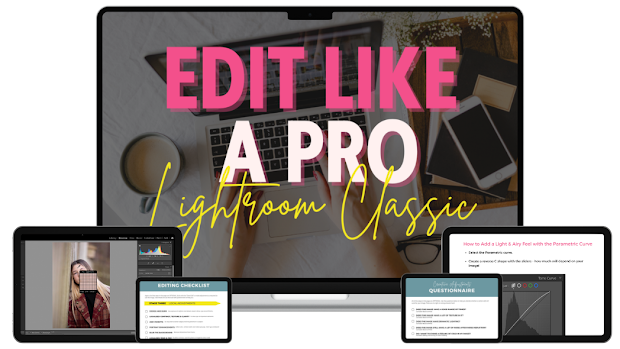
Only $347!
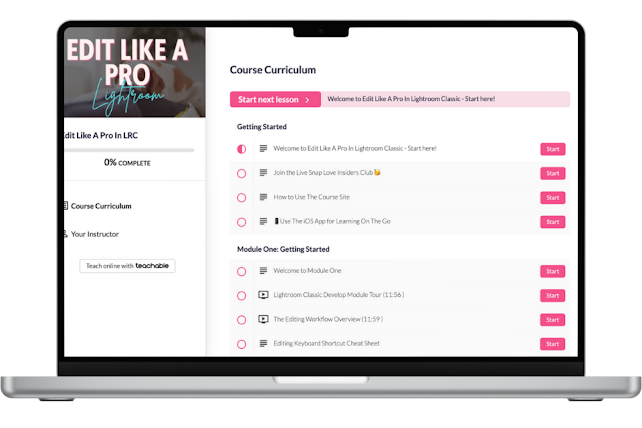
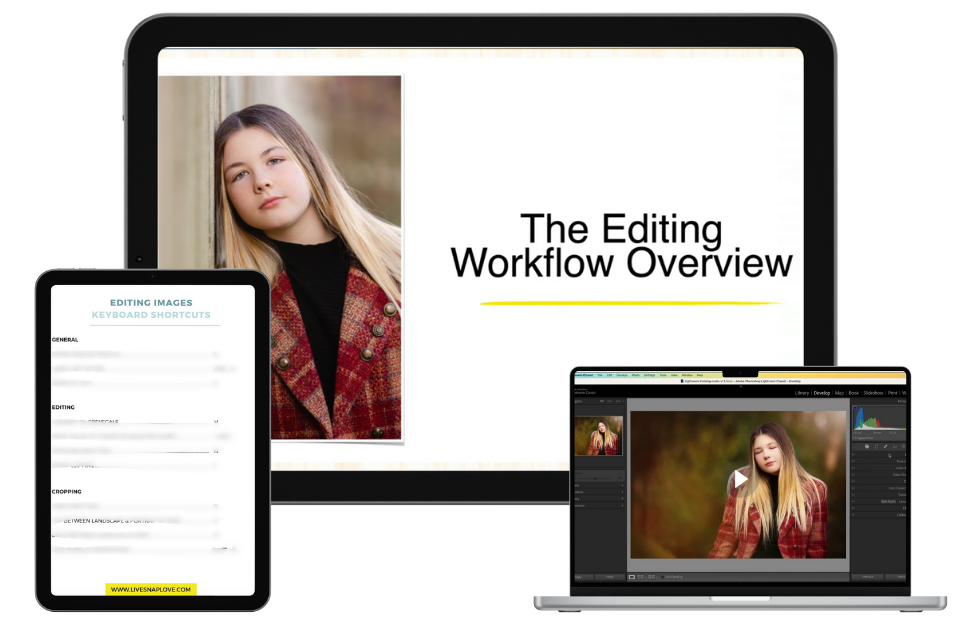
12 Months Access to The Entire Edit Like A Pro Course + Resources in our private client portal
5 Training Modules with Step by Step Video Tutorials
Complete 3 Part Editing Stacking Framework
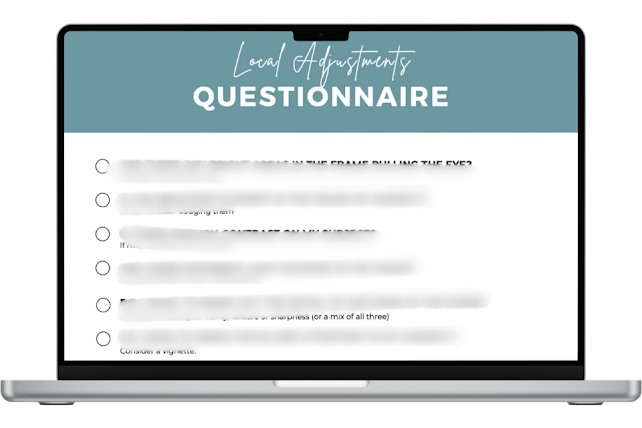
Smart Editing Questionnaires
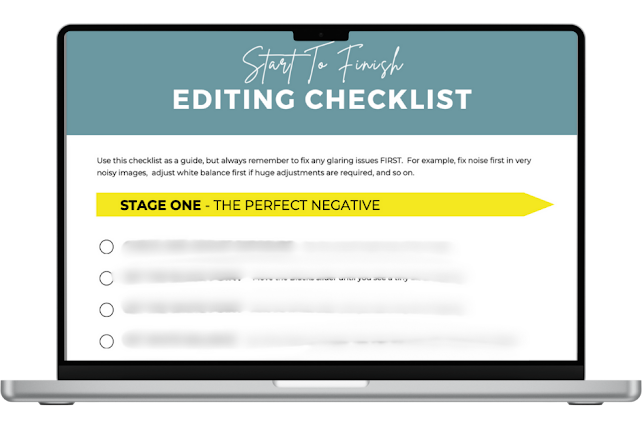
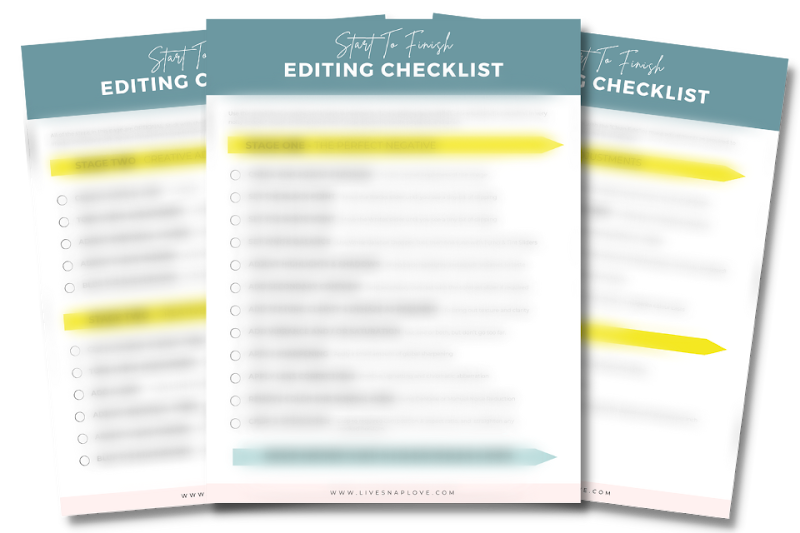
Step By Step Editing Checklists
Creative Guides for Color Grading, Tone Curves & More
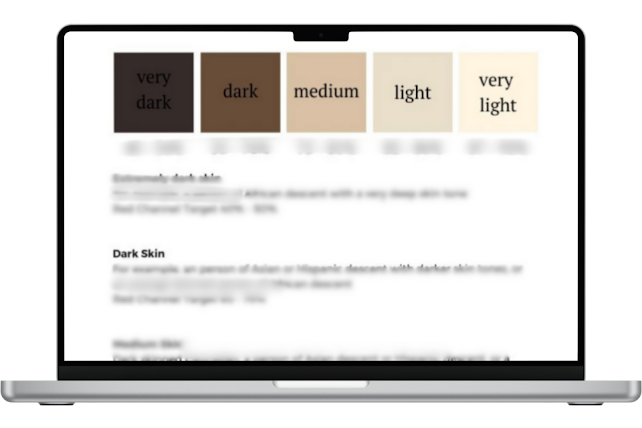
Skin Tone By The Numbers Guide
FAQ Library
BONUS: The Ultimate Editing Checklist
BONUS: Develop Presets Training (+ Steal Mine!)
Instant Access so you can start to edit like a pro today!

TRY EDIT LIKE A PRO WITH LIGHTROOM CLASSIC FOR 7 DAYS AT NO RISK
100% Satisfaction Guarantee
I want you to feel confident in trying out the program for yourself, which is why we have a 100% Risk Free Guarantee. If Edit Like A Pro truly does not help you, simply e-mail us your recommended end-of-module assignment from Module Two within 7 days from date of purchase, and we will issue you a full refund.
After those 7 days, you're stuck with us. (But I think you'll see that's a very good thing.) 😉
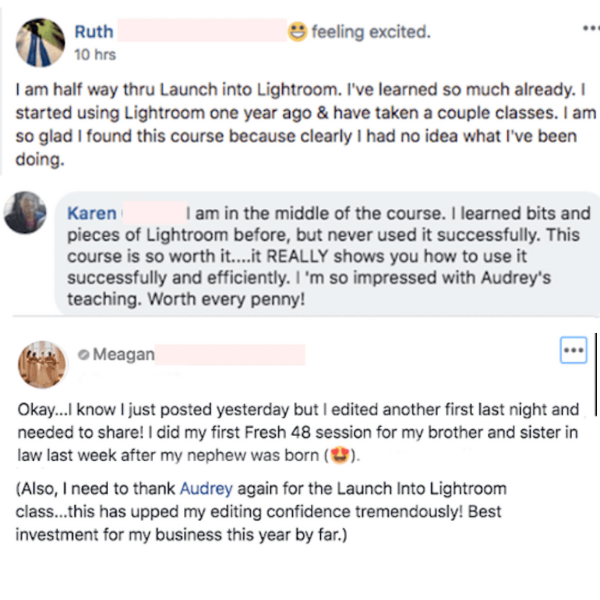
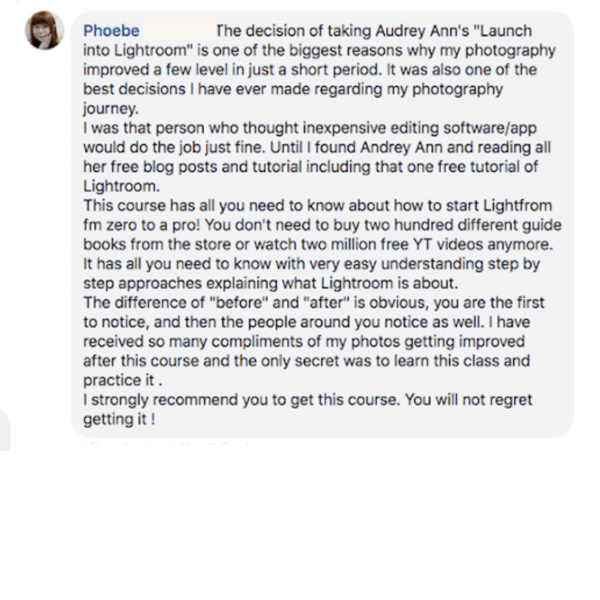
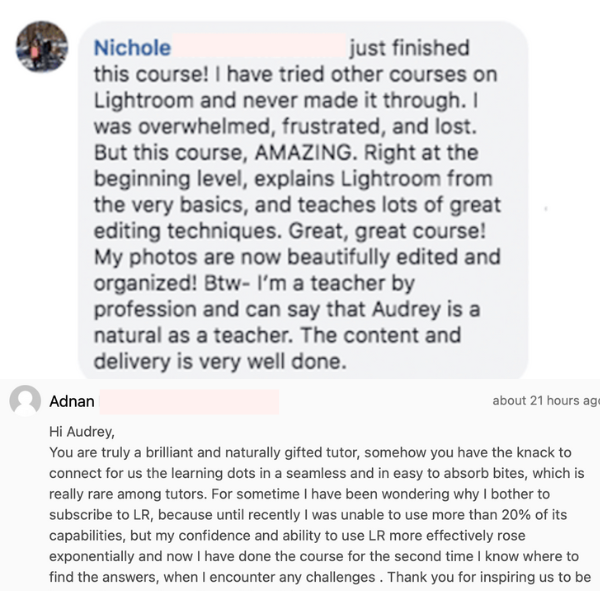
Here's what people like you are saying...
(NB Edit Like A Pro was previously called Launch into Lightroom)
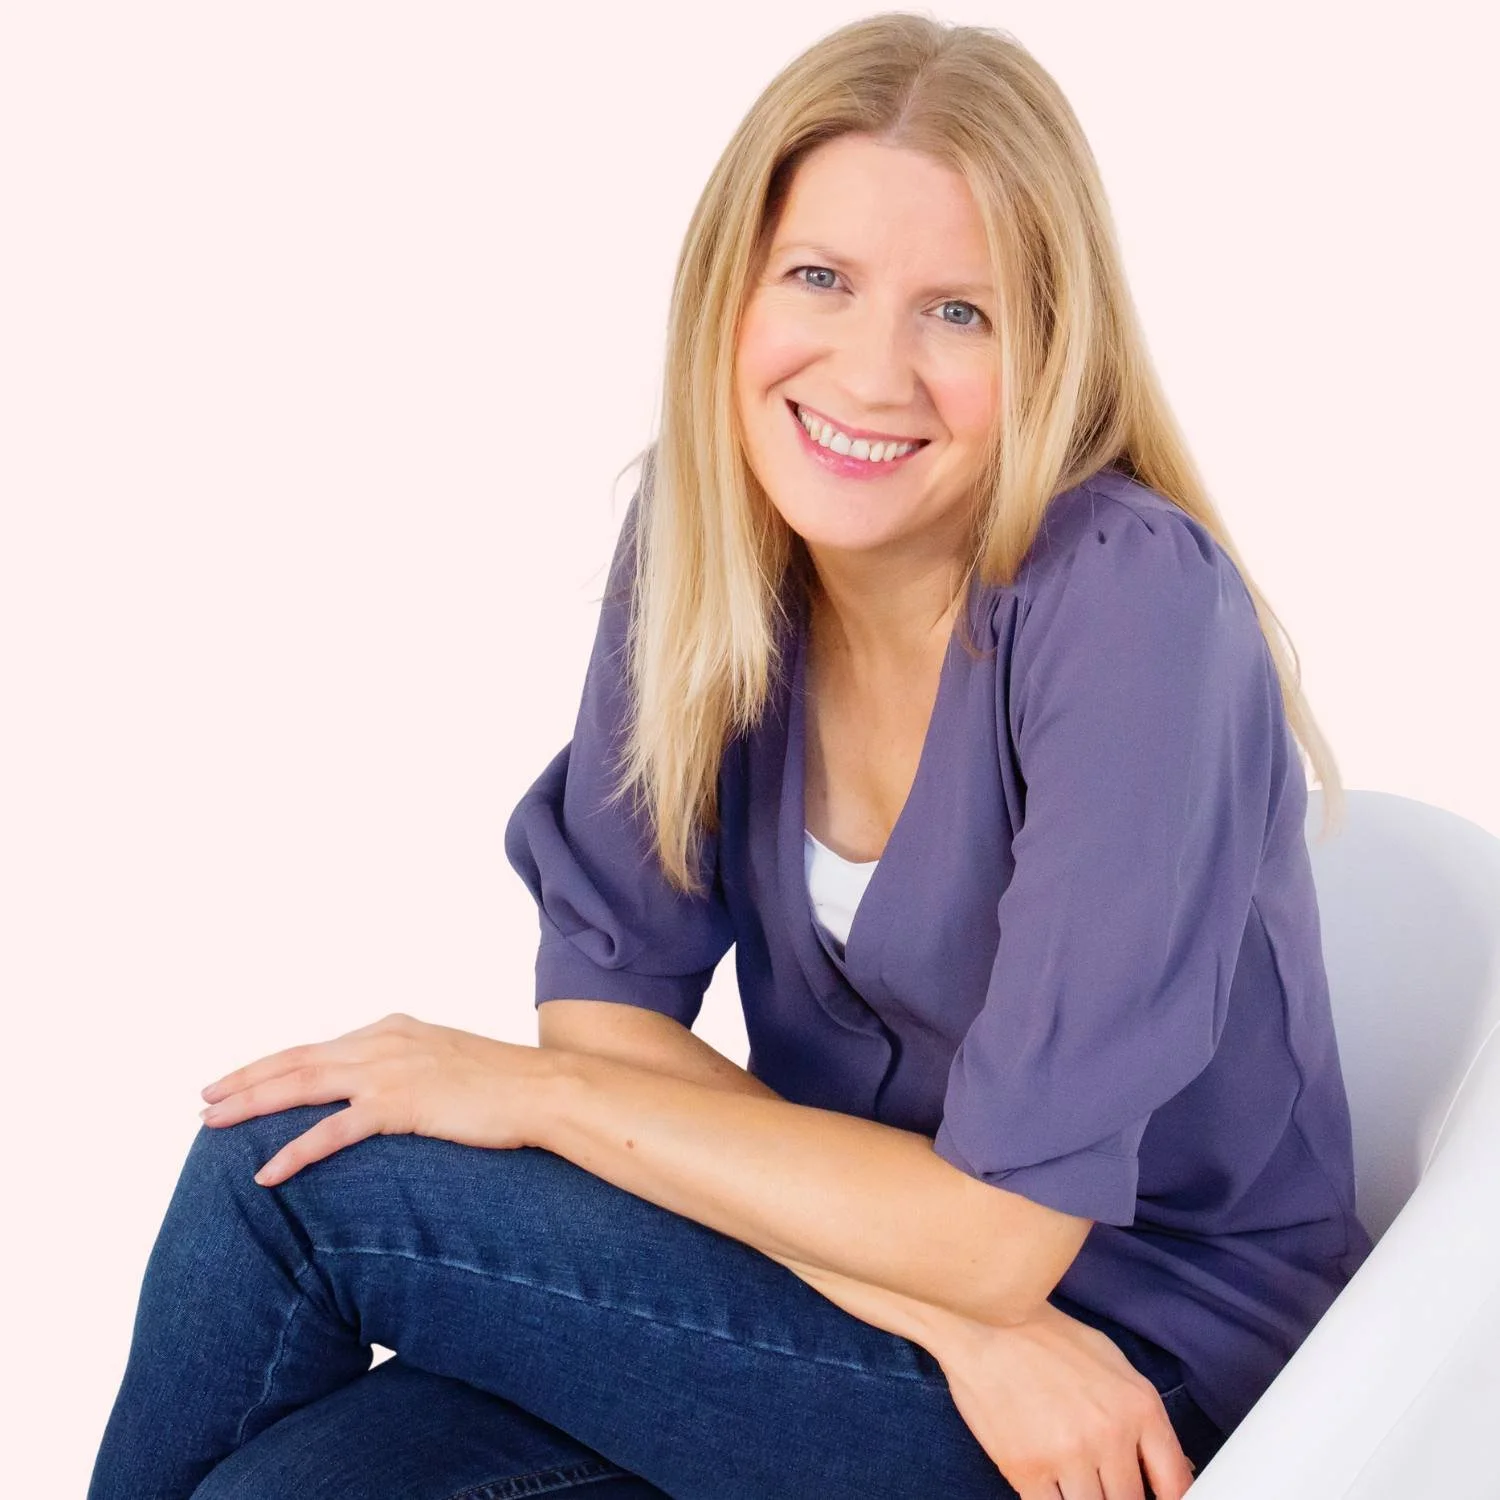
Hi! I’m Audrey Ann!
I can't wait to guide you through editing your photos like a pro with Lightroom Classic!
Learning how to edit effectively in Lightroom Classic has literally transformed my images, and helped me take them to the next level.
But I've experienced first hand just how confusing using Lightroom Classic can be at first, and overwhelming the the whole editing process can be. Especially when all you get online is "how-to" tips, rather than the "Why, when and how" tutorials you need!
I wanted to create a course that didn’t just teach sliders and buttons, but taught photographers how to see their photos, understand what they need, and edit with purpose.
And I wanted to save you from wasting years trying to figure it out on your own like I did!
That's why in this course I'm teaching you my unique framework that I've developed and refined over the last 15 years, so you can instantly master editing and get pro-level images in just a few days!
"Edit Like A Pro in Lightroom Classic" is perfect for you if you're...
Excited by the idea of having an editing framework to follow that will take away all the guesswork and random slider pulling.
Ready for more than just a few simple “how-to” tutorials and instead want to learn how to look at your photo like a pro and see what edits it NEEDS.
In dire need of a fast efficient workflow that helps you create photos that WOW in as short a time as possible.
Fed up with your "free-for-all" edits, and instead want an editing workflow that allows you to stay consistent with your own unique style.
A lifestyle / documentary / multi-passionate photographer, and want to create photos that capture the beauty of your days.
Or a family or portrait photographer who is ready to level up and charge more for their skills!
WE ALL HAVE TO START SOMEWHERE...
It's up to you if you stay there!
One of the most valuable skills you can learn as a photographer is how to edit your photos. It can lift a bland and somewhat boring image into a work of art, and help you get the professional, polished photos you've been dreaming of.
But editing your photos does not mean simply learning how to use the editing tools, following a tutorial on how to get a certain look, or slapping on a preset.
When you truly learn how to edit your images, you're able to look at WHAT that every unique image needs and WHY it needs it, before selecting the best tools to achieve that vision.
And the good news? You only need to learn this once, and it will serve you for years, because the principles behind editing never change...even when the tools do!
Are you ready to learn the strategy and structure behind editing your photos, so you'll have the skills to edit any type of photo, in any location and at any time?
“How does Edit Like A Pro compare to similar programs?”
I firmly believe that Edit Like A Pro in Lightroom Classic is the most comprehensive, most step by step, most valuable course of it's kind on the market, because it follows a system painstakingly created by me that you simply can't get anywhere else!
❌ While some programs will only teach you how to use the tools in Lightroom Classic (and miss out the skill of editing)
✅ Edit Like A Pro in Lightroom Classic teaches you how to look at your images and see what they actually need, what to skip, and which edits will make them pop - so you don't just learn how the tool works, you'll learn to think like an artist too!
❌ While other programs simply teach you theory about how to use Lightroom Classic...
✅ We tie it all together with a proven, end-to-end editing framework that shows you exactly what to do (and in what order) so you’re never just guessing what comes next.
❌ While other programs simply explain what each tool does and sends you on your way...
✅ We go further with concrete editing steps, like suggested color toning "numbers", target ranges for skin tones and even how to know when you've moved a slider enough—so you know exactly when to stop tweaking!
❌ While other programs are created by people with little to no experience in photography or Lightroom Classic, or are 2 years out of date...
✅ Our unique, proven system has been created by a photographer with over 15 years editing experience in Lightroom Classic, and has been tested and loved by over 1200 students from it's first incarnation in 2016! And yes, it’s updated every year too 😉
You can't get this anywhere else!
Our 3 step editing framework - along with the number combinations, skin tone guides, editing questionnaires and more - is unique to Live Snap Love....because they were created by me!
So say goodbye to simple how-tos and endless trial and error. Instead, get the course that gives you everything you need to edit with confidence.

Get started today, and imagine what it will feel like when you…
Editing your photos with total confidence because you know exactly what to do (and why).
Opening Lightroom Classic and feeling excited to edit your photos (because you can already see the finished result in your head and know how to get it!)
Looking at a photo and knowing exactly what it needs to make it pop.
Hearing "OMG… did you take that?!" from friends, family, and clients.
Spending less time guessing at sliders and more time creating stunning, polished images.
Finally having a signature style that makes your work stand out.
Feeling proud (not panicked!) every time you hit "export."
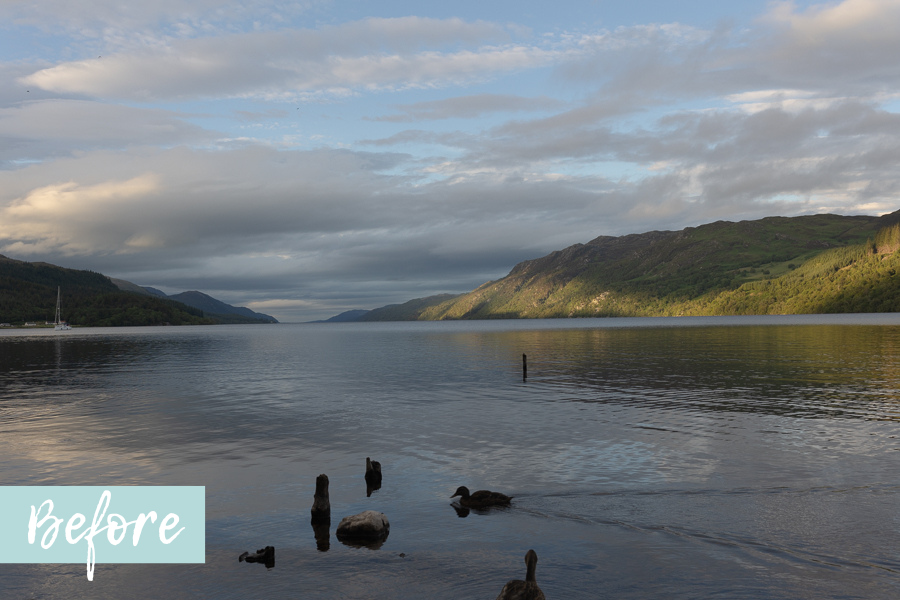
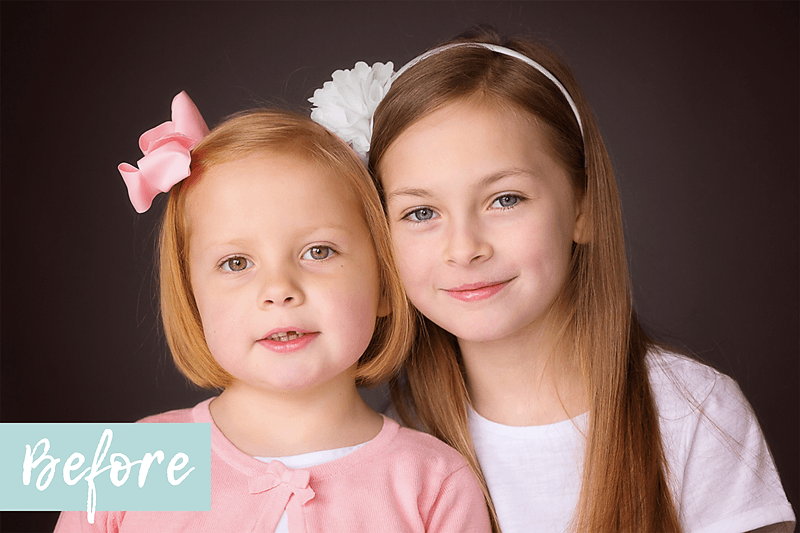
And can make transformations like these.!


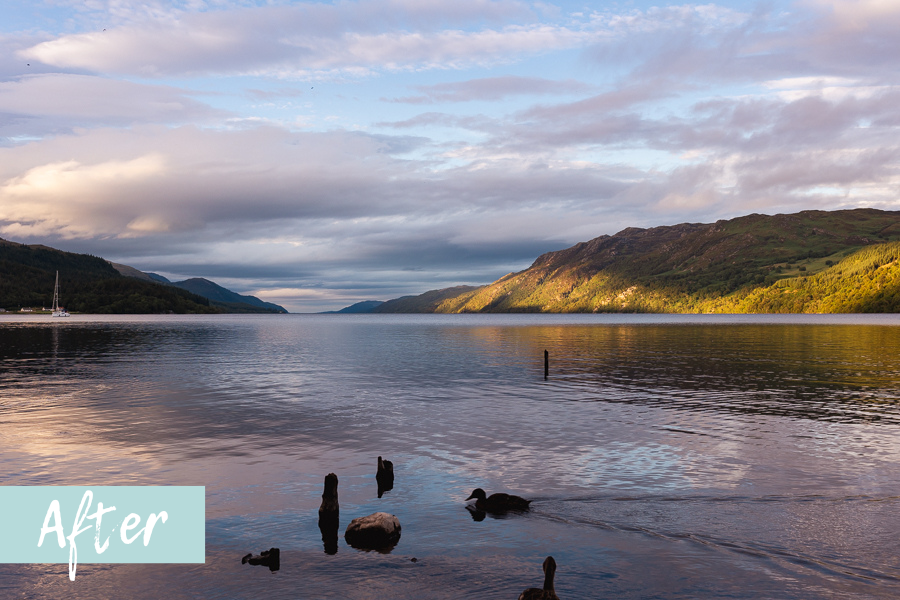
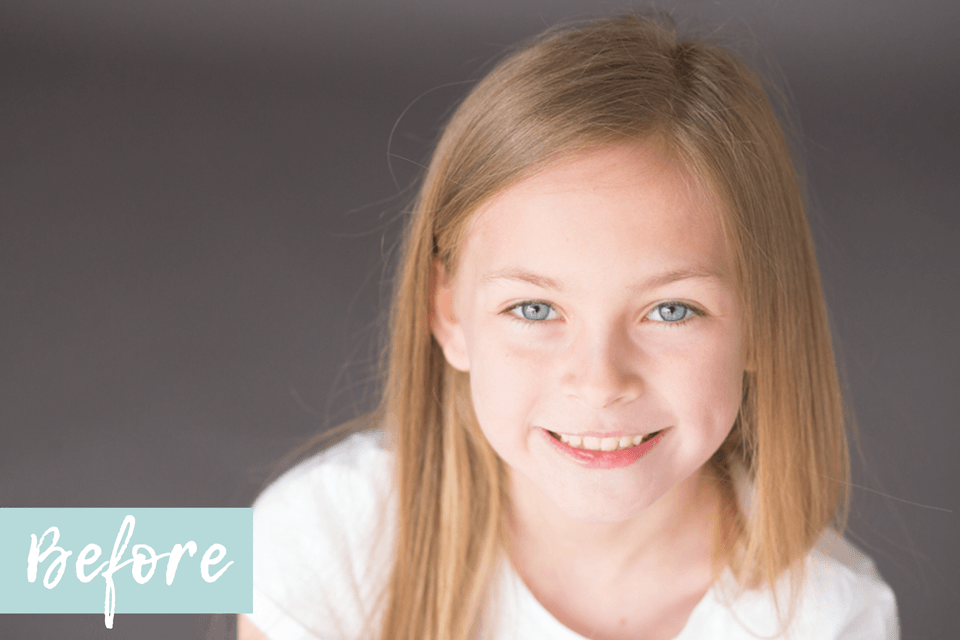
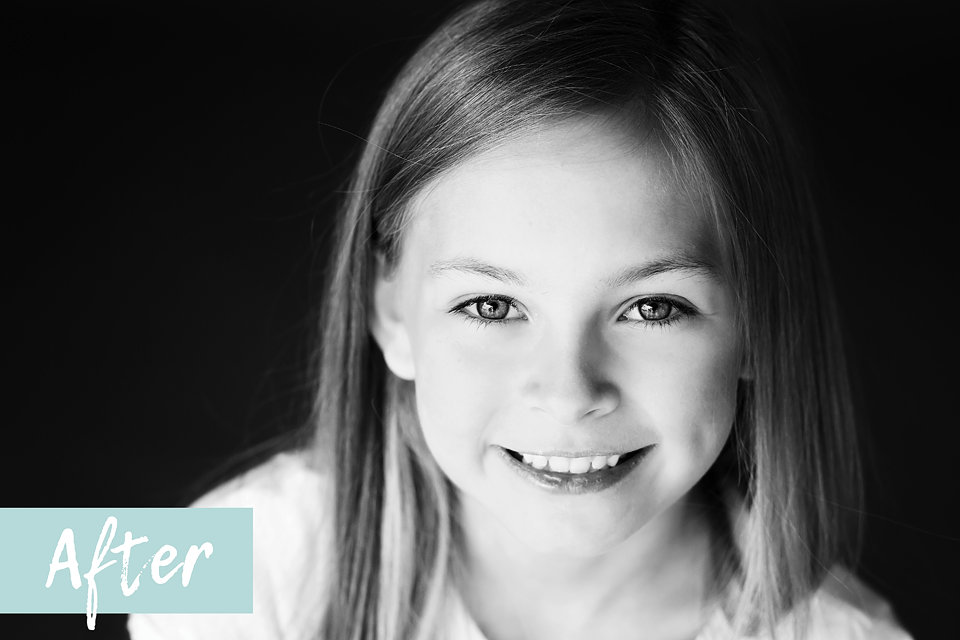
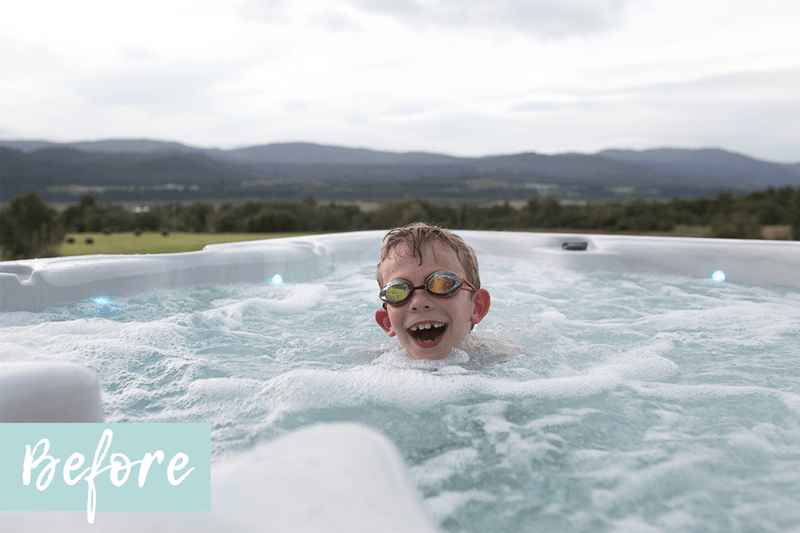
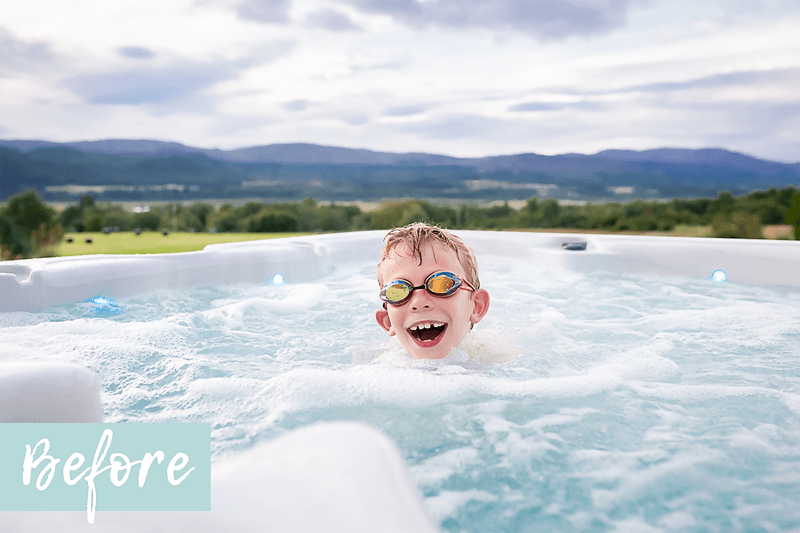
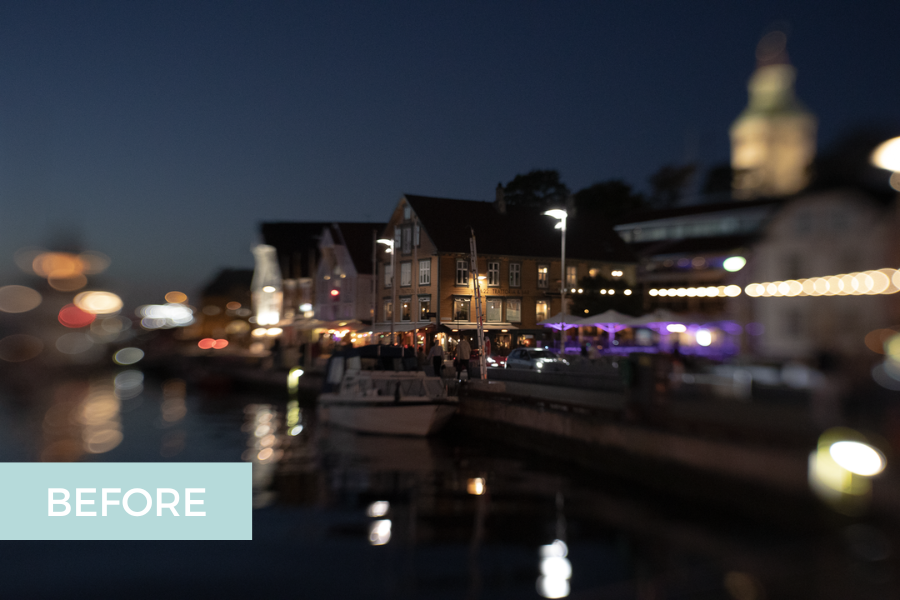
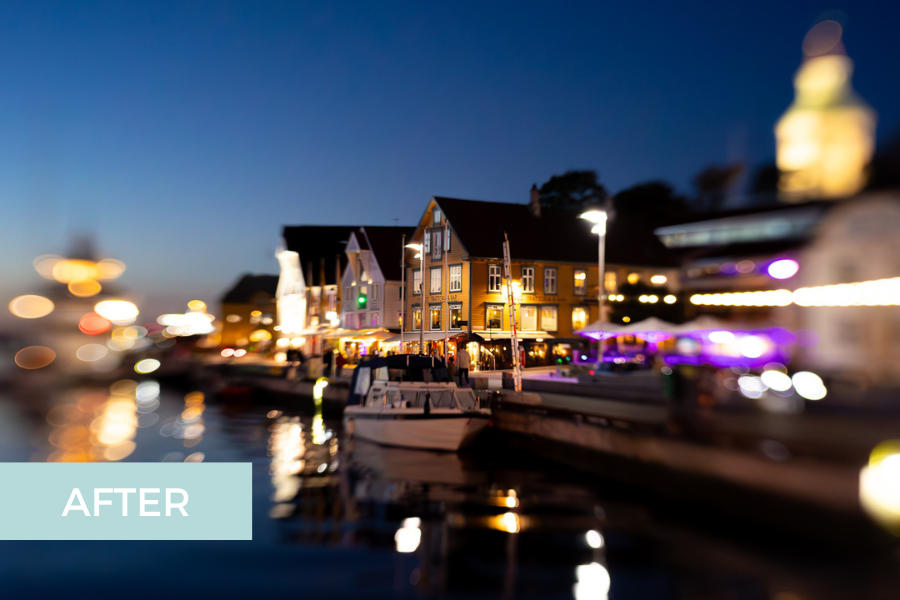
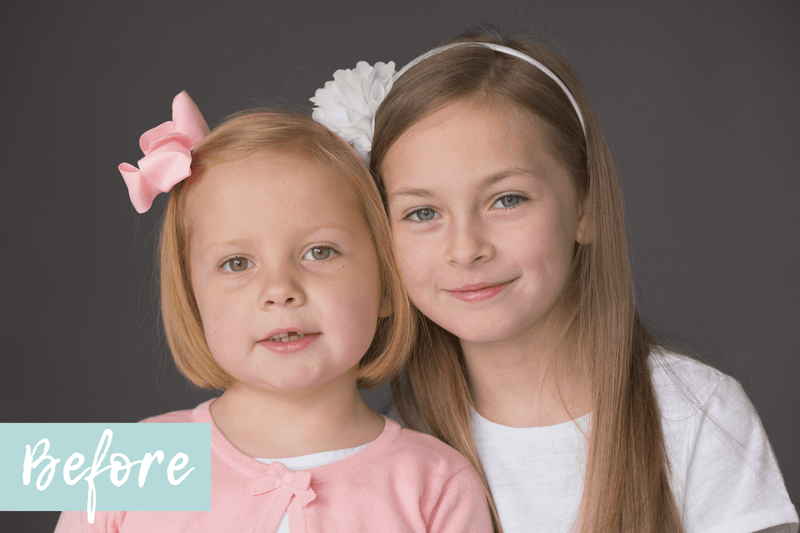
"“Love Audrey's teaching style - so easy to follow and understand. I have definitely improved my photo editing skills since taking the course and it's well worth the money - you won't regret it!!"
- Joanne
"Your class has made things so streamlined, so clearly explained (sometimes your beautiful voice and awesome accent are in my head as I edit!) and my photography is definitely showing it!!
- Debbie
"I took another on-line class, two classes at the local community college and finally took her class. By far, the best, easiest and most helpful class of the group!”
- Donna
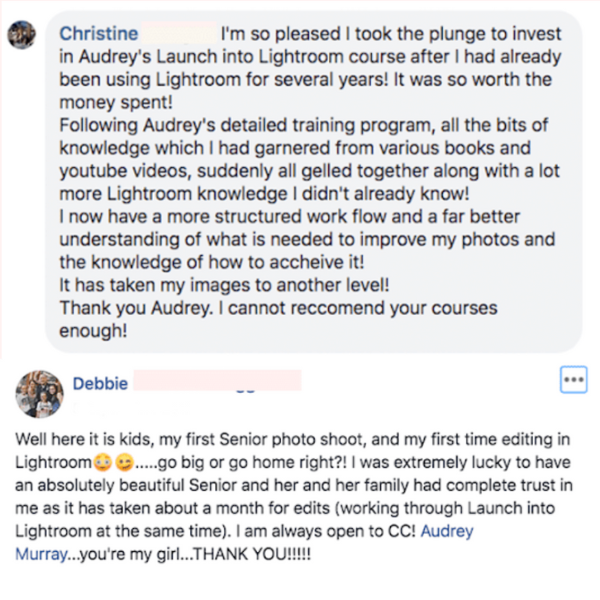
"All the bits of knowledge I garnered from various books and YouTube videos suddenly all gelled together along with a lot of Lightroom knowledge I didn't already know! I now have a more structured workflow and far better understanding of what is needed to improve my photos. It has taken my photos to another level!"
-Christine
"Thanks Audrey! Your course provides the depth-filled knowledge that goes way beyond the tips and tricks videos I used to search online for in the past. This course has been SO worth my time and investment”
- Jennifer
“Love the mix of PDF’s, checklists and videos….this is one of the best organised and executed teaching resources available”
-Julie
"The course is methodical and easy to follow as well as being fun - I saw an immediate improvement in my images! I find myself going back and revisting lectures as my skill level improves - so much learn"
- Pam
"I am about 60% finished with Audrey's Lightroom course and it has made a HUGE difference. I would definitely recommend the course! "
- Misty
“Audrey's system for consistent editing has increased my editing speed exponentially. Editing has become fun, fast and easy instead of a chore I keep avoiding!”
-Jen
Maybe you're wondering...
-
The class teaches you Lightroom Classic, but you can certainly take the knowledge you learn in this class and apply it to Lightroom CC, or even Adobe Camera RAW (the plug in you get with Photoshop Elements)
However please note that Lightroom Classic has one or two tools that Lightroom / ACR does not have, but for the most part, the editing process is completely transferrable.
-
I hear you! But know this : you could spend months researching how to use Lightroom Classic from various online tutorials, AND then even more months (if not years) learning how to edit, but I’m pretty sure you don’t have time for that!
With this program you’ll get step by step lessons, editing questionnaires and all the resources you need to get you where you want to be in weeks rather than years.
On a more concrete note, it will take you approximately 4 hours to watch all the videos, but we recommend spreading this out over 2 - 3 weeks so you have time to practice too.
-
As soon as you join us, you get instant access to all the modules and lessons, so you can roll up your sleeves and get started today!
-
You have a full 12 month access to the Edit Like A Pro course in our online course portal!!
-
If Edit Like A Pro truly does not help you, simply e-mail us your end-of-module suggested practice from Module Two within 7 days from date of purchase, and we will issue you a full refund. After those 7 days, you're stuck with us. (But I think you'll see that's a very good thing.) 😉
-
This program only covers the editing side of Lightroom Classic, so everything you learn is within the Develop module. We don't cover the Library module (where all the photo organization happens!) but never fear, we have a step by step program called Get Organized in Lightroom Classic where all that magic happens!
-
Edit Like A Pro in Lightroom Classic is a self study course, but at the end of each module you will find our FAQ hubs - these have answers to loads of common questions, so we're pretty sure your question will have been answered!
You also have access to our student community, which is a great place to ask questions too!
-
The skills and techniques in the course and can be applied to many different types of photos, so it's perfect if you are a "multi-passionate" photographer! However, the content does cover "people" photography, with guides for getting skin tones right, and portrait enhancement, so if you never, ever plan to shoot people, then perhaps another course would be better for you so you're not learning stuff you don't need.
-
As soon as you checkout you get instant access to the entire program immediately in our online course portal! We'll also send you a confirmation email, with a link to the course portal, so you can log back whenever suits you over your 12 month enrollment.
-
No. The Lightroom Classic program is available on subscription from Adobe. You sign up for the Photography Plan and you'll get access to Lightroom Classic, plus Lightroom and Photoshop. You can find out more about it here: Photography Plan From Adobe.
-
Yes! Although we first developed this unique 3 part editing framework waaaay back in 2016, back when the course was called Launch into Lightroom, it has been developed and updated every year since to take advantage of the latest tools and improvements of Lightroom Classic.
-
Unfortunately, we have recently had our work copied and used without our permission, including, but not limited to, the unique system we teach inside Edit Like A Pro in Lightroom Classic . Although these have since been taken down from sale after a copyright infringement notice was issued, you may have seen something spookily similar -please note that our system is the original!
-
Get in touch with your questions, we’re happy to help! You can email us at hello(at)audreyannphoto.com or by clicking here.
© Copyright 2014 - 2026, Live Snap Love Terms of Sale | Disclaimer | Privacy Policy